
How to enable Facebook Timeline – In case you haven’t heard yet, Facebook is going to make another change again to your Profile by introducing Facebook Timeline. Facebook Timeline is a sleek looking profile of your timeline (from when you were born to now if you want to), so you (and your friends) can look back into your past and followed your life progression (with status updates, photos, videos, and also life events such as getting married or admitted to the hospital).
The bad news is, it’s going to be available to most of us a week from now but thanks to a post at Mashable, there is a quick trick to make Facebook Timeline available NOW. Just follow these easy steps.
What we are trying to do is set-up a Facebook app for you to develop. Huh, what? Don’t worry, you DON’T have to develop any app at all. Since Facebook Timeline is currently available for those who are developing Facebook apps, you have to set-up an app that you plan to develop (you don’t have to “finish” it :))
How to enable Facebook Timeline
1) Go to https://developers.facebook.com/apps. If this is your first time going to this Facebook section, just allow the request for permission.
2) Click the Create New App button

3) Fill in any information you like, it doesn’t matter what the entries are. Though, try not to enter anything related to “Facebook” because you’ll get a warning like this if you do:
Our system has detected that App Name contains a disallowed use of the term “facebook”. Our policies prohibit use of Facebook trademarks as well as marks that may be dilutive or confusingly similar to Facebook’s trademarks. If you believe your application name is being blocked in error, please contact us and explain the nature and scope of your application.
If you haven’t entered your phone number or credit card, you may have to do so unfortunately. Facebook requires this to validate your account.

Press Continue.
4) You’ll then be taken back to the app’s main page. Now, click on the Open Graph on the left sidebar.

5) Fill in any information about what this app will do, it doesn’t matter what you choose.

Click on the Get Started button afterwards.
6) On the Action Types screen, just scroll down and press the “Save Changes and Next” button.
7) Just keep on pressing the “Save Changes” button on the Object Type screen and the screen after.
8) If you’ve done everything correctly, you should be back to the main application dashboard screen:

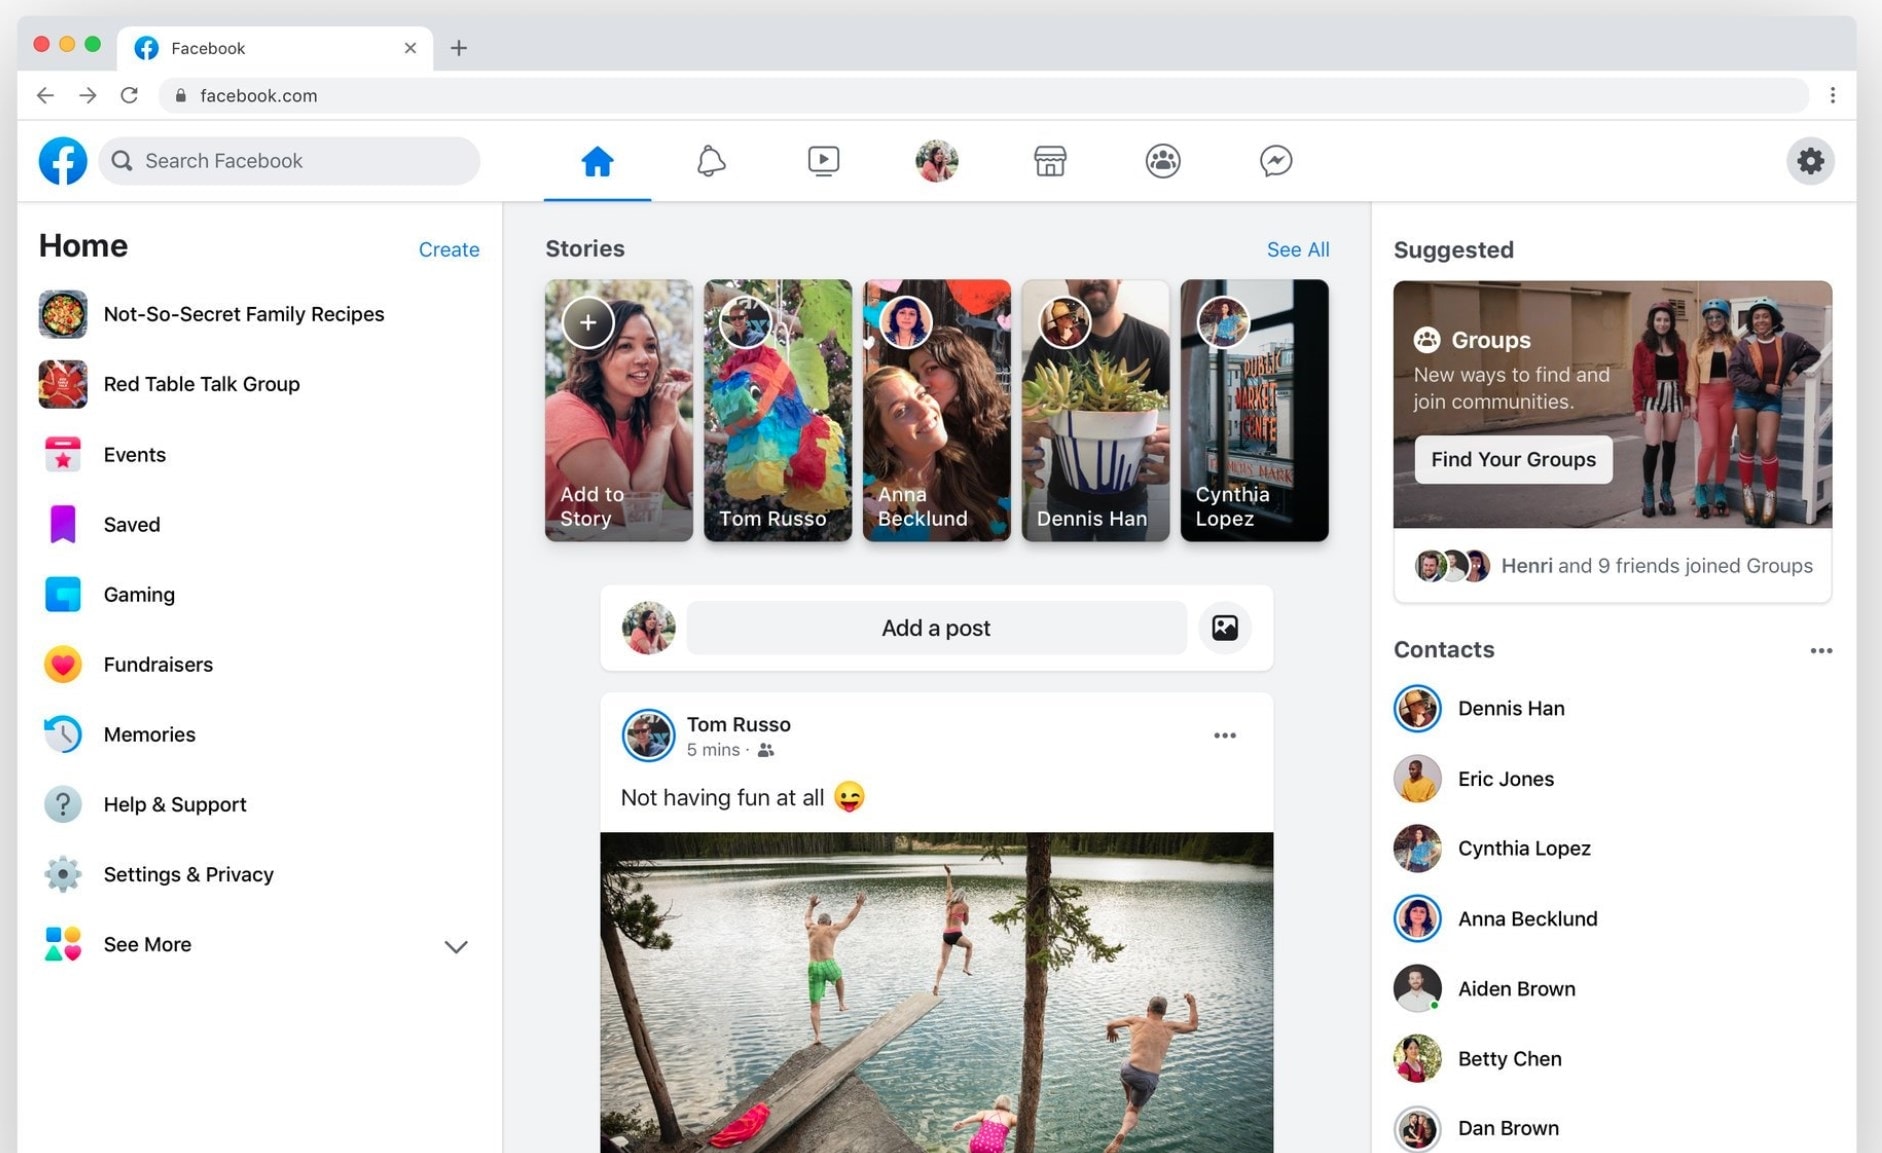
9) Now, go back to your Facebook home screen and press refresh a few times until you see this notification coming up on the top:

10) Congratulations! Enjoy Facebook Time one week earlier than everyone else :)

Have you enabled your Facebook Timeline yet? :)


Comments are closed.