Adobe Premiere Elements 11 review – Adobe Premiere Elements 11, not to be mistaken with the Adobe Premiere Pro product, is a movie editing and publishing software, aimed for both novice and professional users. Or to be exact, the Premiere Pro is aimed more towards the professional users as you may consider Premiere Elements a stripped down version of the Pro. Do not let this discourage you though, as the Premiere Elements is still a powerful beast of its own.
I’ve used the older Premiere Elements in the past to make video trailers or wedding photos slideshows and I’m amazed at how powerful the software can be, once you get the hang of it. Check out my past reviews of Premiere Elements 10, Premiere Elements 9, and Premiere Elements 8 if you like.
![]() Adobe Premiere Elements 11 features an intuitive editing environment though at the expense of a new interface layout that loyal Premiere Element users must re-learn as a result. However, I find it quick to learn the new interface changes on Premiere Elements 11. I actually like how they make the main editing window cleaner by moving all the busy panel layouts into tabs and menus. As a result, you can now focus on the edited video rather than having all these effects and menus thrown at you. The video playback on the main window is now bigger, because of the change.
Adobe Premiere Elements 11 features an intuitive editing environment though at the expense of a new interface layout that loyal Premiere Element users must re-learn as a result. However, I find it quick to learn the new interface changes on Premiere Elements 11. I actually like how they make the main editing window cleaner by moving all the busy panel layouts into tabs and menus. As a result, you can now focus on the edited video rather than having all these effects and menus thrown at you. The video playback on the main window is now bigger, because of the change.

However, the cleaner interface means an extra click to reveal the effect or transition that you want to add into your movie (some may not like this change).
All of the project media assets (audio, video, titles) are now located on the “Project Assets” sub-menu on the top left (which took me a while at first to find):

You can add the media by dragging and dropping from your desktop onto this area. If you drag a folder from your hard drive, Premiere Elements will also keep the folder structure in tact; which is neat. There is a quick hide audio/still image/video option to quickly filter your media. You can also search and remove the media on the same window.
Adobe Premiere Elements 11 has 2 editing environments: Quick and Expert. The Quick mode is for those who just want to do some quick basic editing (such as trimming, adding titles, setting the video transitions, and such). However, I’d recommend going for the Expert mode and try to learn the bits and pieces there. It will be more rewarding at the end as you have more controls with your clips and what you want to do.
If you are feeling lazy or simply don’t have the time to create your own masterpiece, you can use Premiere Elements 11 InstantMovie feature to automatically create the movie for you, given the clips and all that. There are lots of movie themes to pick which can be downloaded and used for free, but to be honest I find them a bit too cheesy:

Normally, the tedious process in combining all the movie clips you recorded is to trim the unusable parts such the one that are shaky, dark, or out of focus. This tedious and hideous process can be made easy with Premiere Elements Smart Trim feature. It can smartly detect the not-so-good parts in a movie clip so you can trim them out easily if you like.

Once analysed, the Smart Trim feature will mark the part of the clips that are deemed as not so good. You can click on them to find out why they are marked as not-so-good clips. However, I do find that the Smart Trim is a hit-and-miss. Sometimes I think it is too sensitive and can be misleading (though this setting can be adjusted). For example, sometimes it marks a clip as Blurred, where we actually wanted to focus on a particular actress in our movie at the background.

You can also adjust a movie clip’s color, lighting, and a few other bits and pieces from the Adjustments menu:

To export and share your video, you can go to the “Publish + Share” menu on the top right where you can select where to export your final movie to:

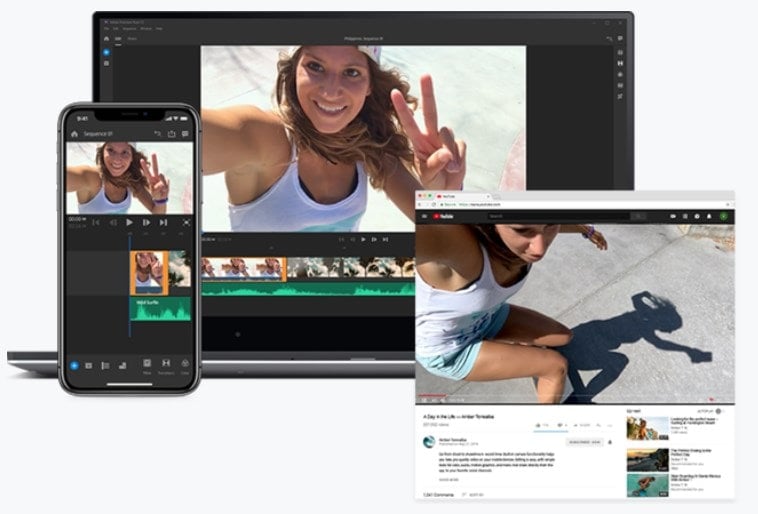
Adobe Premiere Elements 11 supports publishing and uploading to Facebook, YouTube, and Vimeo:

The export settings are made simple, thanks to the Presets (which is great for those who don’t understand about video publishing jargons such as frame rates or to pick on the quality).
Adobe Premiere Elements 11
There are plenty of automated functions to help you create your movie in Premiere Elements 11. For the best result, however, it is much better to do things manually so you can completely control the mood, the length, and most importantly, the story that you want to tell through your video. There are definitely some learning curves to get your ways around the new Premiere Elements 11, but if you don’t want to go for the Pro, than the Premiere Elements can still do great things for you.
Things are actually made easier and more intuitive in Adobe Premiere Elements 11. Newcomers should definitely grab this version of Premiere Elements 11.
Rating by Michael Aulia:
![]()
![]()
![]()
![]()
![]()
Note: Adobe Premiere Elements 11 review license was provided for the review