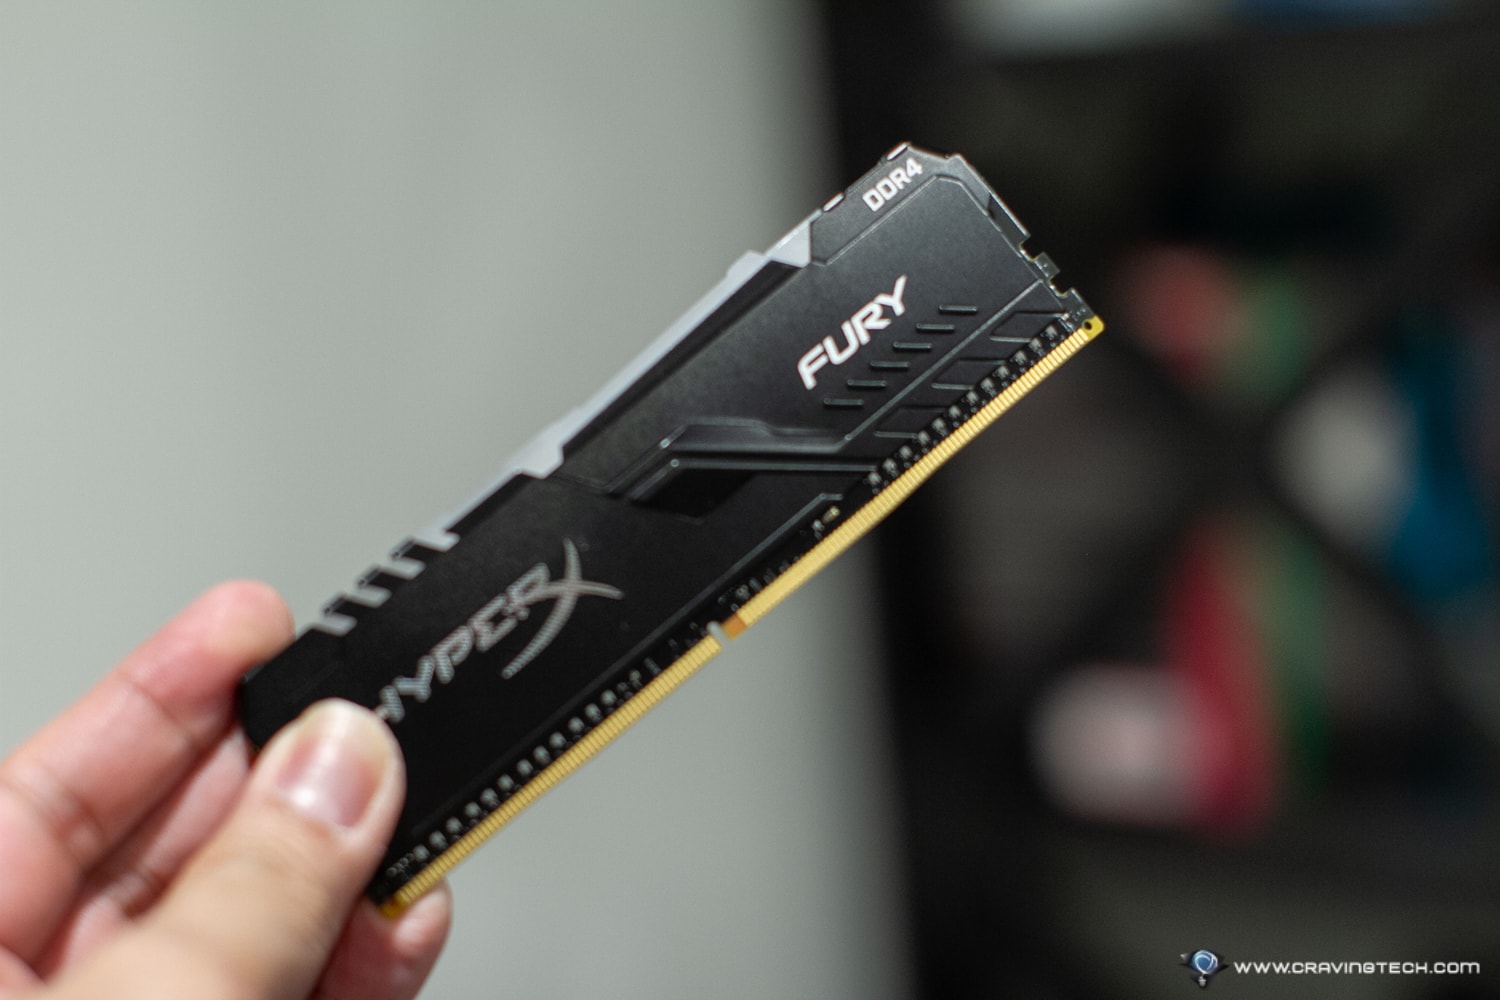
HyperX FURY DDR4 RGB Review – Fast, plug-and-play RAMs with stable performance and shiny LED lights. What else does a PC enthusiast want? Even if you are not a PC enthusiast, having high performance RAMs in your PC without any overclocking knowledge & skill is the dream.
HyperX’s latest DDR4 memory, the HyperX FURY DDR4 RGB, offers impressive lighting to the popular HyperX FURY series and it’s also Intel XMP-Ready.
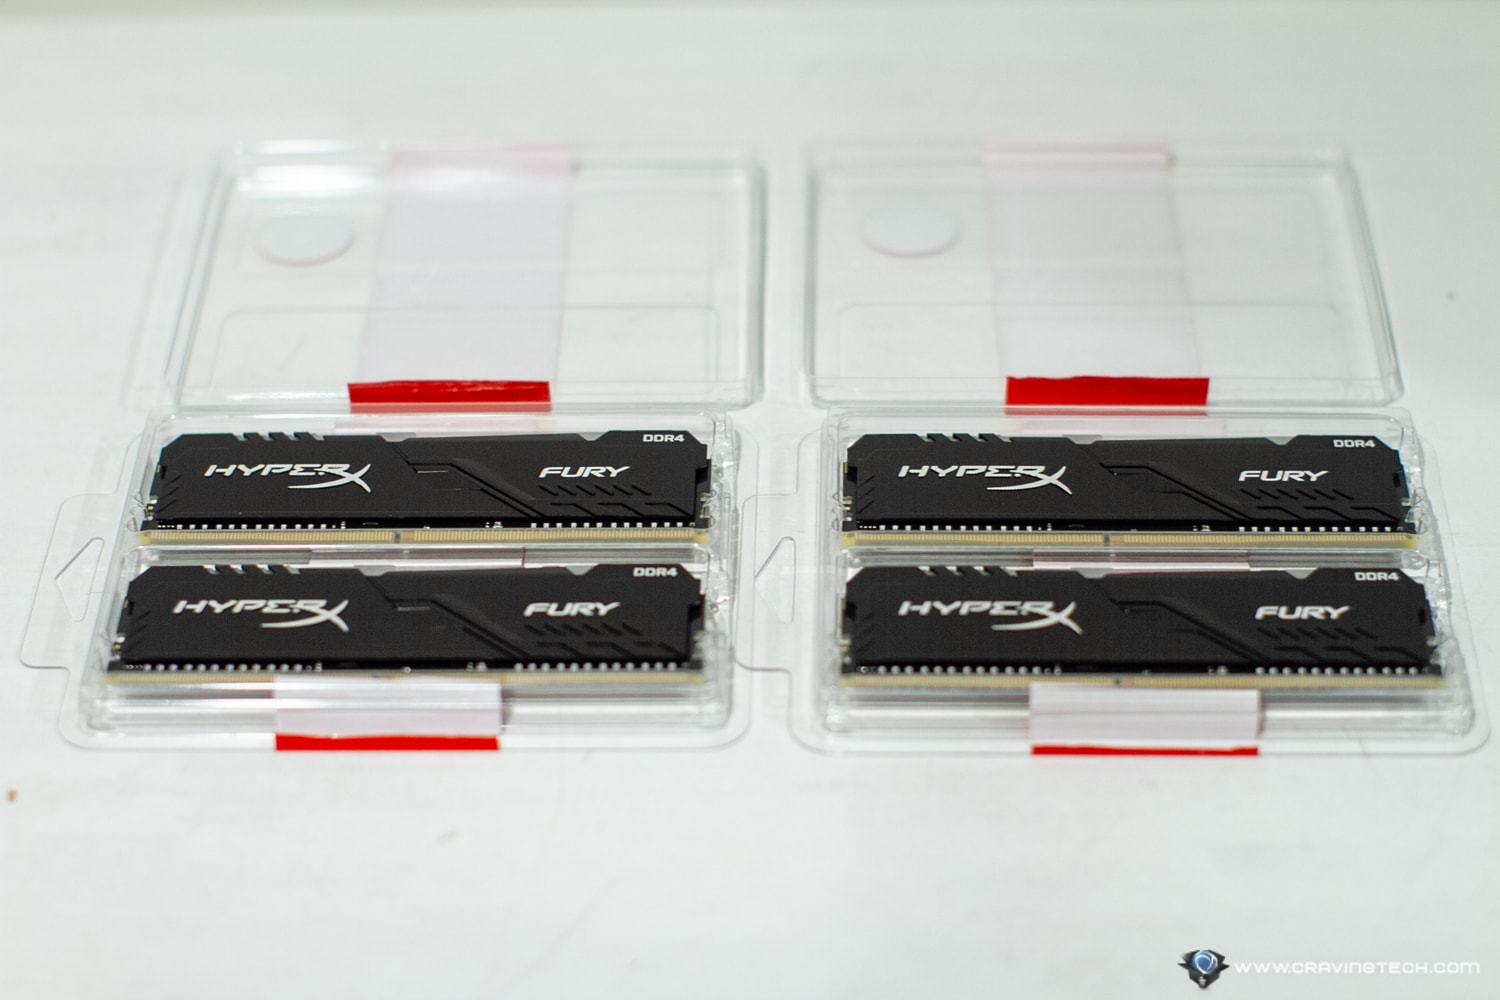
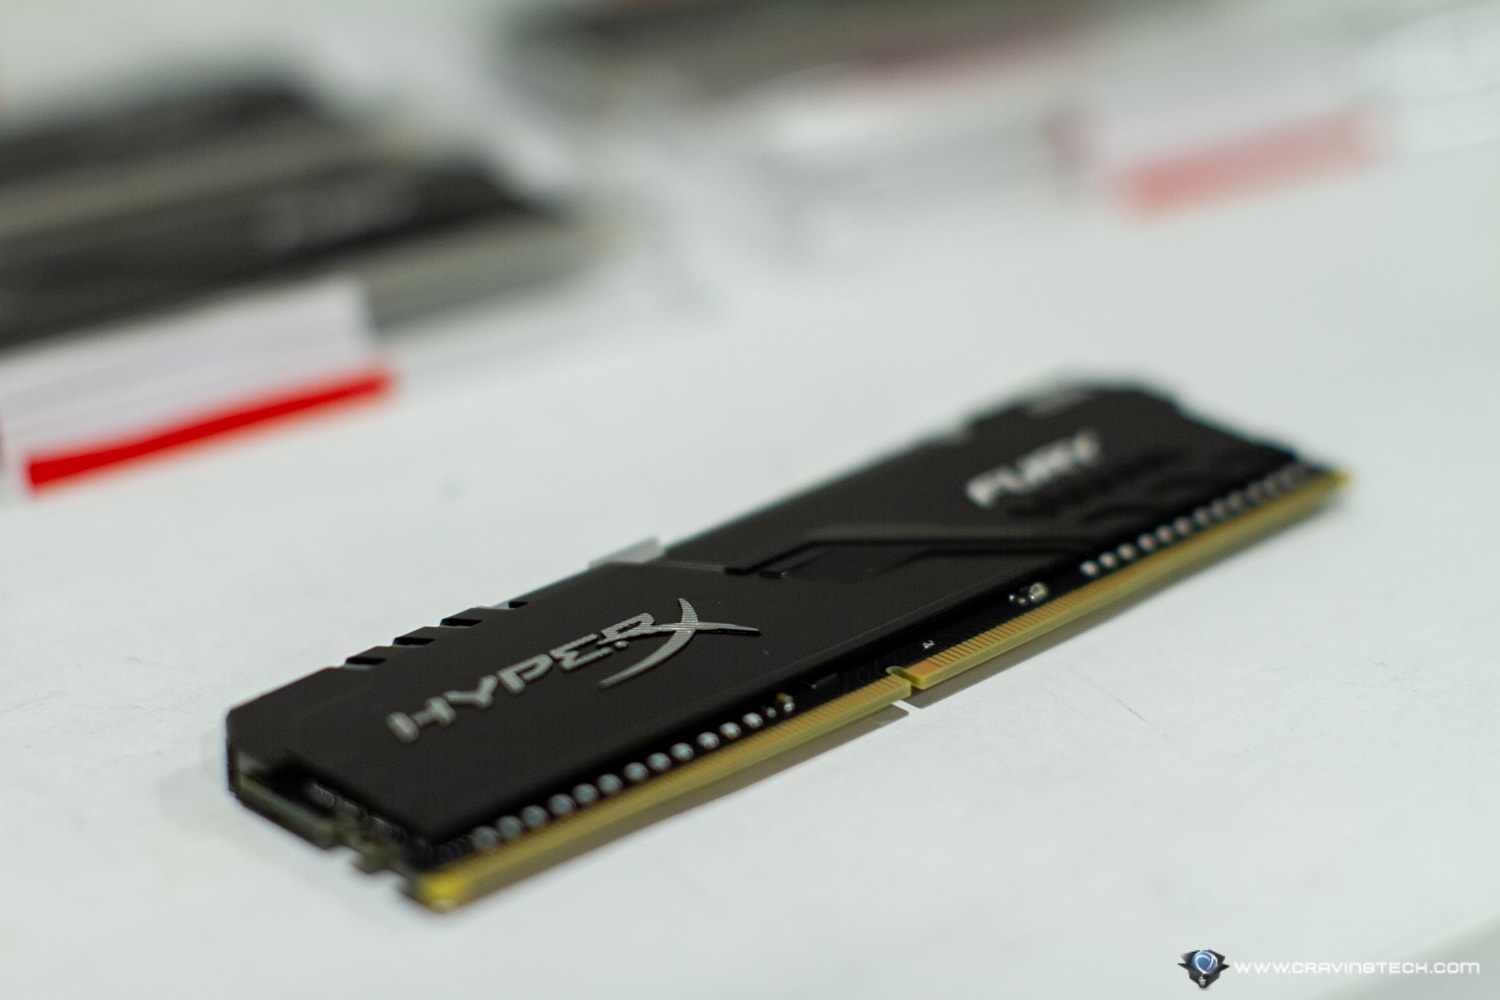
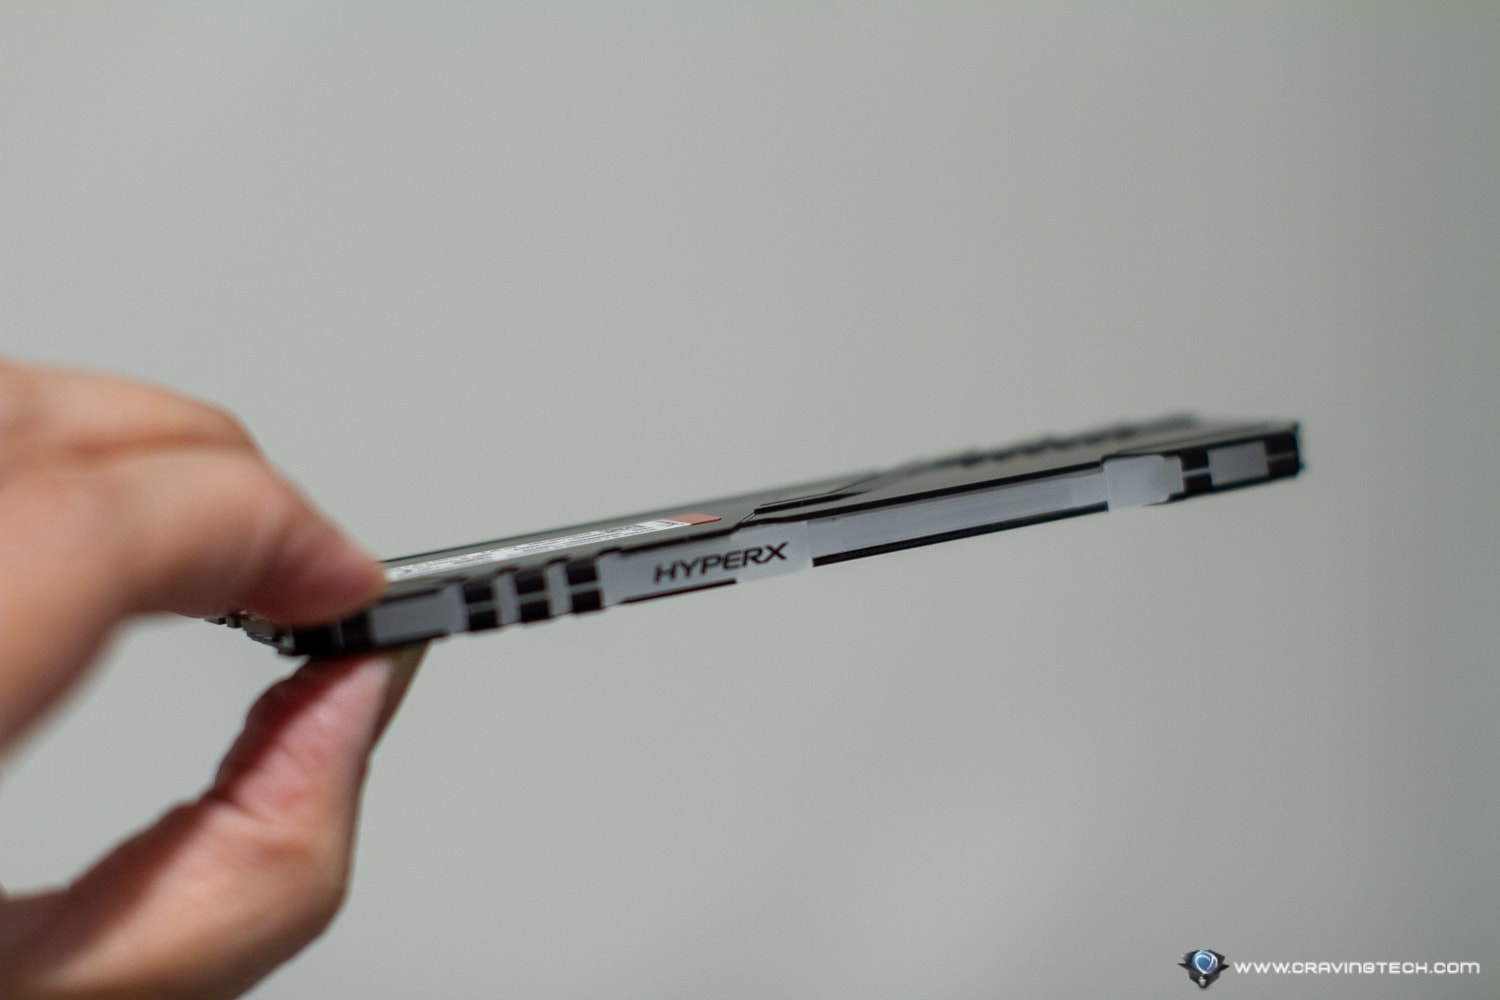
While the HyperX Predator that I installed previously in my Intel Skylake Gaming PC offers the best of the best performance for hardcore overclockers, the FURY is a perfect balance between budget and performance aimed towards home gamers like myself. It also has a low-profile design.
HyperX FURY DDR4 RGB looks pretty stylish and thanks to the RGB lighting support, it will showcase your PC build even more – assuming you have a see-through case. The RGB lighting is highly customisable and can be synced to many supported motherboard from different brands like ASUS, GIGABYTE, MSI, and ASRock. By default, the LED will cycle through different RGB colours but this behaviour can be changed.
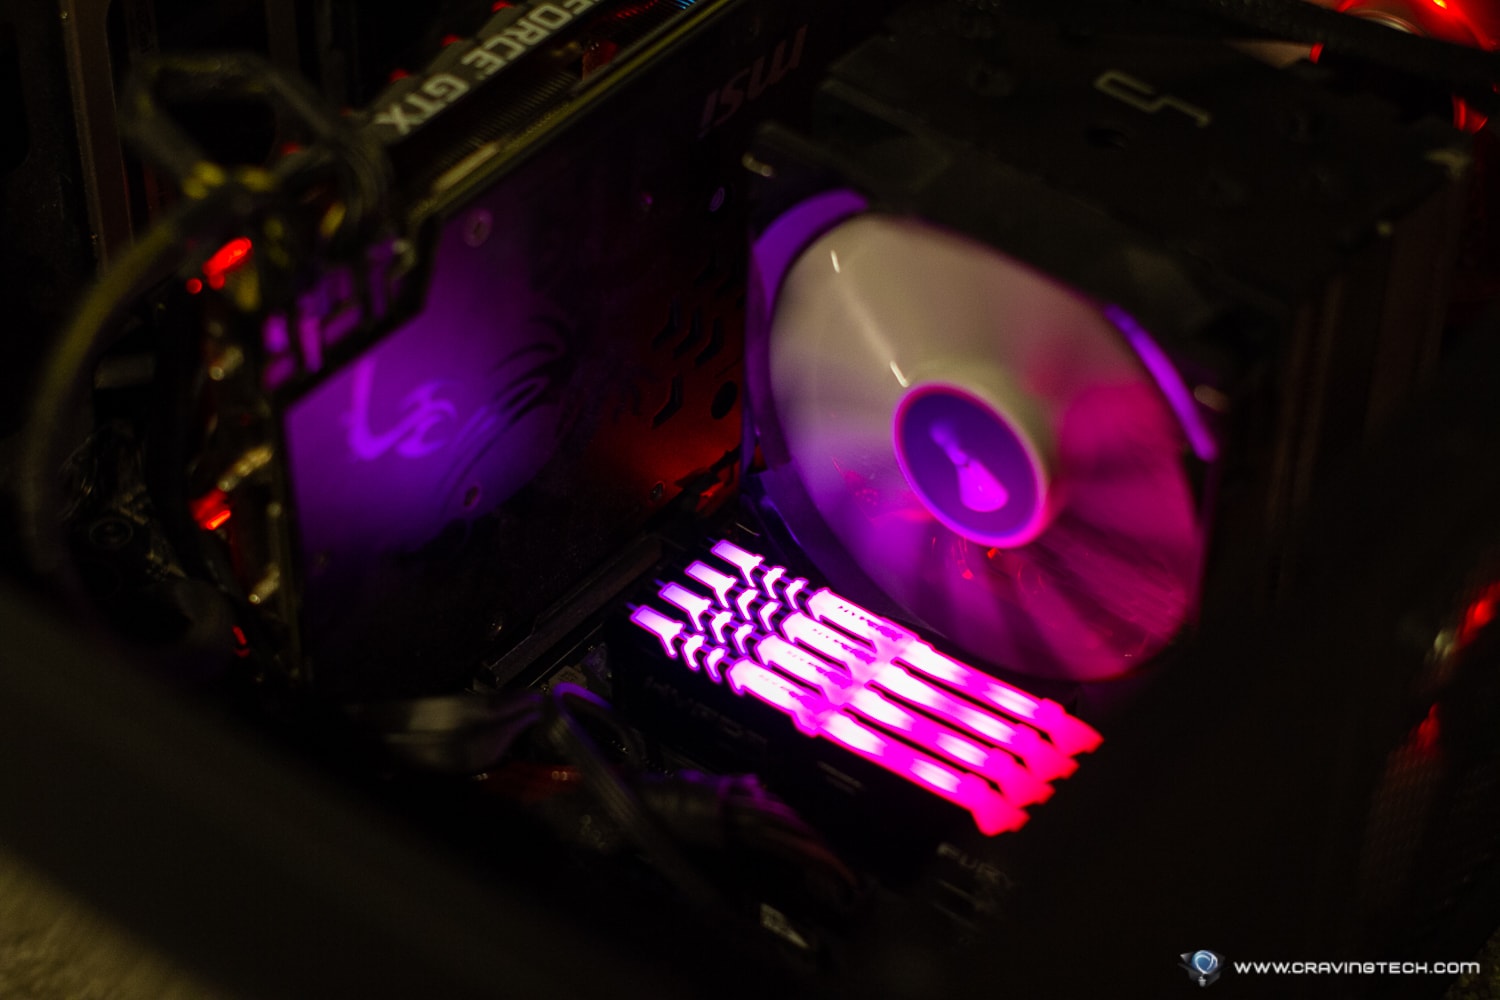
If you download HyperX NGENUITY (Beta), you can further personalise the RGB effects. The lights can be changed to a variety of options like Solid, Breathing, Rainbow, Heartbeat, and more.
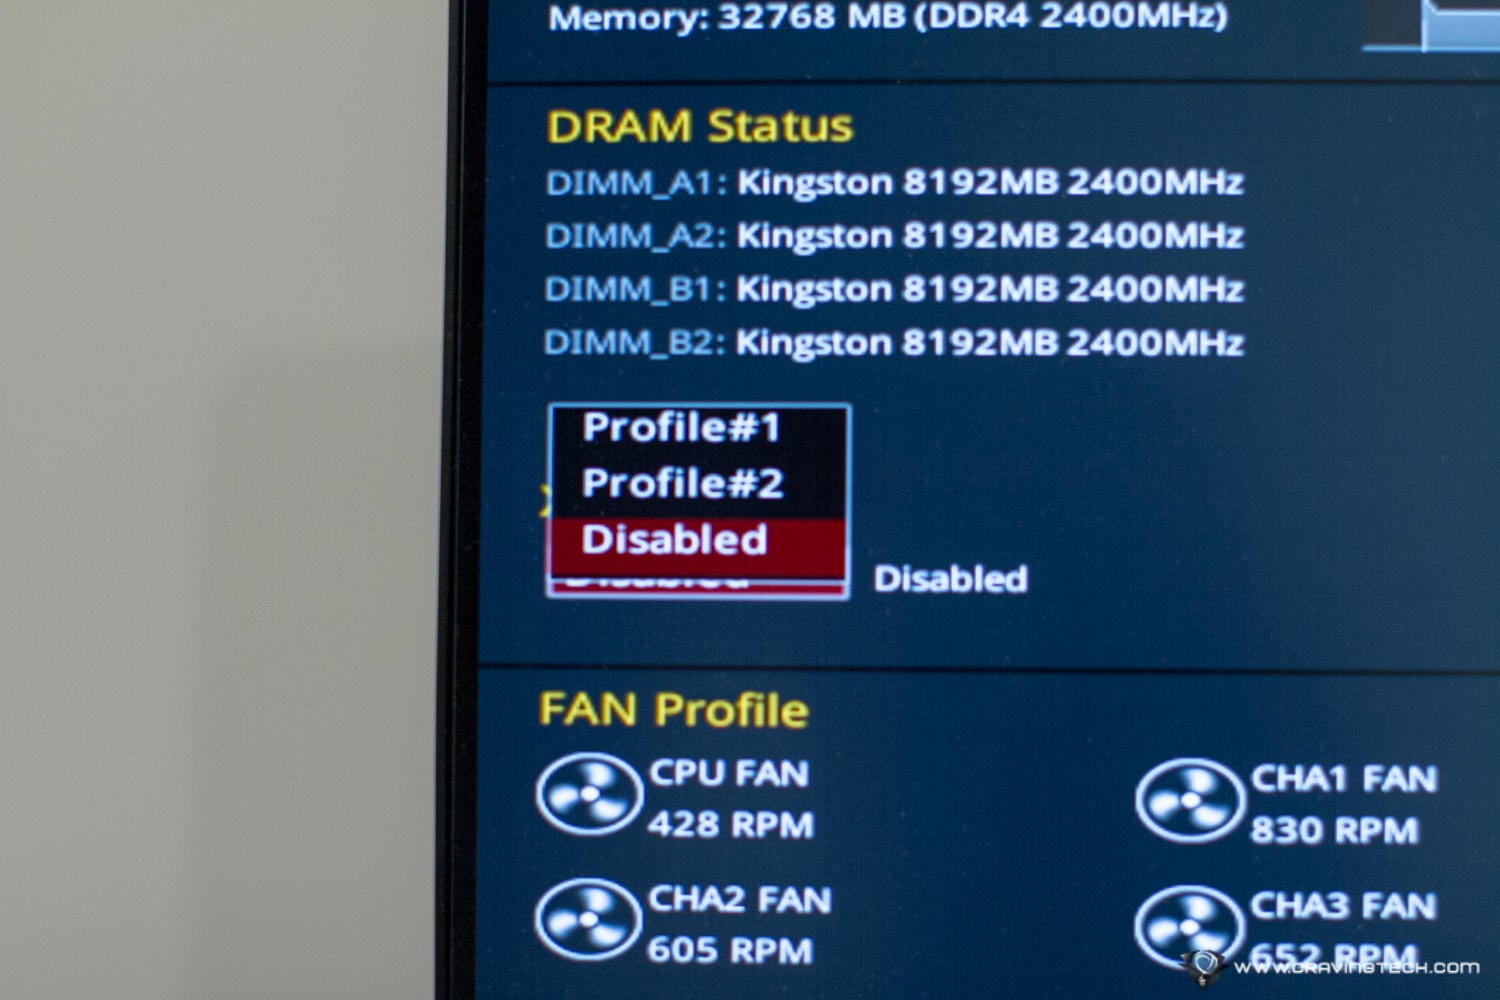
But you don’t want to spend hundreds of dollars just for a lightshow alone. HyperX FURY, thankfully, supports auto-overclocking through an easy Plug N Play upgrade system. Just plug the RAMs, select the preset XMP profile on your motherboard’s BIOS (if you are on Intel), and voila! The FURY will also work on AMD Ryzen system – which I’ll be building soon.
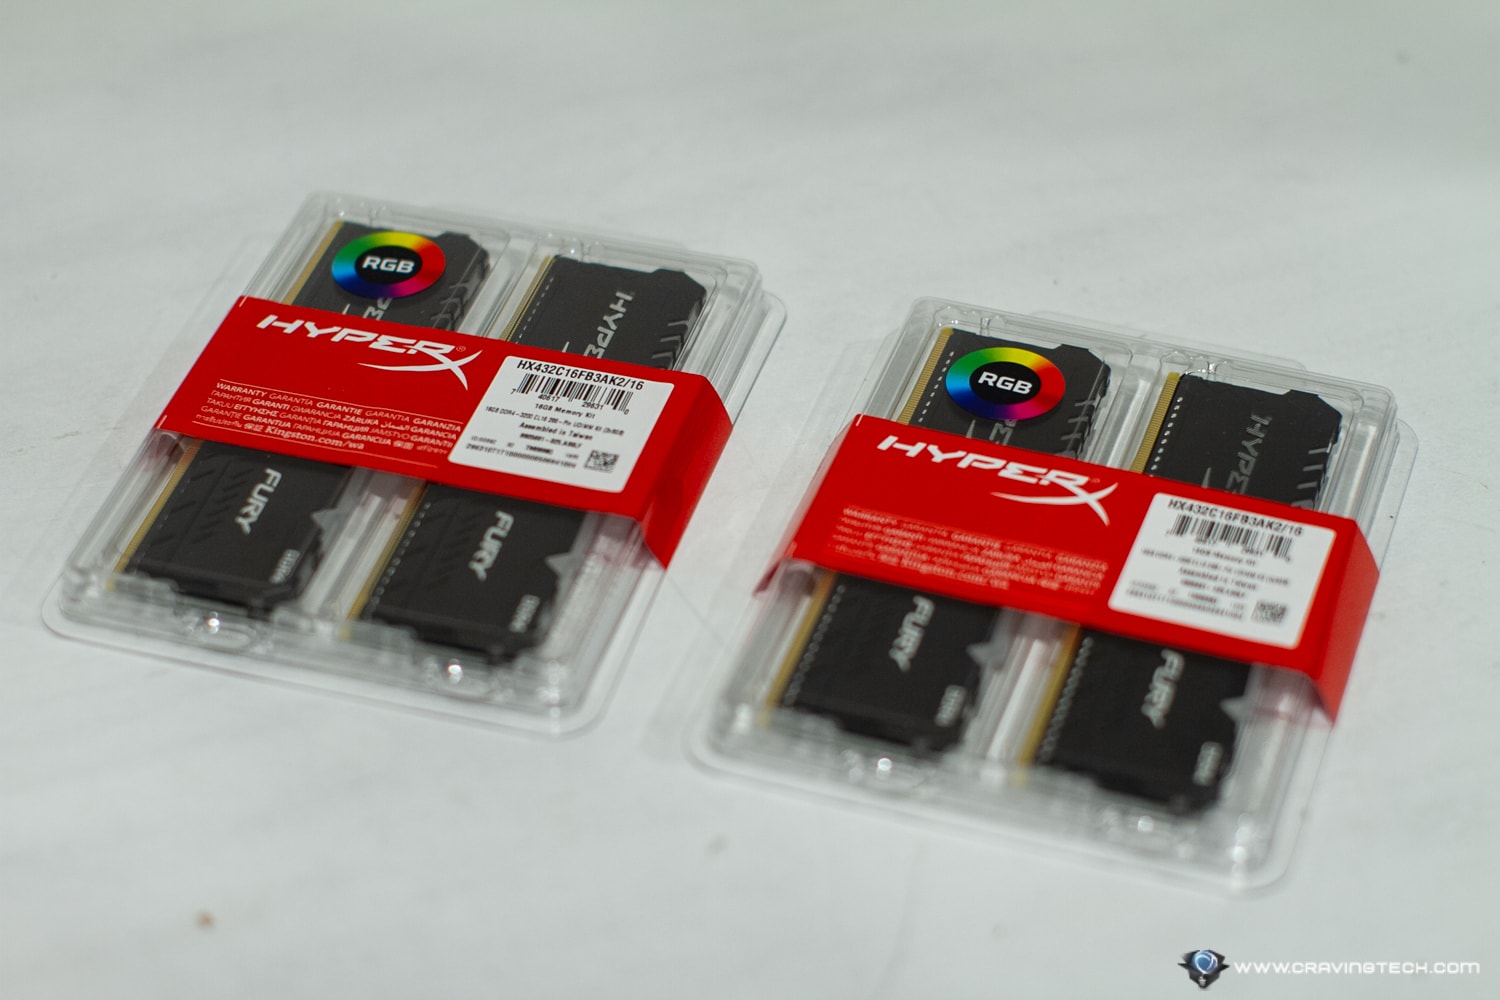
The models I have here to review are the HyperX HX432C16FB3AK2/16 kits. Each is a kit of two 8GB DDR4 (16GB each kit). HyperX kindly offered me 2 kits to review – which gives me 32GB of RAM in total.
It’s a DDR4-3200 CL16 288-Pin DIMM Kit and has been tested to run at DDR4-3200 at a low latency timing of 16-18-18 at 1.35V.
It comes with these XMP Profiles:
- Default (JEDEC): DDR4-2400 CL17-17-17 @1.2V
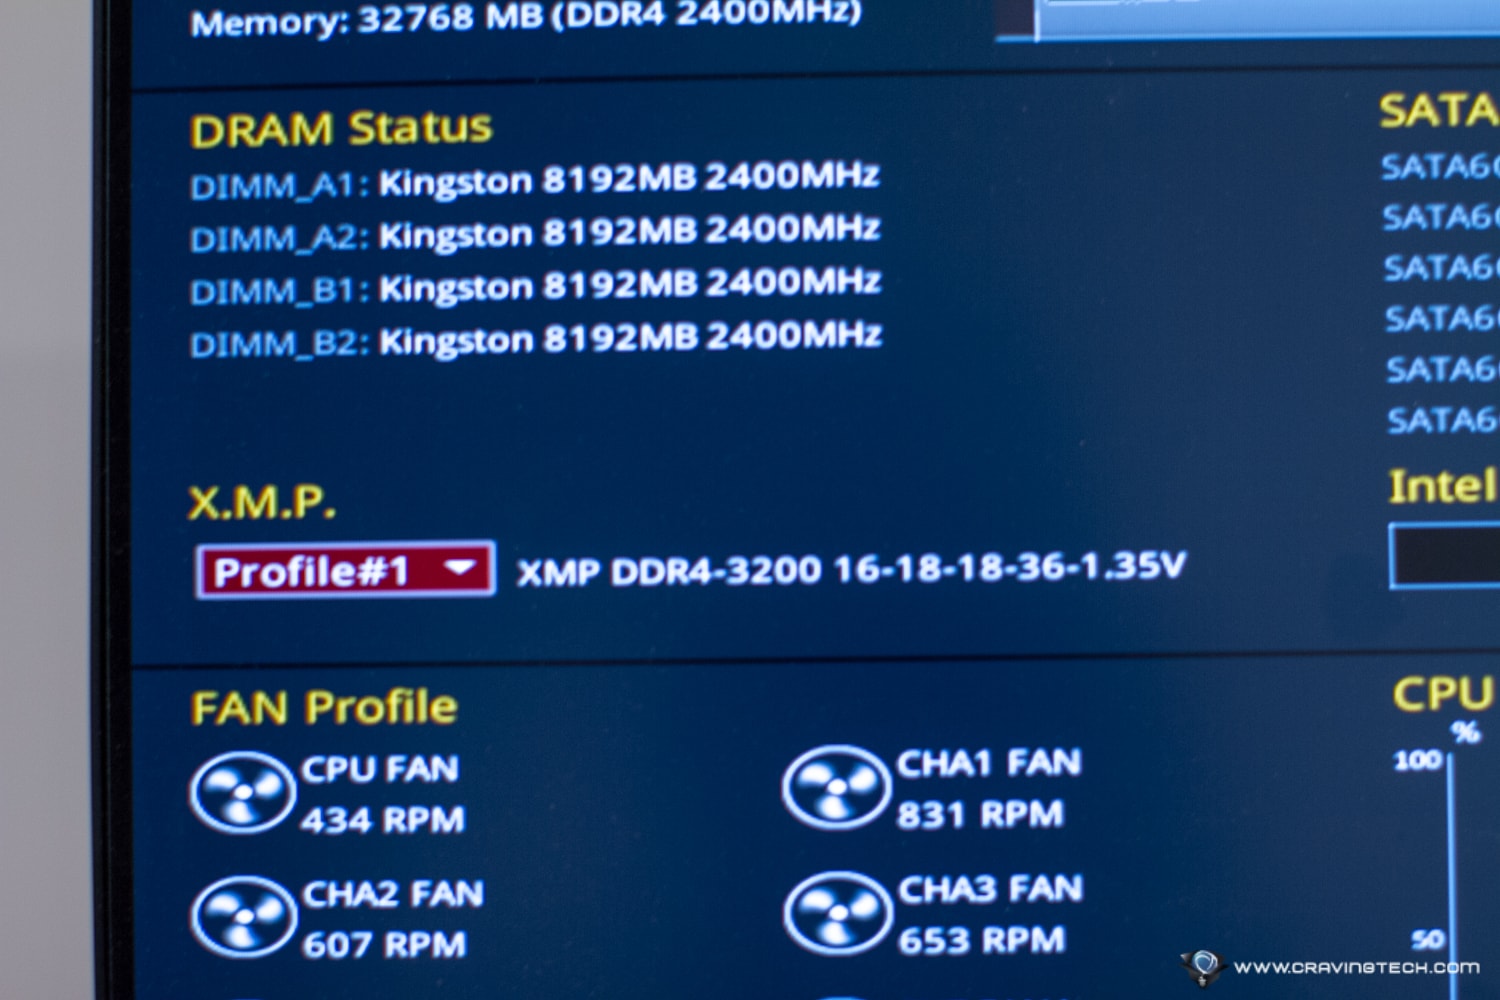
- XMP Profile #1: DDR4-3200 CL16-18-18 @1.35V
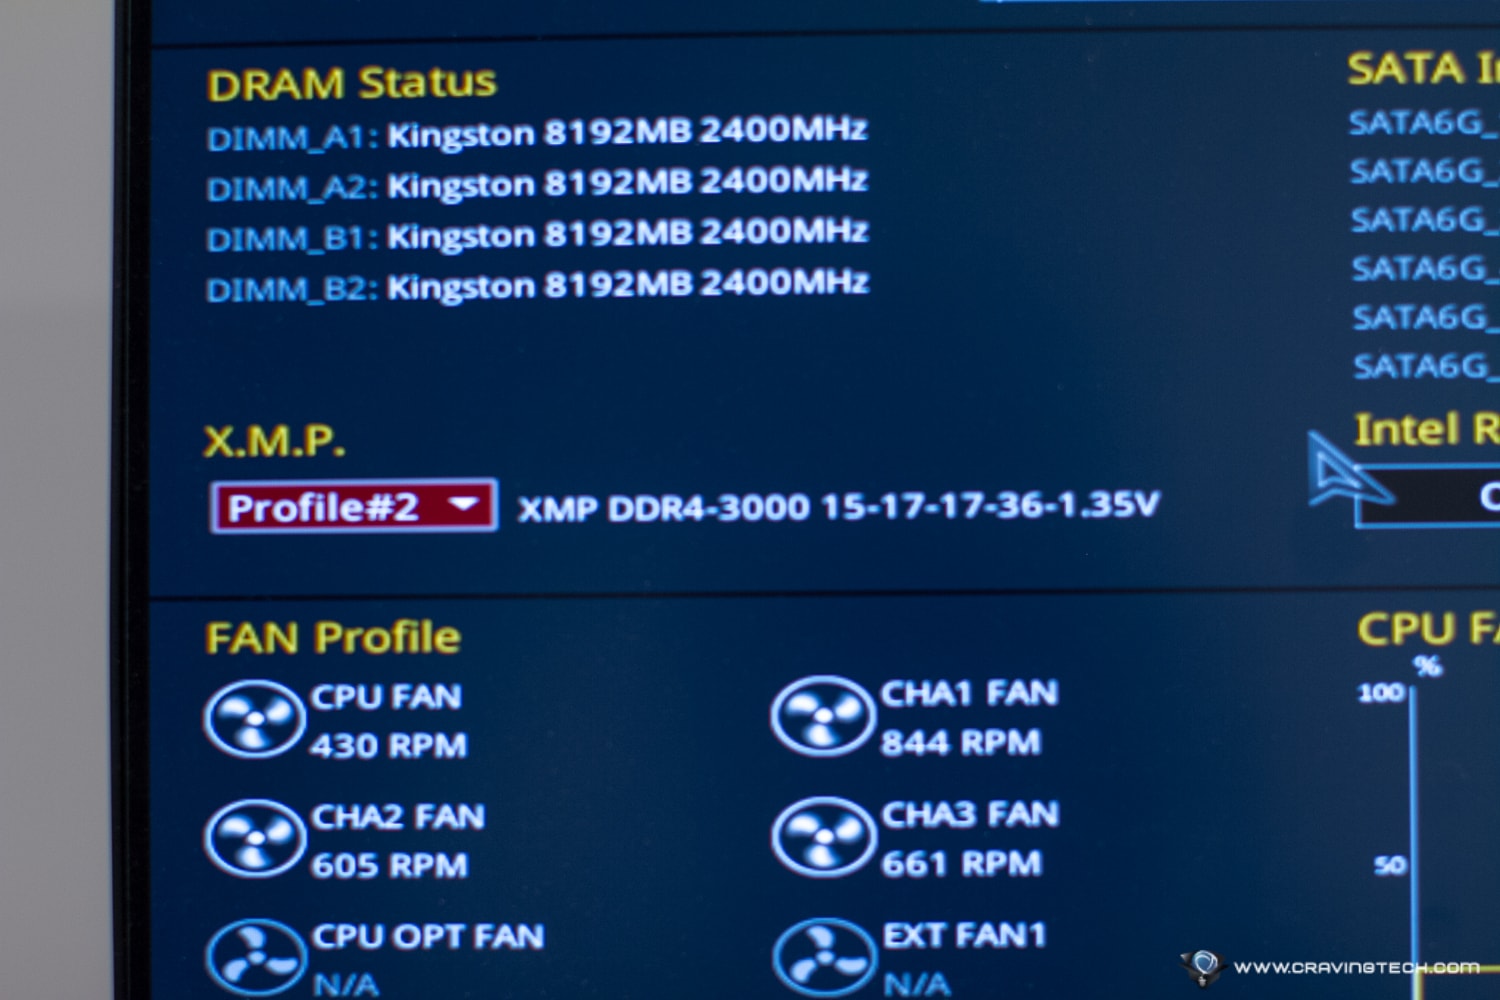
- XMP Profile #2: DDR4-3000 CL15-17-17 @1.35V
So in a nutshell, these HyperX FURY DDR4 come with DDR-2400 but by flicking a switch on your BIOS, you can get increased speed instantly through the overclocking presets. You simply select a new profile and that’s it – there is no need to tweak voltages and other settings. It’d just work.
I tested both XMP Profiles and the machine ran fast and stable. The increased read and write speed certainly make games loading faster, among other memory-heavy processing tasks like photos and videos editing.
Profile #2 (DDR4-3000) AIDA64 benchmark:
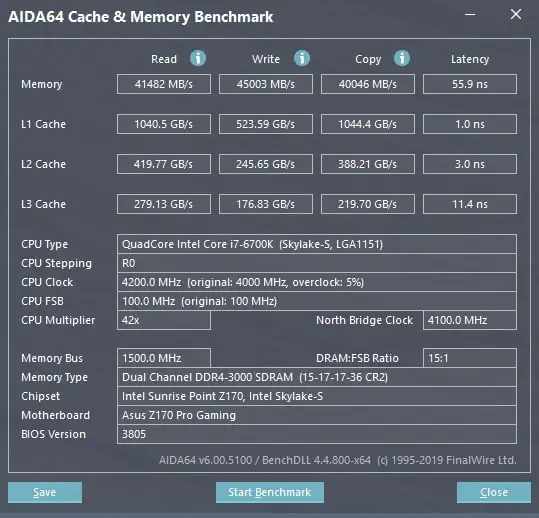
Profile #1 (DDR4-3200) AIDA64 benchmark:
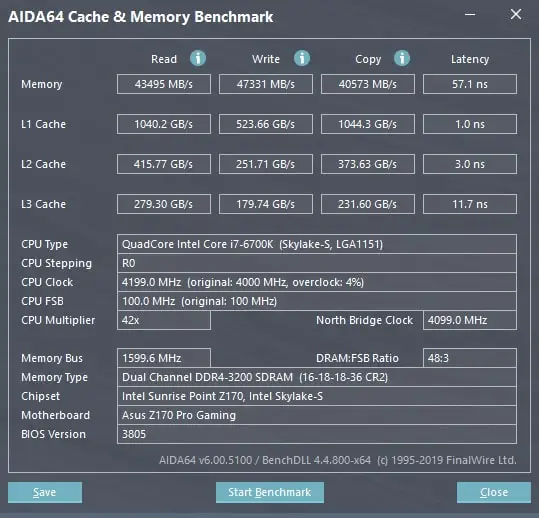
In the end, I keep the setting to XMP Profile #1 because hey, who doesn’t want their machine to be as fast as possible? Thanks to the RAMs heat spreader, I’ve also never encountered overheating issues while testing the overclocked RAM in my main gaming PC. Note that I don’t even have liquid cooling or fancy solutions installed in my computer (except running the CORSAIR ML-140 PRO fans).
For the past week or two, I’ve played Overwatch, Borderlands 3, and Left 4 Dead 2 without any crashes. Other non-gaming activities include editing my review photos with Adobe Lightroom and Luminar 3, plus video editing with DaVinci Resolve Studio.
Everything was buttery smooth and again, with the overclocked profile, the machine was always stable and I’ve never had crashes or freezes.
HyperX FURY DDR4 RGB Review Conclusion
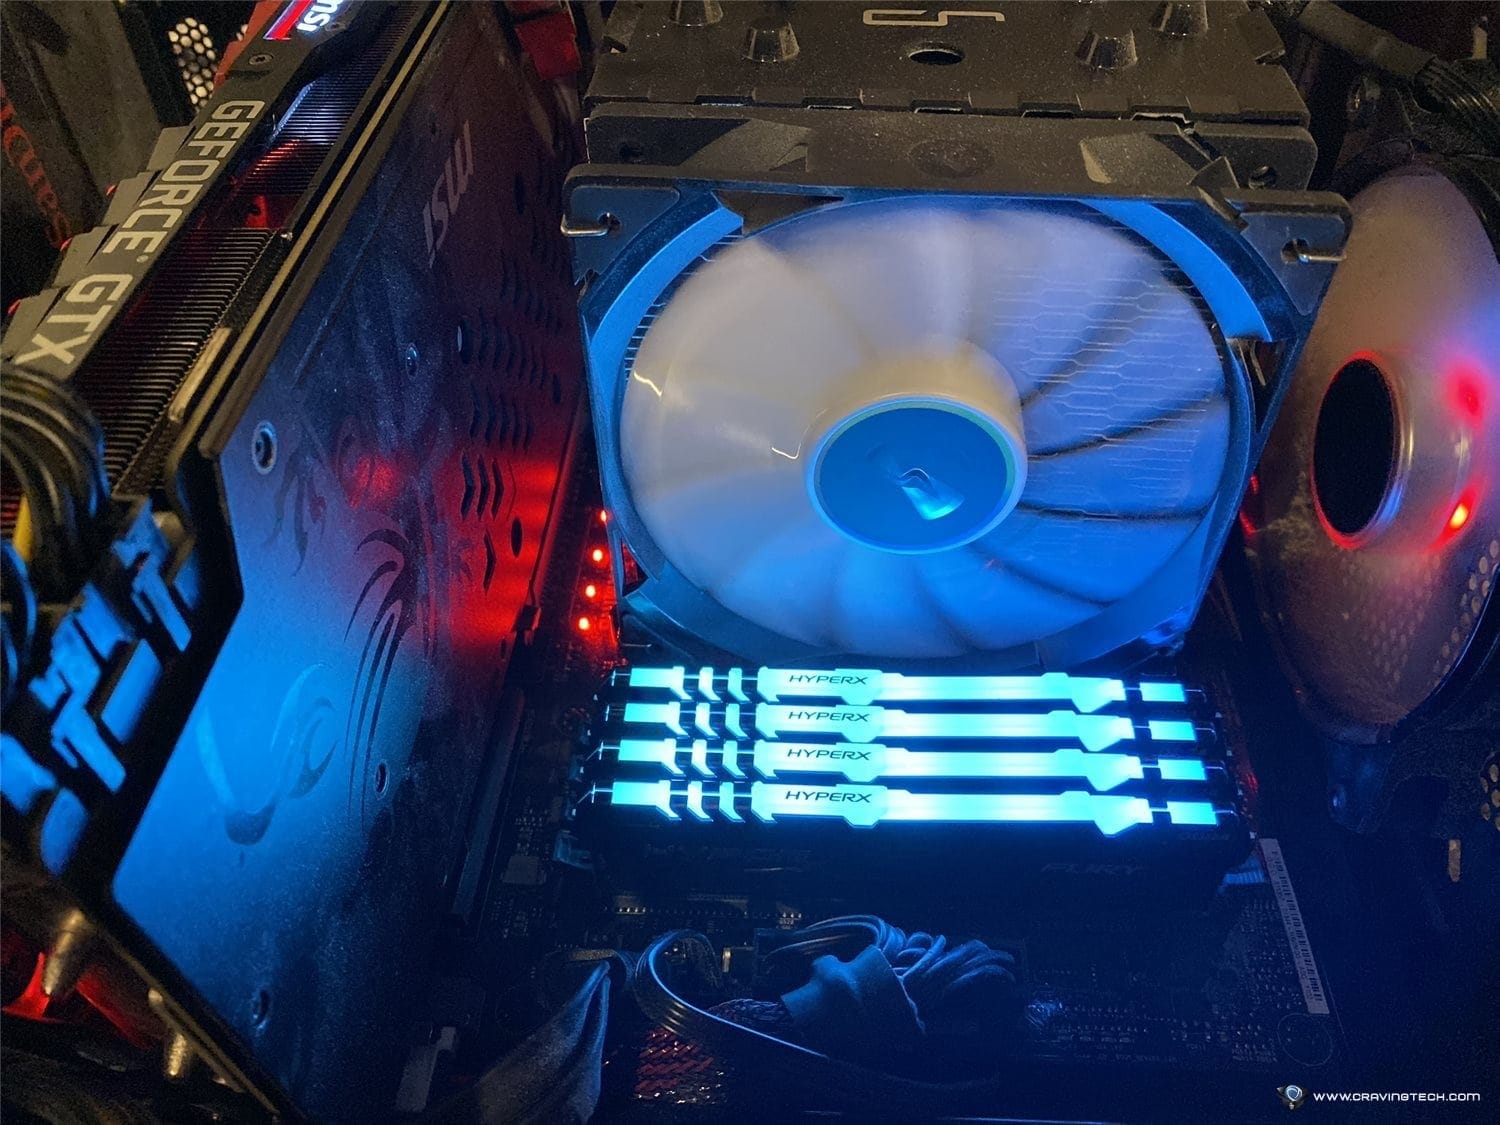
For most gamers and PC owners who don’t really know how to overclock (or not comfortable doing it), the HyperX FURY DDR4 RGB offers a simple plug and play overclocking, and you can reap the speed rewards without breaking a sweat, literally.
If you like to showcase your build with amazing lights but also want to make the most out of your RAMs easily & safely, make sure to grab these HyperX FURY DDR4 RGB!
Disclosure: HyperX FURY DDR4 RGB review kits were supplied for reviewing but all opinions are mine and not paid

