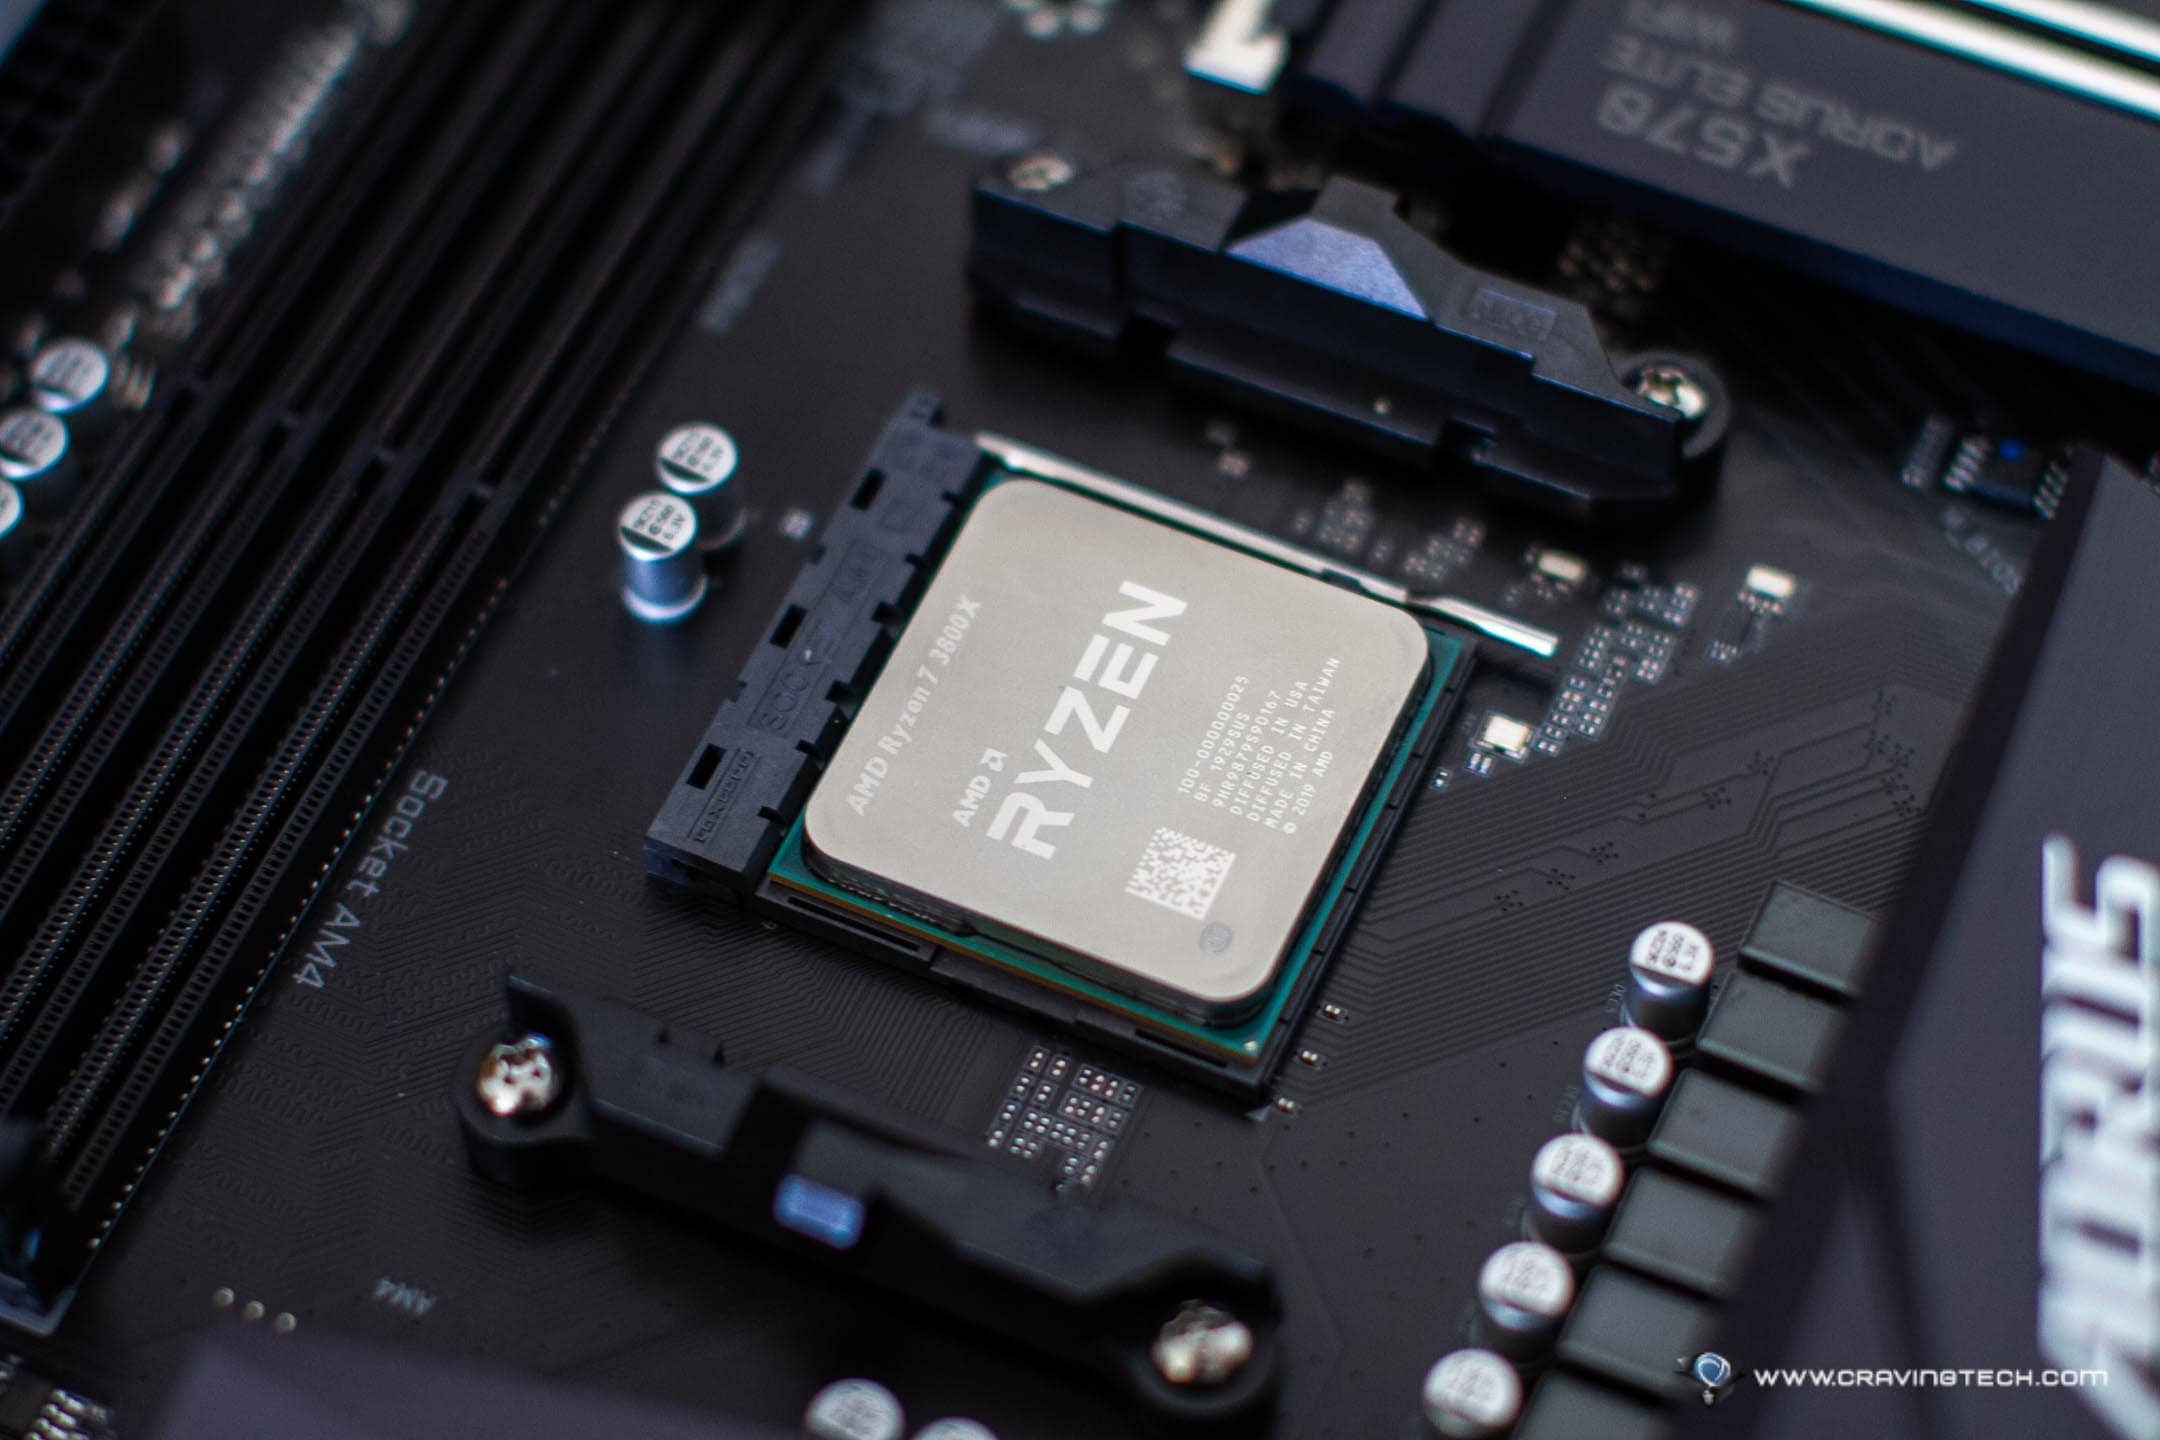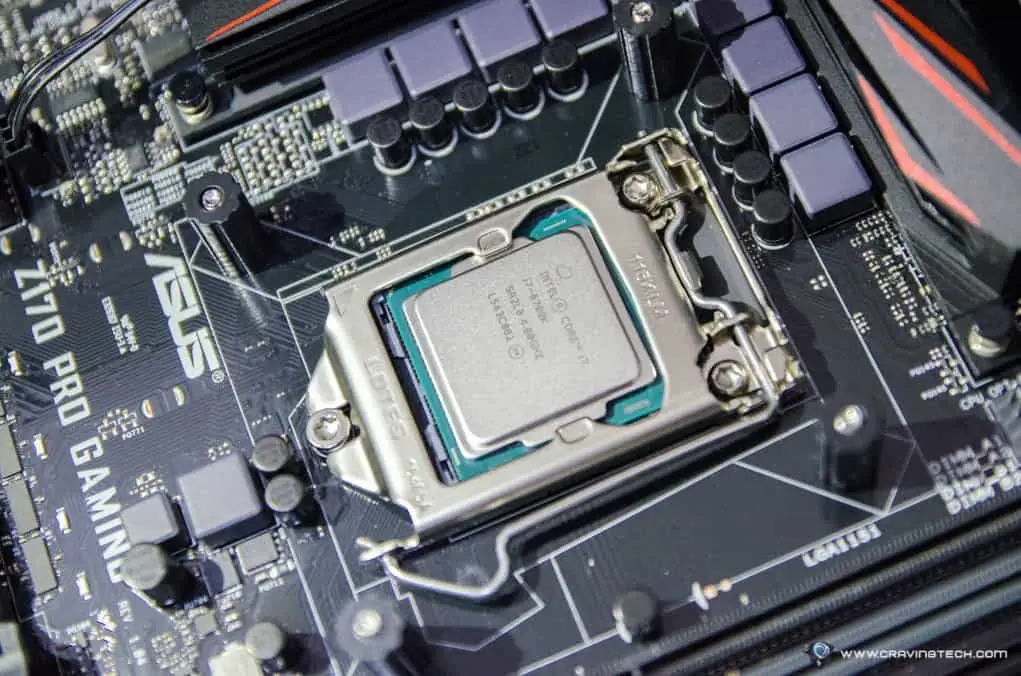
The Intel Skylake processors with the “K” (such as my i7 6700K) are meant to be overclocked. If you don’t, then you are not tapping the whole potentials of the unlocked processors.
When I wrote the article on my latest Skylake PC build, I didn’t do any overclocking, just to see how the system went without the speed boost. And it was really good: stable, fast. Even if you can’t afford to get the “K” Skylake processors, you are still in for lots of treats. However, I’ll show you how easy it is to overclock these days with the help of a software (from my ASUS motherboard), so you don’t have to know your ways around hardware to do it.
To be honest, I’m not a PC hardware guy or enthusiast, and most of you probably aren’t. You probably don’t know what liquid cooling is, or you even have no idea how to build a computer. You let a friend help you out, or buy the whole PC in a deal package from a computer shop.
Nowadays, it is easy to overclock, simply because there are lots of references on the internet that you can use (such as step-by-step guide articles or videos) and also, newer motherboard normally has its own tool to help you in the overclocking area.
Thanks to Skylake’s low power consumption, you don’t need pricey motherboard to be able to get a good overclock out of it. This lets you focus on what you really want out of the new Z170 motherboard (such as having a high-speed PCI-e SSD or Thunderbold 3.0) and save the cash that can be used to upgrade your graphics card.
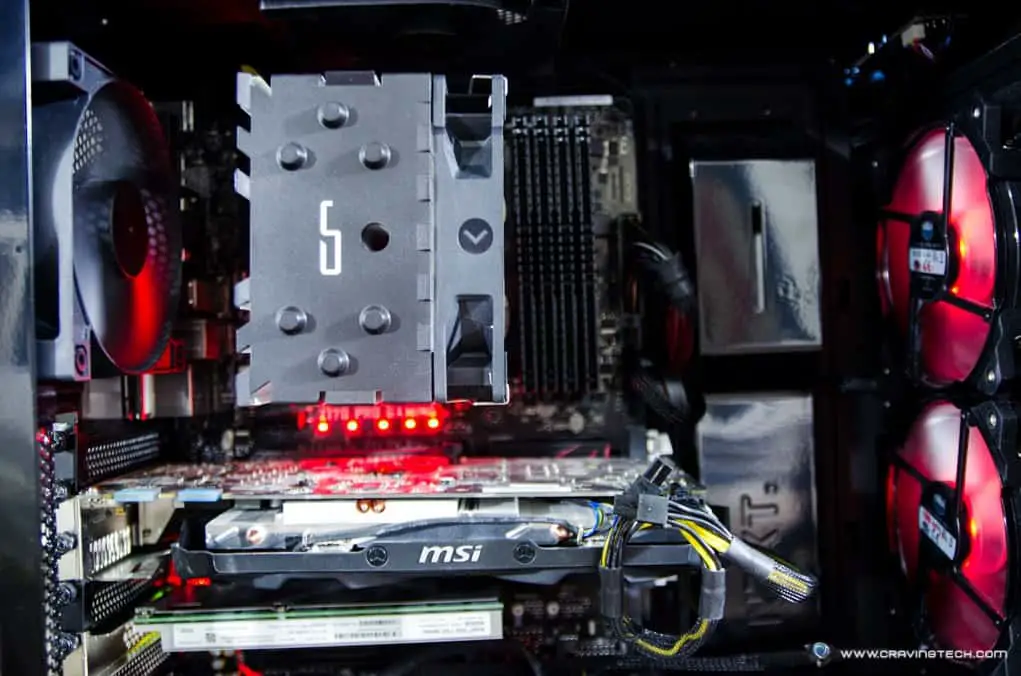
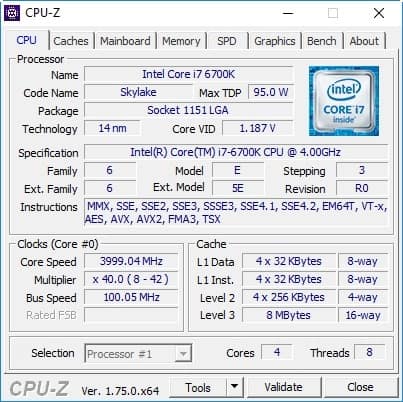
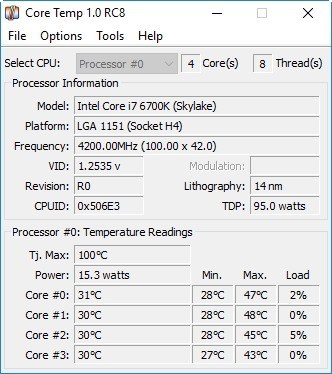
Without overclocking, here are some details of my current setup with the Intel i7 6700K running at 4000 MHz, with a Turbo frequency of 4200 MHz (4200 MHz on a single thread and 4000 MHz on all threads). I’m using the Cryorig H7 as the air cooling, a budget-friendly CPU Cooler that’s quite popularly known for its price-per-performance and can fit my NZXT S340 medium case.
ASUS AI Suite:
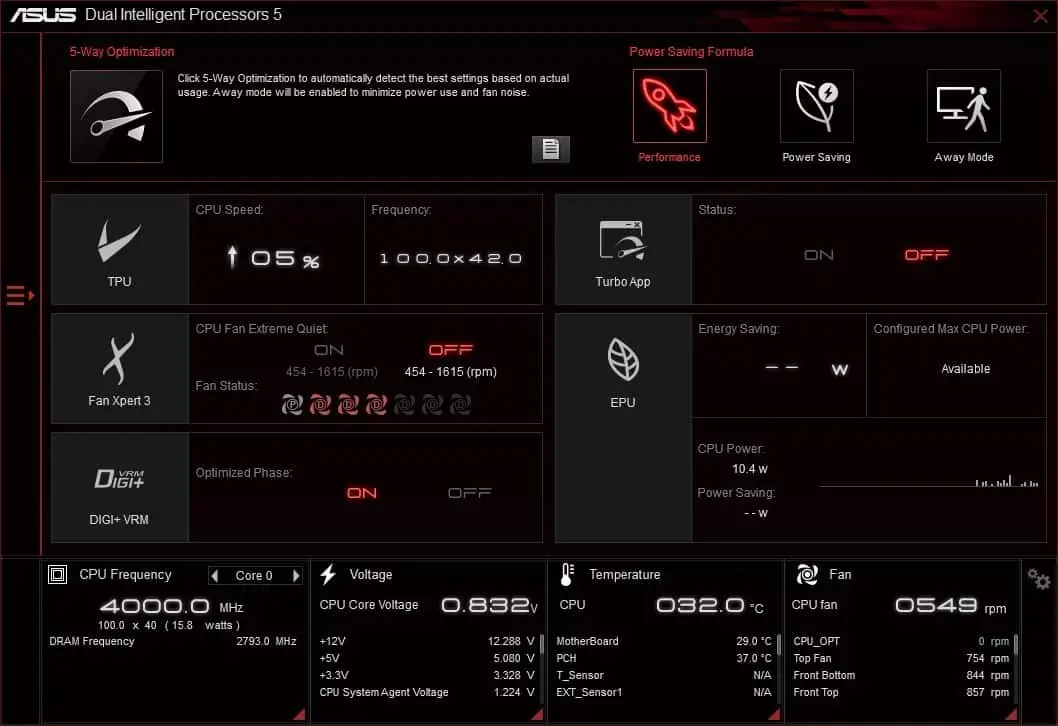
To overclock, I can either change the settings (core multipliers, voltages, etc) through the UEFI BIOS manually, or using the ASUS AI Suite software for my ASUS Z170 PRO GAMING motherboard. I chose the later, simply because most of you who don’t know how to overclock would probably pick this option too rather than having to mess around with the BIOS yourself.
ASUS 5-Way optimization will do the adjustments automatically while trying to find that perfect spot to get the highest speed possible without breaking your system’s compatibility.
The optimisations will increase the multipliers and voltages slightly with basic stress tests.
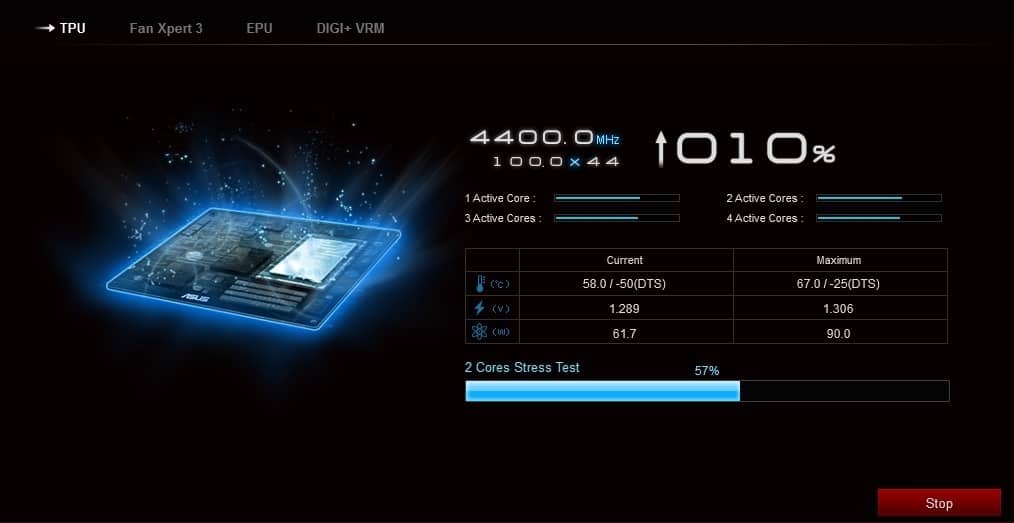
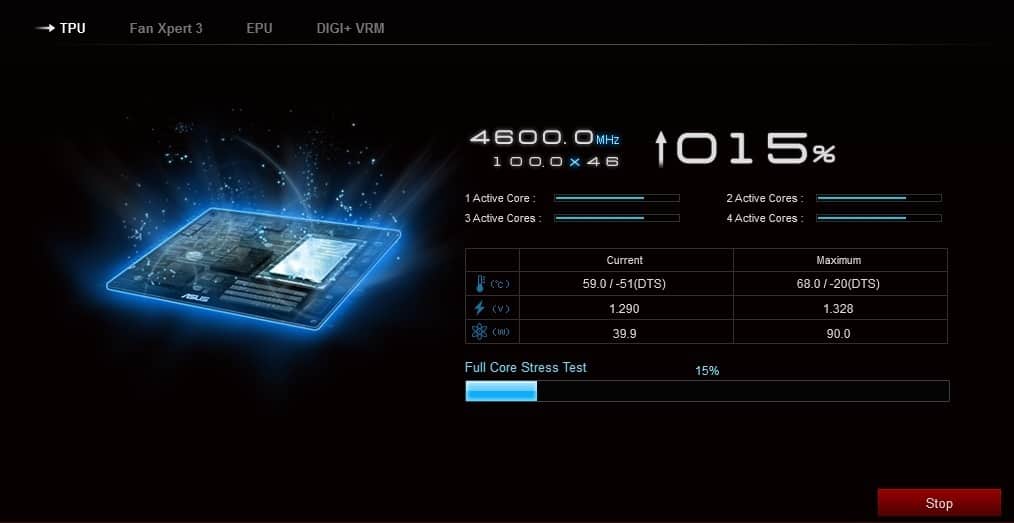
I saw the software tried to go for 4800 MHz but it auto-restarted, which I assumed the system got too unstable to continue. At the end, ASUS recommended my system to go for the 4600MHz, which is a 15% increase from the stock speed. The maximum voltage is 1.336V (if I’m not mistaken, the official documents recommend us not to exceed 1.45V). If you are doing these manually on the BIOS, you can probably get lower voltage, but I just couldn’t be bothered.
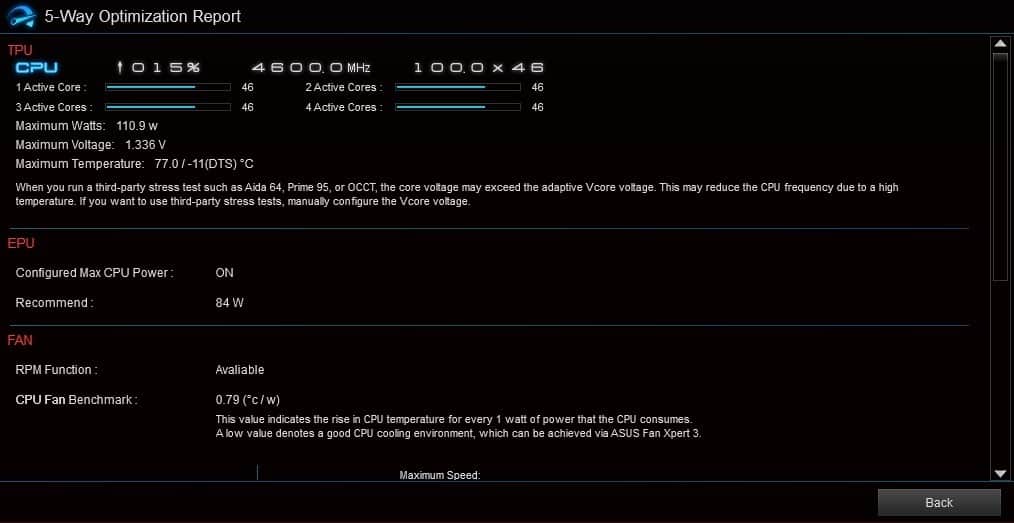
From my research online, it seems that getting 4.6 GHz is pretty much guaranteed at around 1.3V (1.32V, 1.35V) and probably the most commonly used configuration. Some can get 4.5 GHz on 1.26V and 4.6 GHz on 1.29V, but it varies.
Some are luckier enough to get more than that by squeezing more voltages or by using water cooling. Saying that, however, getting a boost from 4.0 GHz to 4.6 GHz with just an air cooling (Cryorig H7) is already quite a massive gain and for most consumers like myself, it’s good enough – more than good, actually.
If you want to run the machine overclocked all the time, make sure to select the “High Performance” option under Windows Power Plan settings. Or more specifically, if you go to the “change advanced power settings”, you should be able to see the option: Processor power management->Minimum processor state->Setting. If you are not always running a high-intensive program, running a “Balanced” option is good because the CPU will run at a lower frequency (800MHz for example, as I’m writing this article) which means lower temperature and power. It will automatically ramp up to 4.6GHz when I start running things such as playing games, launching apps, or exporting photos.
While idling at 4.6GHz (Windows Power Plan settings set to “High Performance”), the temperature does get hotter than the stock 4.0GHz but only for a few degrees. I don’t see any reasons not to overclock the processor especially if you already grab the “K” version.

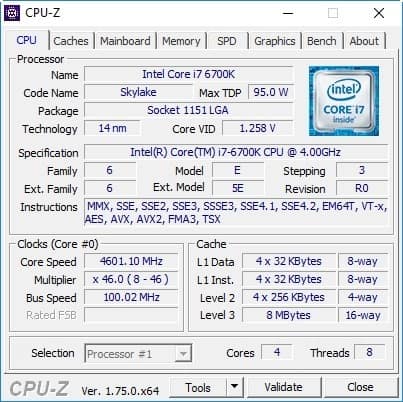
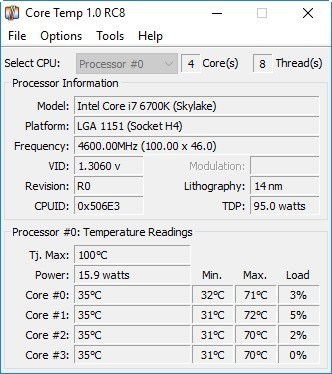
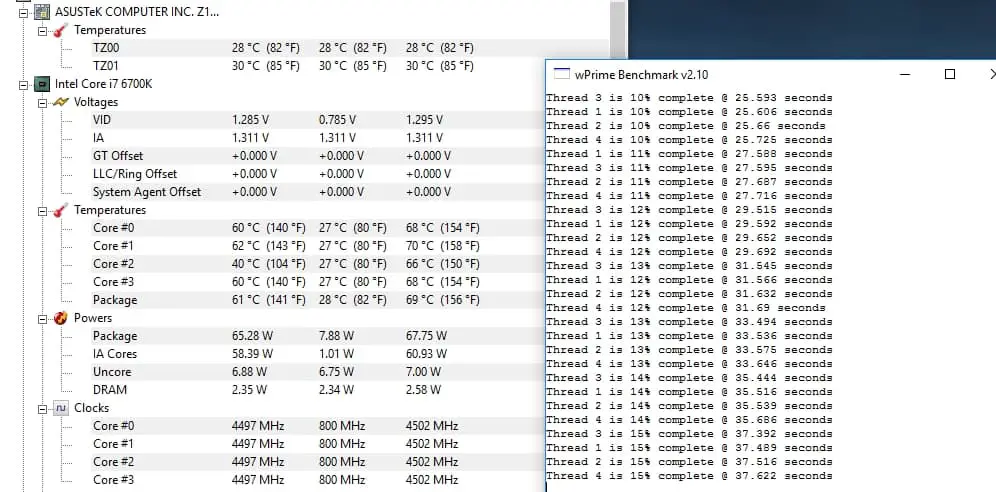
To confirm that I have a stable system, I ran a wPrime 1024M stress test (which calculates the square roots of the first 1024 million integers across all available processors).
Again, I’m not an overclocking Guru but this shows how easy it is to overclock a Skylake processor without breaking a sweat. At the end of the day, it’s still better to do it manually without relying on a software (by going to the BIOS yourself and set the multipliers and voltages). But anyone can do it, not just the PC enthusiasts or those who know how to tinker their toys. I’m now a happy chappy as it didn’t take me long at all to overclock my i7 6700K from 4 GHz to 4.6 GHz, thanks to ASUS AI Suite 3. I remember it was a pain and full of uncertainties a few years back.
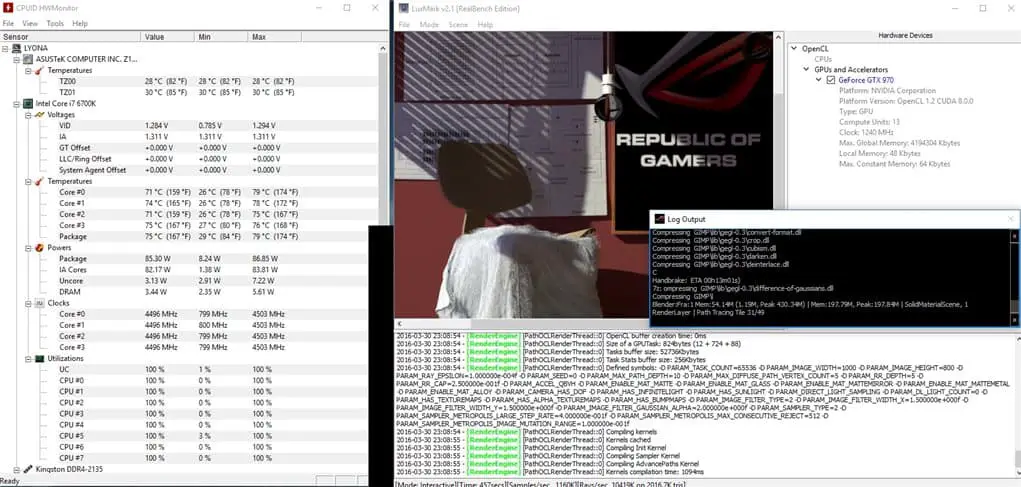
UPDATE: I’ve decided to play around manually through changing the settings directly at BIOS to get a lower voltage. At the end, I’m pretty happy with my build running stable at 4.5GHz with 1.280V at Adaptive mode. It also keeps the Core temperatures around 60-65 degrees when running wPrime stress test and 70-75 while running RealBench. This is using Air Cooling which is quite impressive, in my opinion.
wPrime:
RealBench:
Disclosure: The Intel i7 6700K processor and Cryorig CPU Cooler was supplied for the new PC Build but all opinions are mine
[AMAZONPRODUCTS asin=”B012M8LXQW”]

