Owning a dashcam has gradually transitioned from a luxury to a practical necessity, with many car manufacturers increasingly, albeit slowly, including dash cam as a built-in feature in their new models.
Ombar wants to make this technology accessible. In a market where integrated dashcams in vehicles are still a rarity, Ombar Dual Dashcam offers an affordable solution, encouraging car owners to embrace the benefits of having a reliable eyewitness on the road.
First Impression & Unboxing
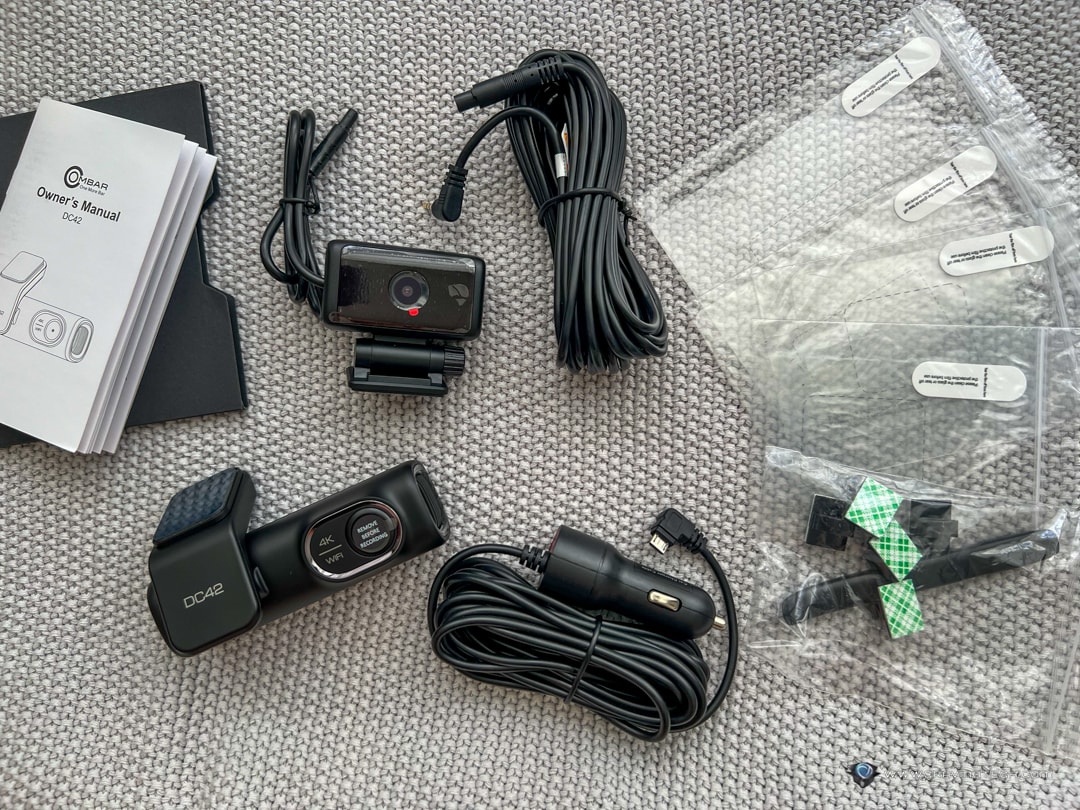
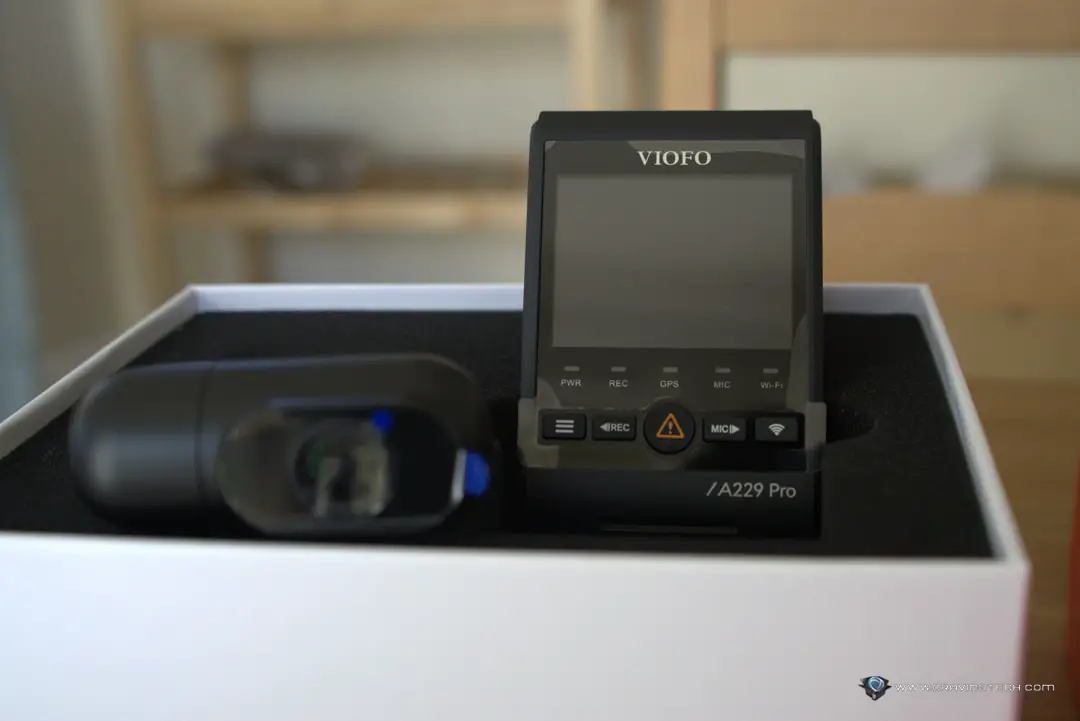
Upon receiving the Ombar Dual Dashcam, the packaging stands out with its robust carton shell, ensuring the safety of its contents during transit. The front and rear cameras are securely housed in a protective sponge container to further protect them from possible damage.
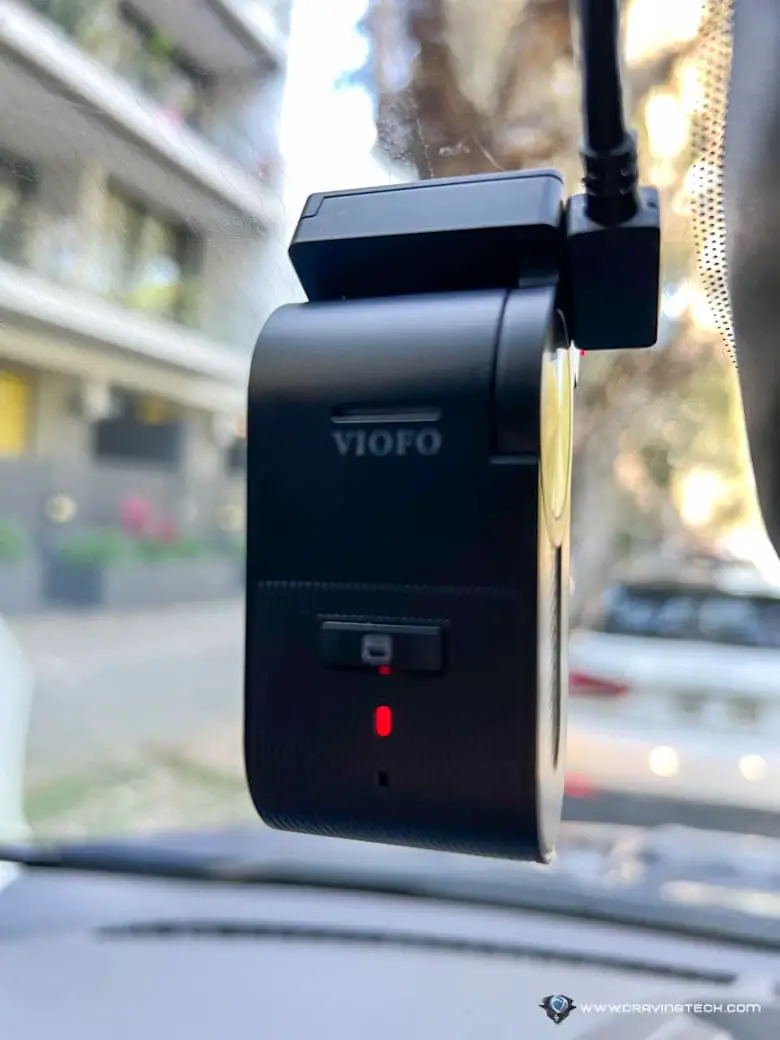
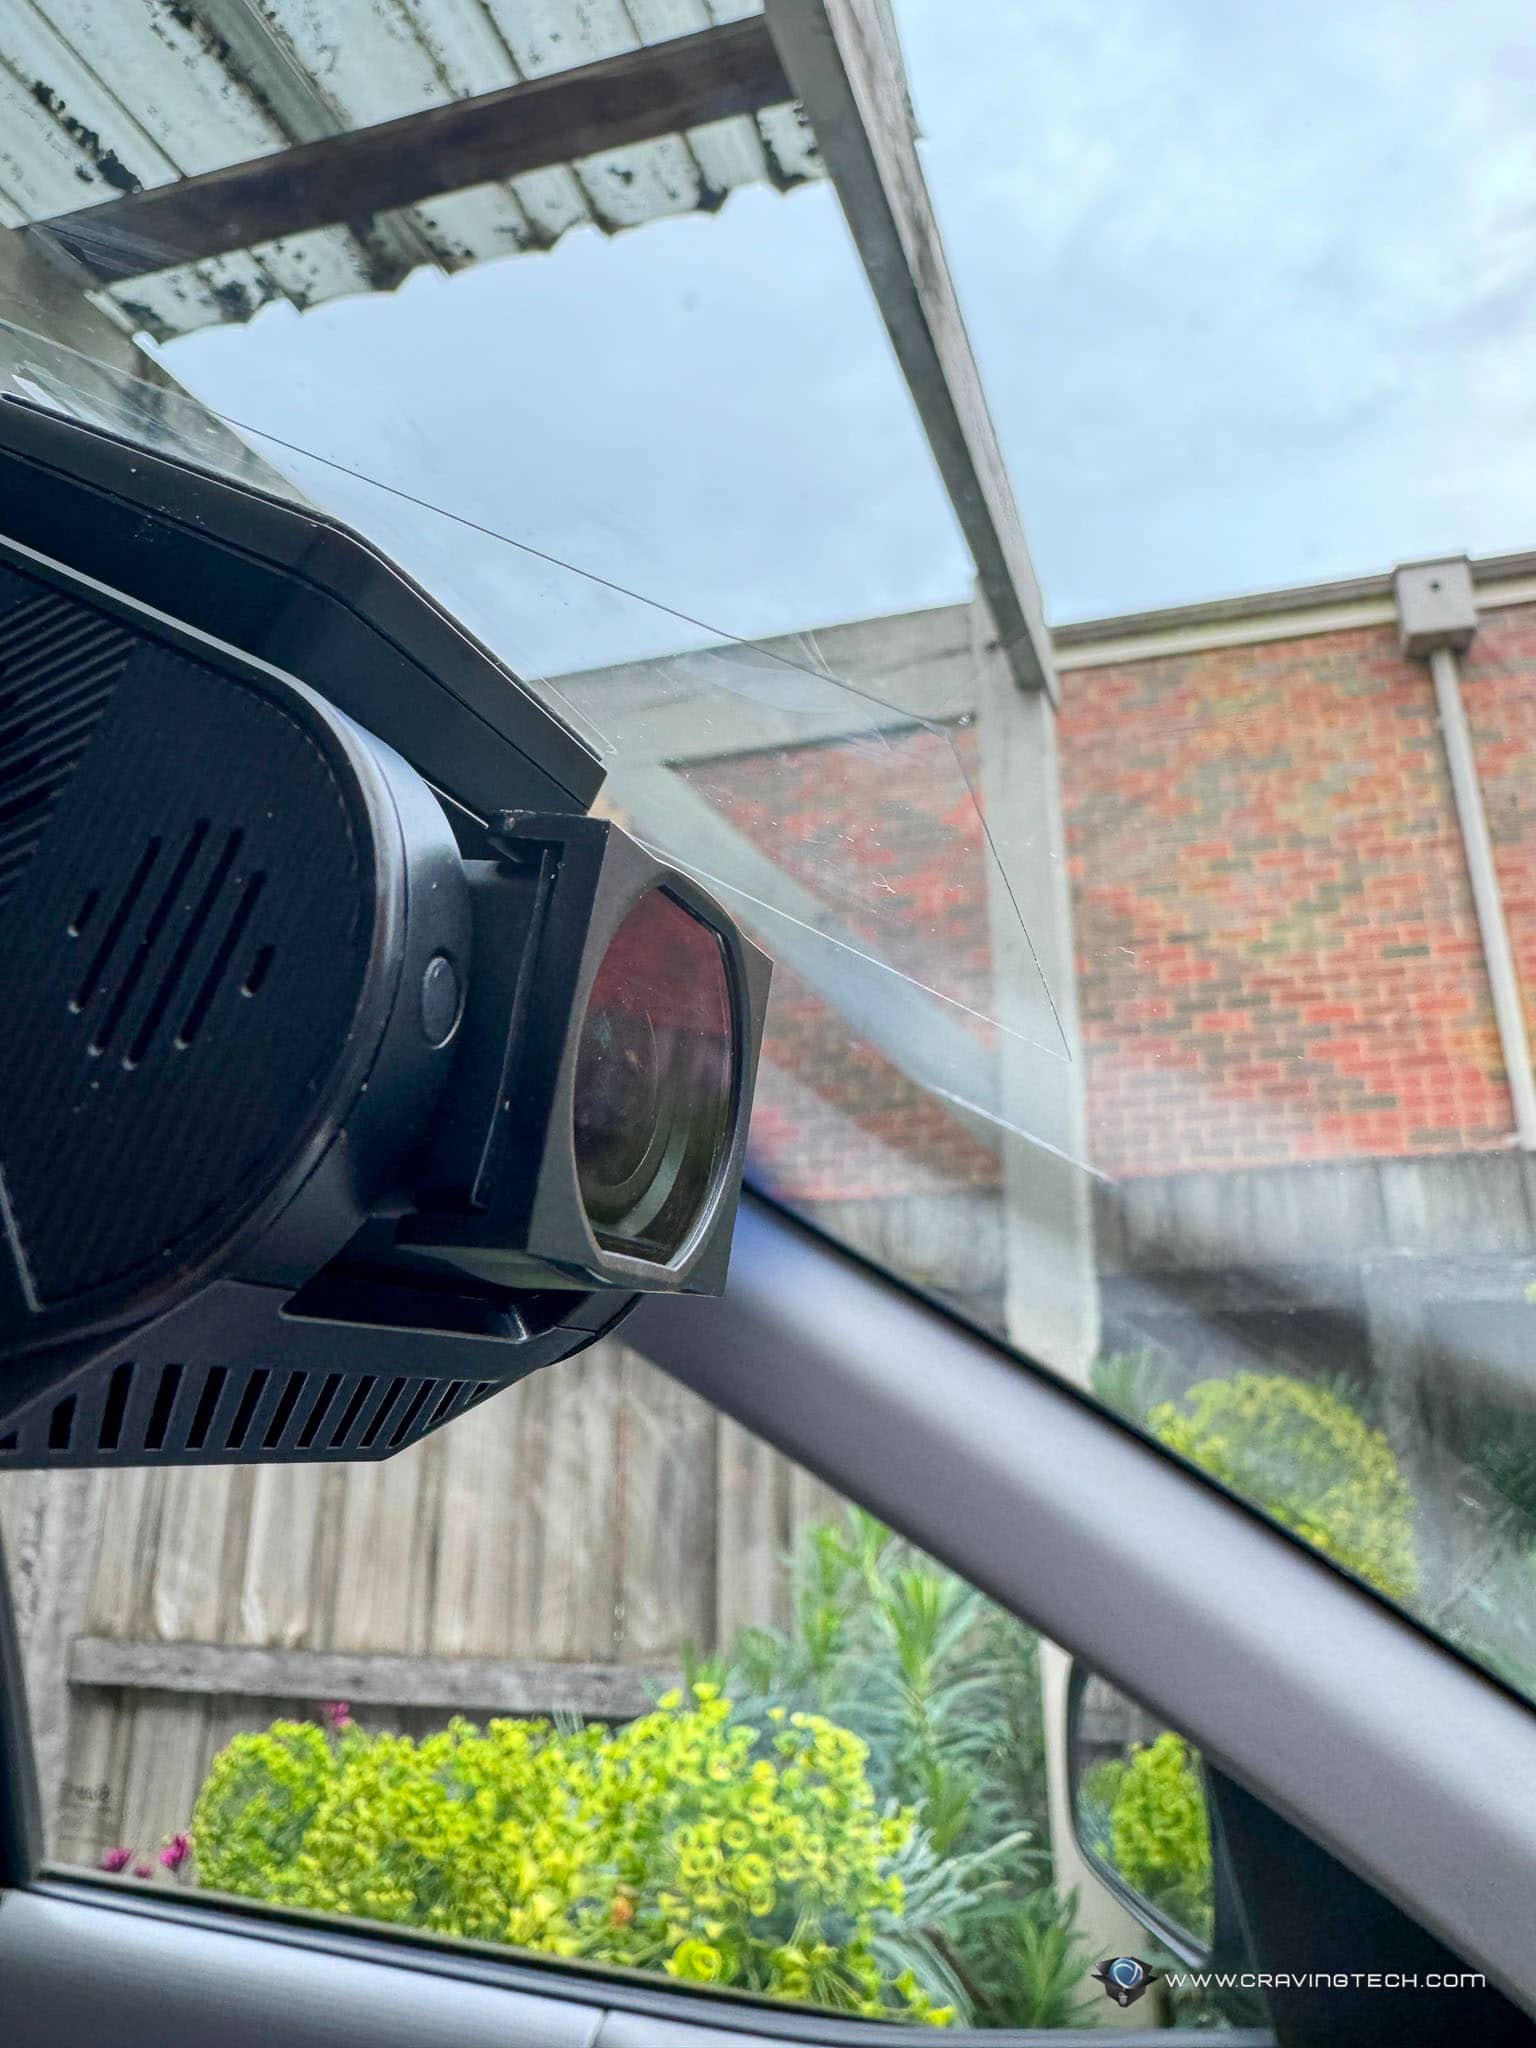
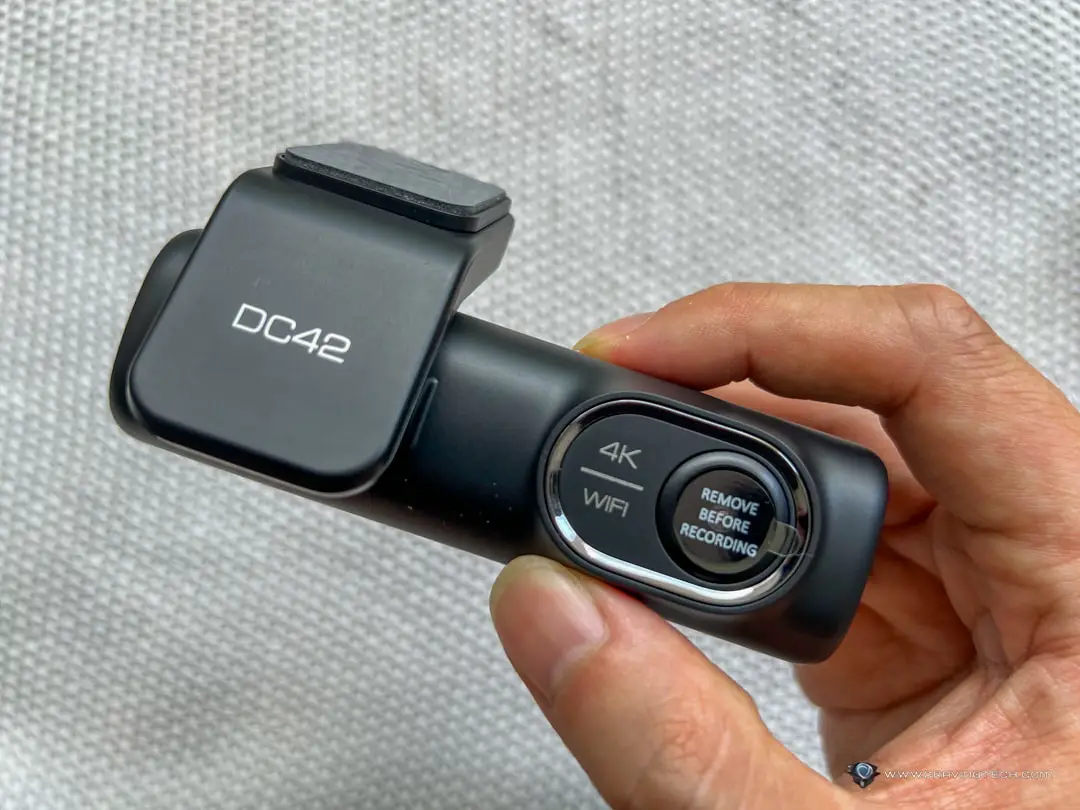
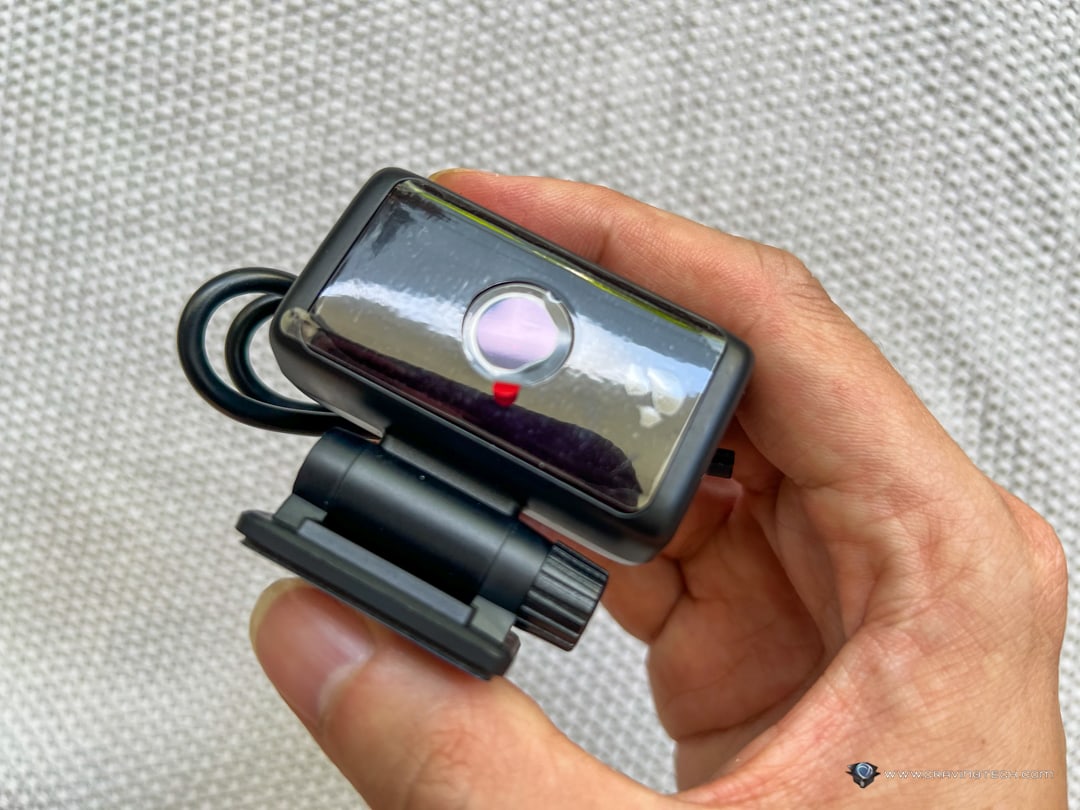
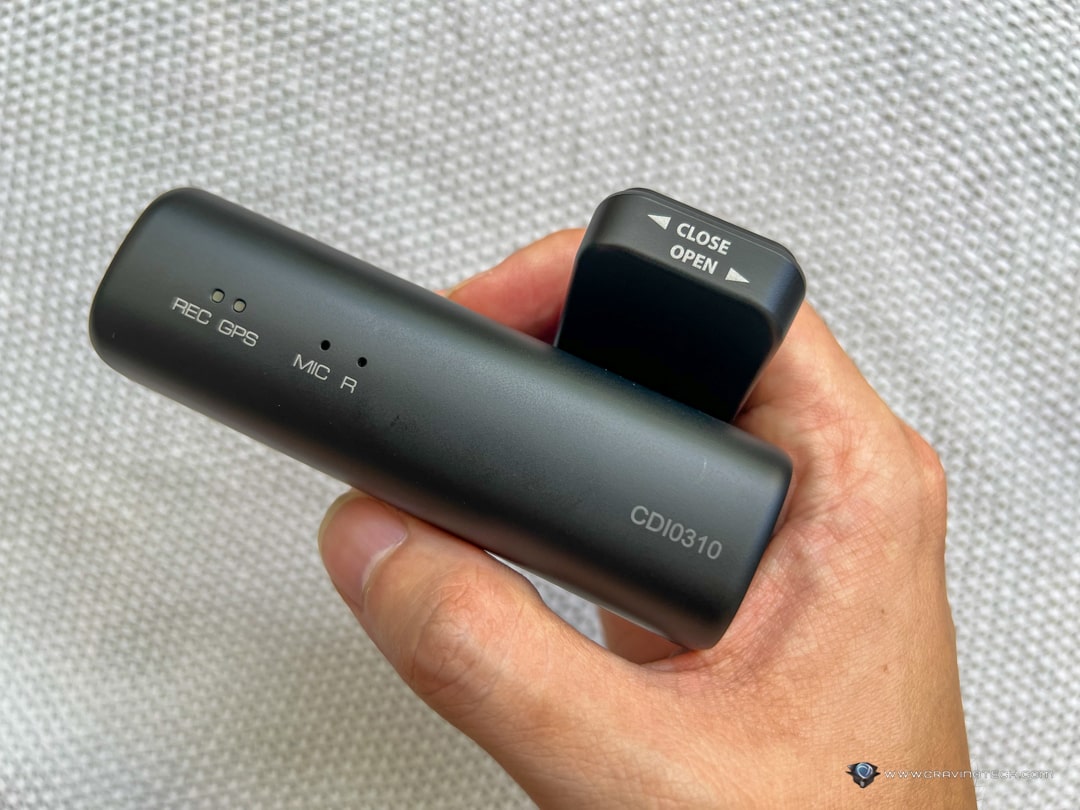
Ombar Dashcam has a sleek and compact form factor, with its design and colour nicely blending into most cars’ interiors.
Physical Setup
While the physical setup process is relatively straightforward, it poses a potential challenge for users who heavily rely on their car charger outlets for various devices. The dashcam cable includes a built-in car charger on the other end, a design choice aimed at ensuring an uninterrupted power supply exclusive to the dashcam.
While I understand the rationale behind this decision, it might be a deal-breaker for some users who also use their car charger outlets for other purposes, particularly smartphone charging.
The only workaround is to purchase a car charger adapter to increase the number of available plugs. However, this solution comes with a caveat – there is a possibility of insufficient power to simultaneously support all connected devices.As a result, given that the car charger outlet is already in use, connecting the rear dashcam requires linking it to the front dashcam. This configuration is essential to treat them as a unified entity when setting them up to connect with the app.
As anticipated, the setup mandates the threading of cables along the outer edges of the front mirror and through the entire length of the car to reach the rear dashcam. To ensure a tidy installation, cable clips are provided to securely fasten the cables in place.
Experience Setup

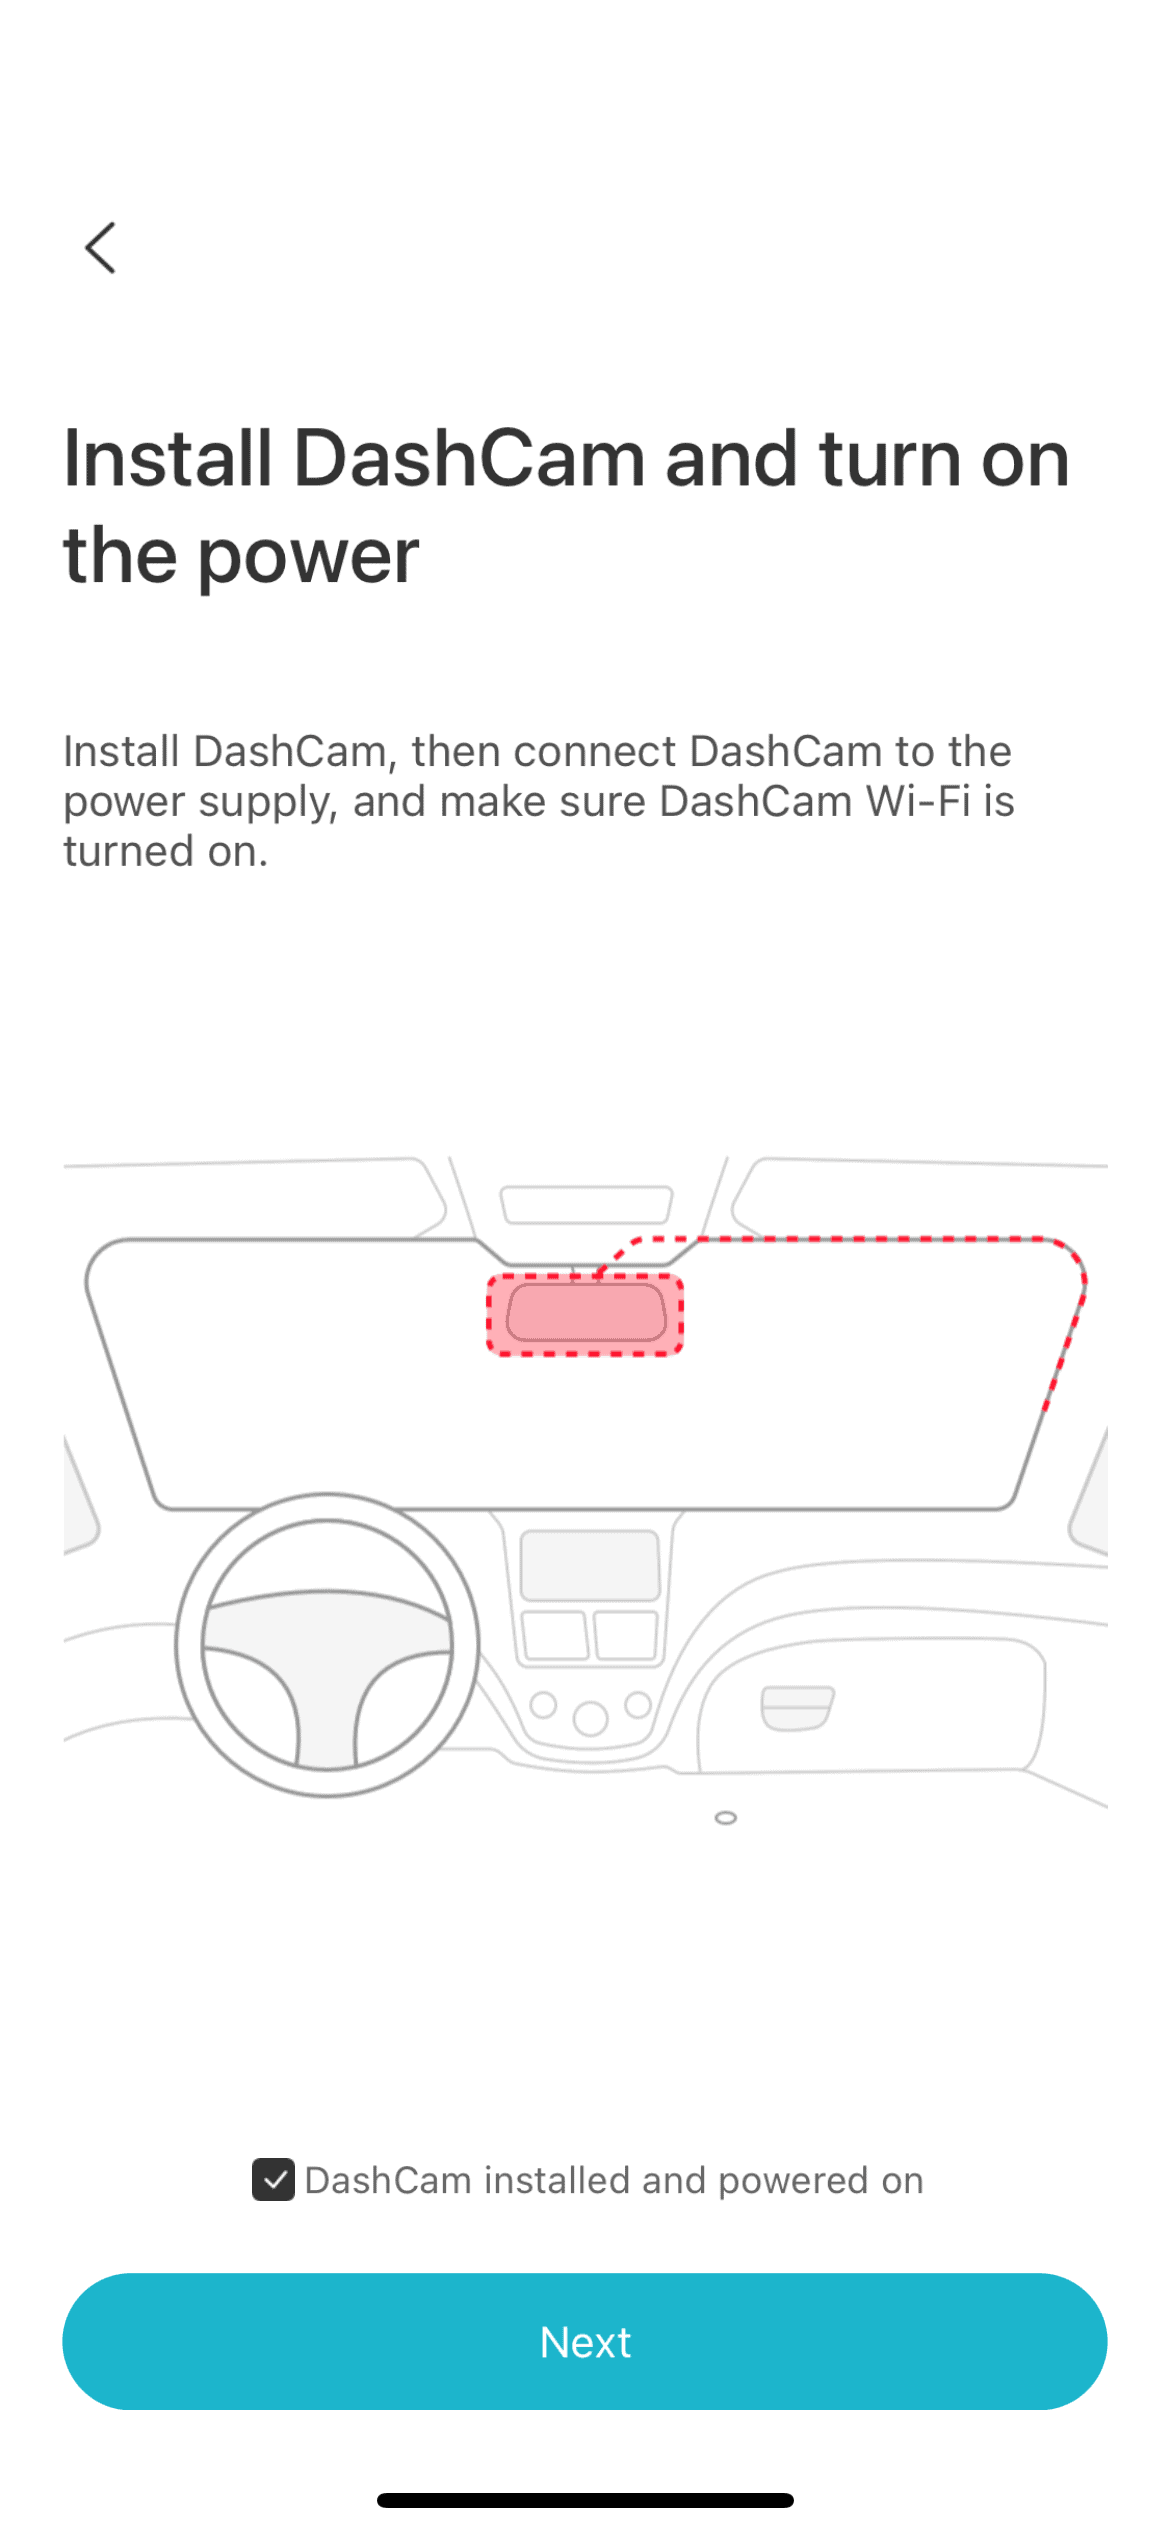
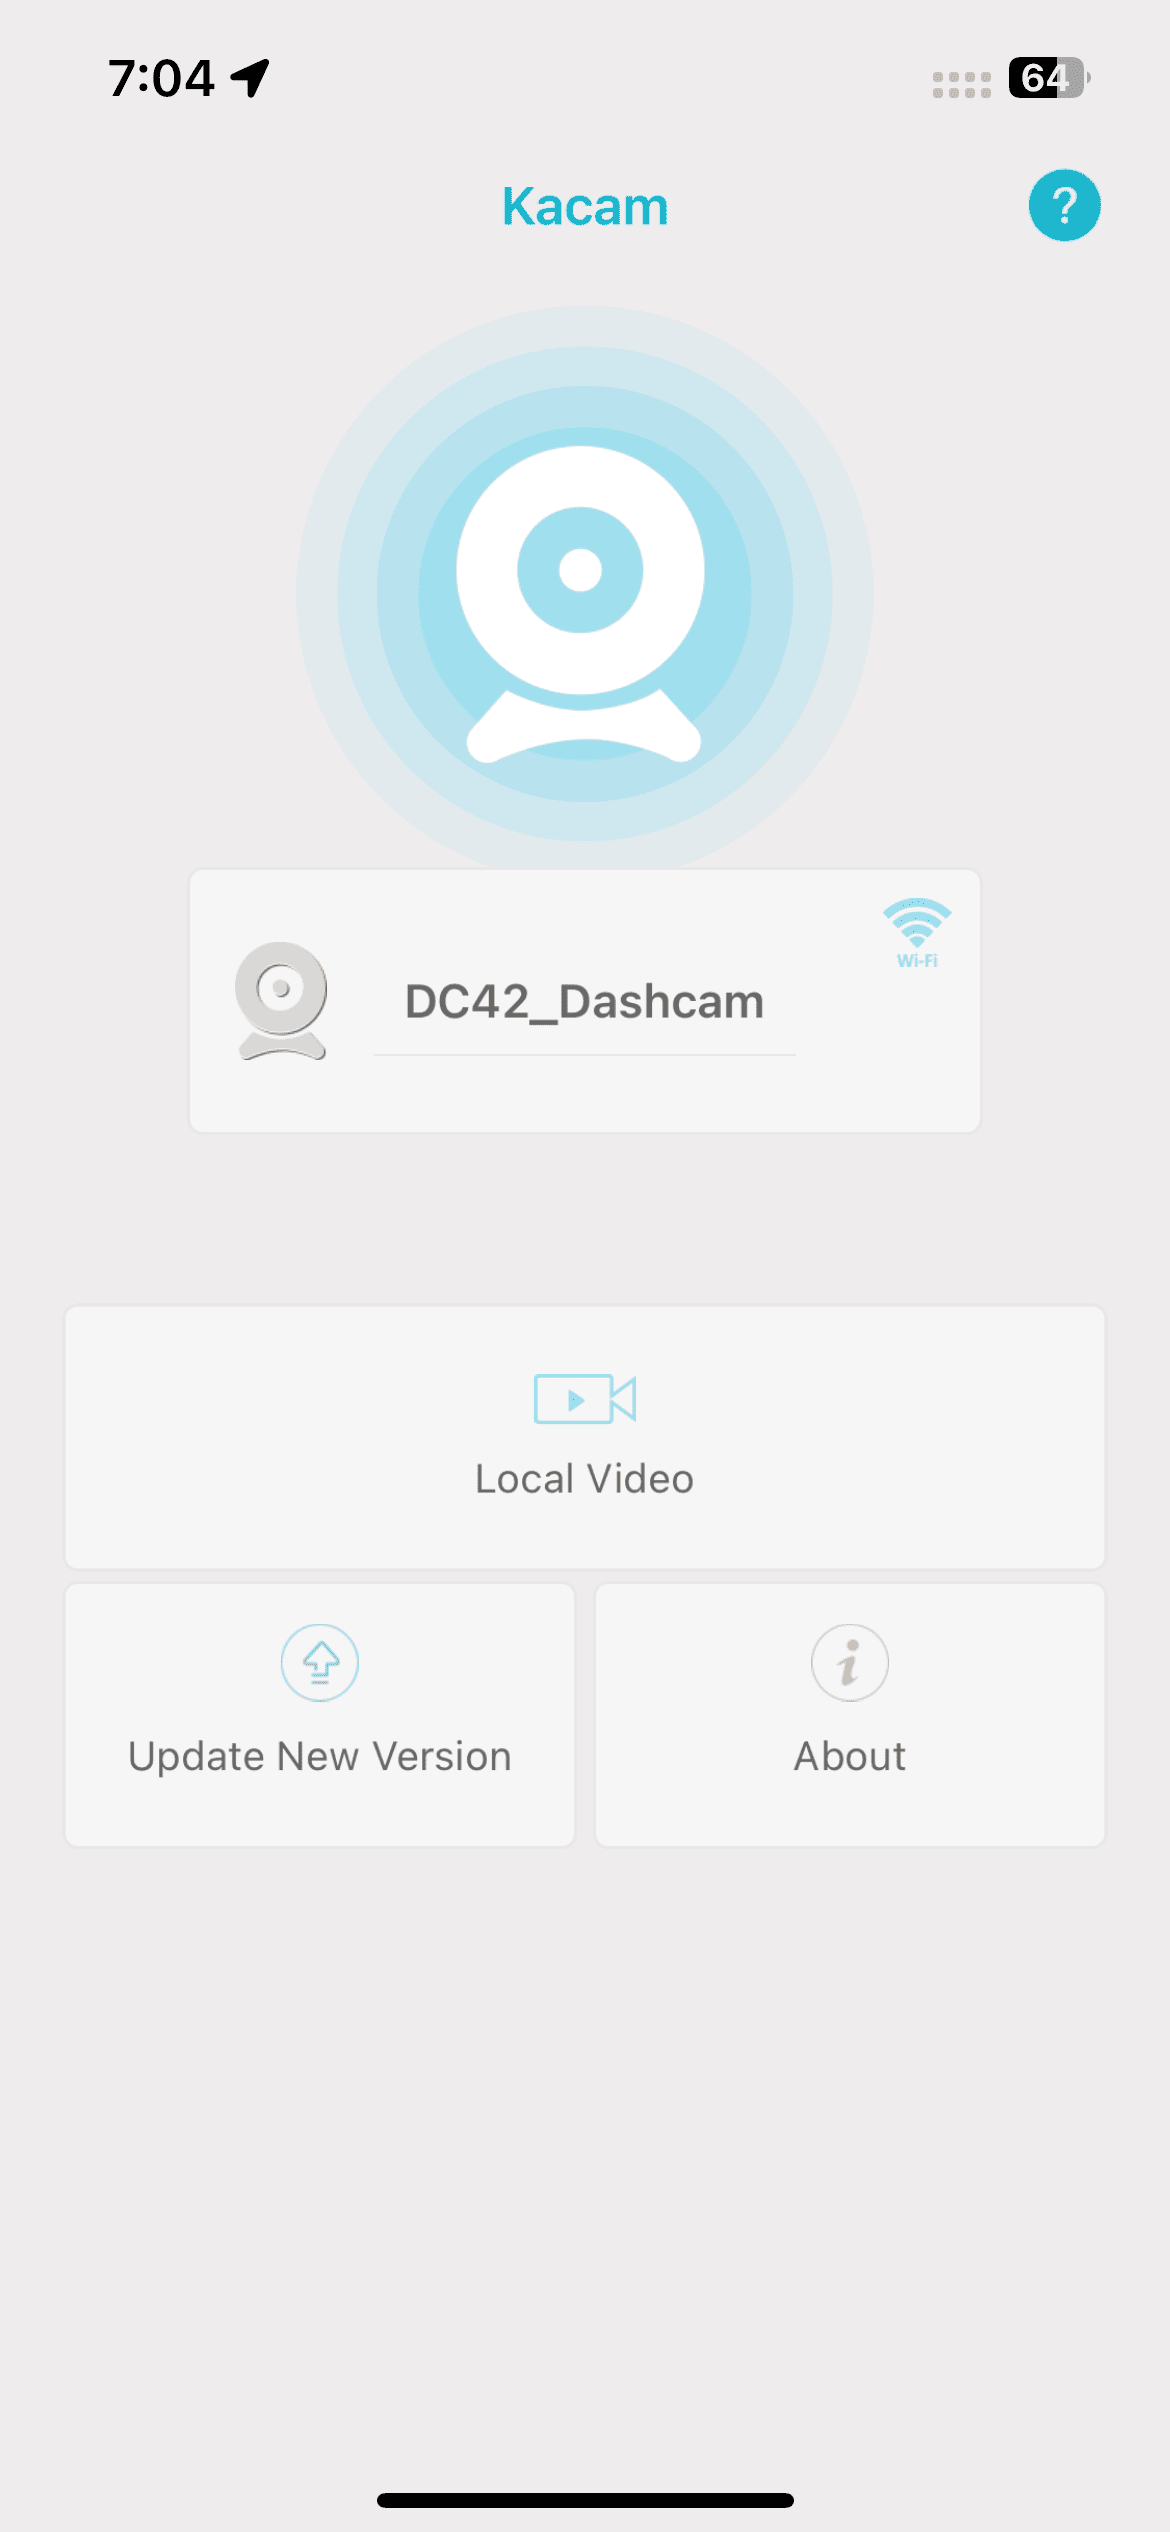
Establishing a connection between your smartphone and the dash-cam cameras is a step-by-step process carefully crafted to provide users with a smooth and manageable experience, breaking down the procedure into smaller, easily navigable steps.To begin, you need to download and install the app on your smartphone, named Kacam. Initially, the app’s name, Kacam, might raise doubts about its accuracy, but a search for “Ombar” in your app store will confirm that it is ‘the’ app you need to install.
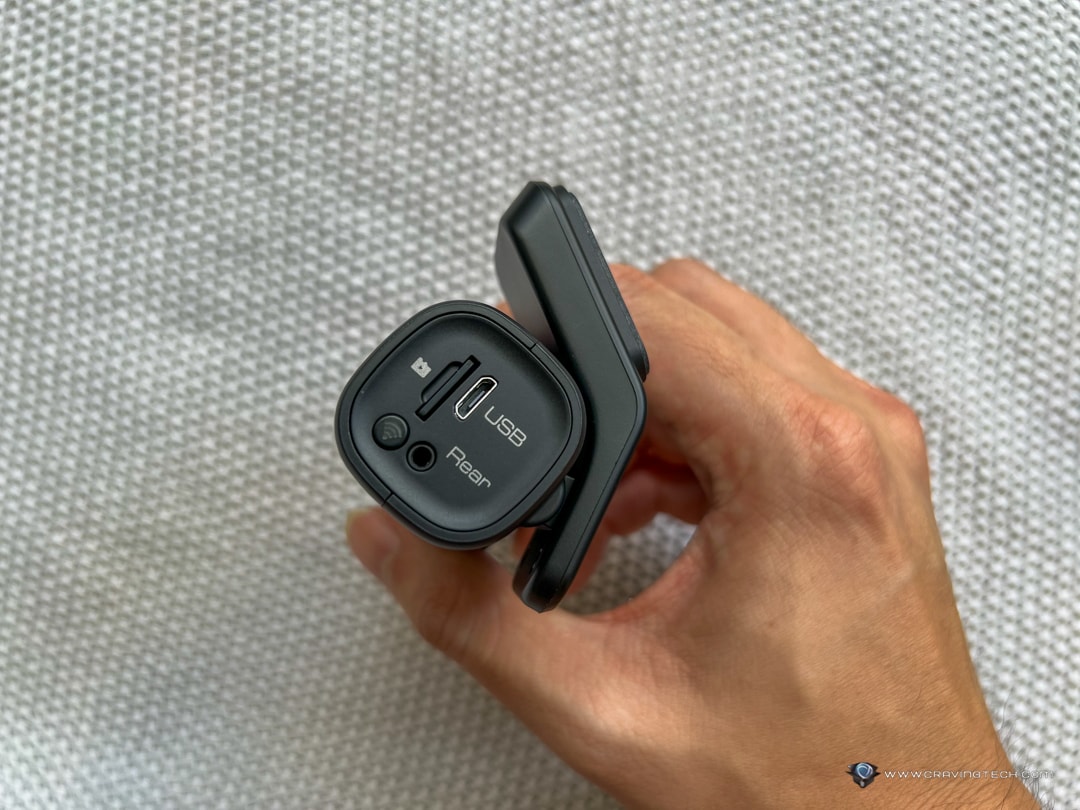
Once the cameras are powered on, activate the app to establish a connection with the dashcam via the Wi-Fi network it generates during startup.
By meticulously adhering to the app’s instructions one step at a time, you can swiftly finalise the setup process. One noteworthy aspect that caught my attention (and momentarily perplexed me) is the app’s request to disable mobile data access. This precaution is evidently intended to prevent any disruptions to the Wi-Fi connectivity between the camera and the app. However, it’s crucial to verify that your smartphone currently has mobile data access during this step; otherwise, the option may not appear in your app’s settings.
The dashcam offers audio cues for various connectivity and status changes, including the activation or deactivation of Wi-Fi and the current recording status. Over time, you may find yourself pondering the possibility of disabling these alerts to reclaim some peace and quiet within the confines of your car. Luckily, you can adjust and/or turn off the volume via the Settings page.
Accessing the majority of dashcam settings is contingent upon an active connection to the dashcam. In other words, you cannot modify the setup remotely, for instance, while you are at home and beyond the Wi-Fi range of the dashcam.
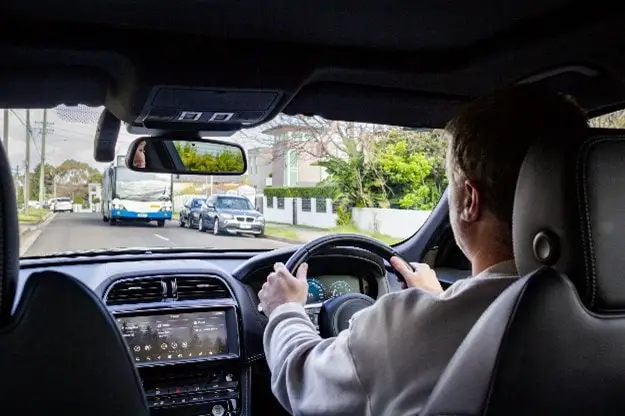
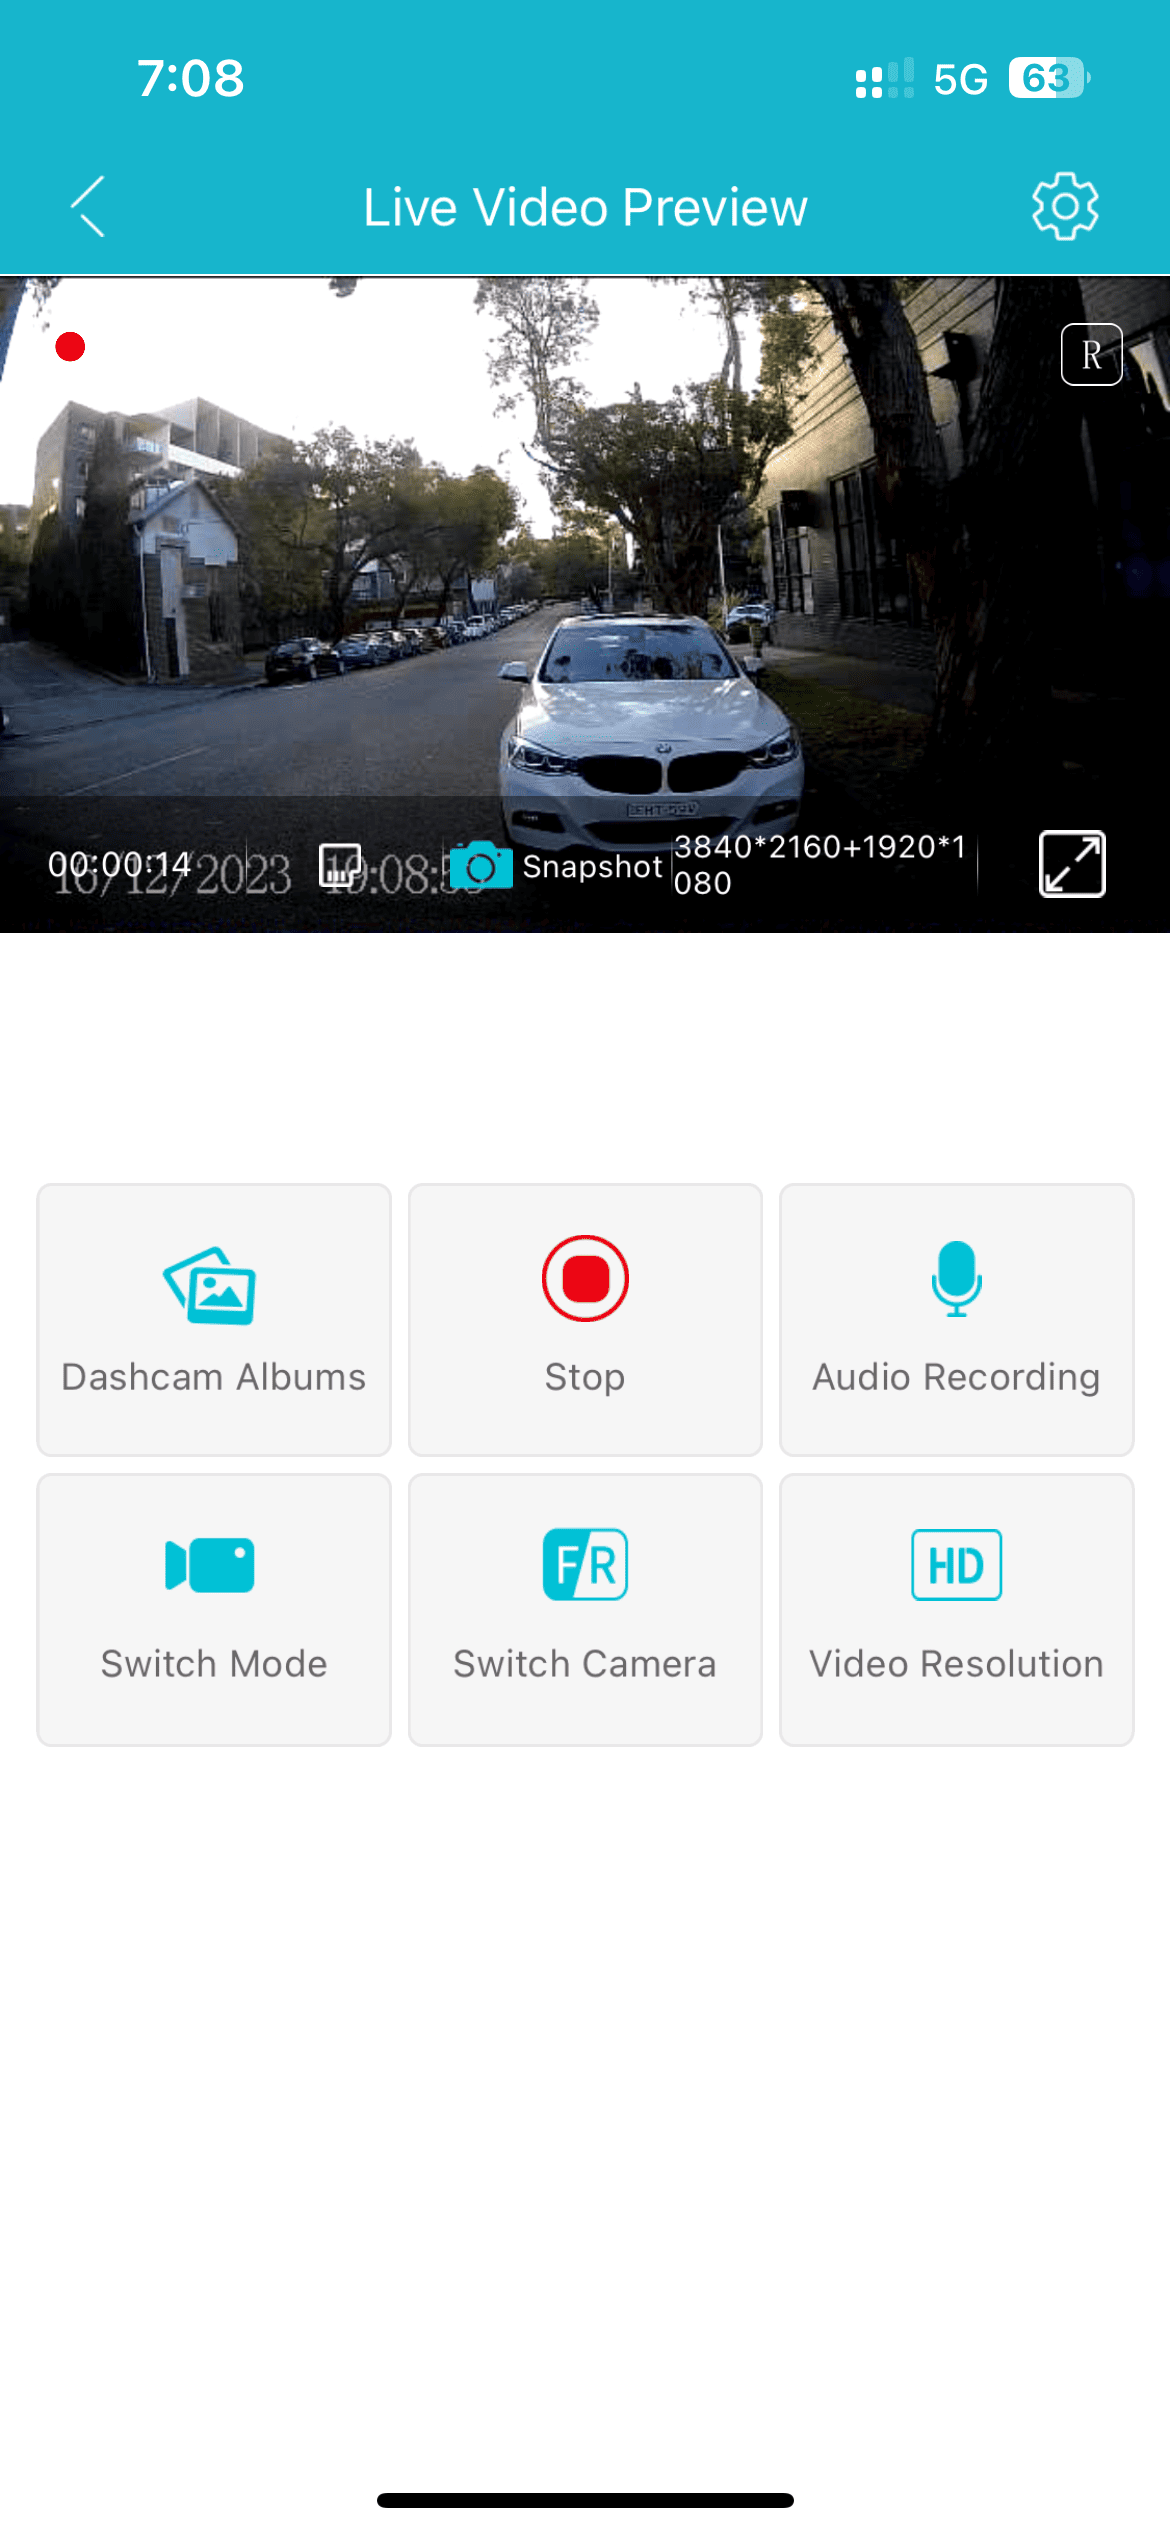
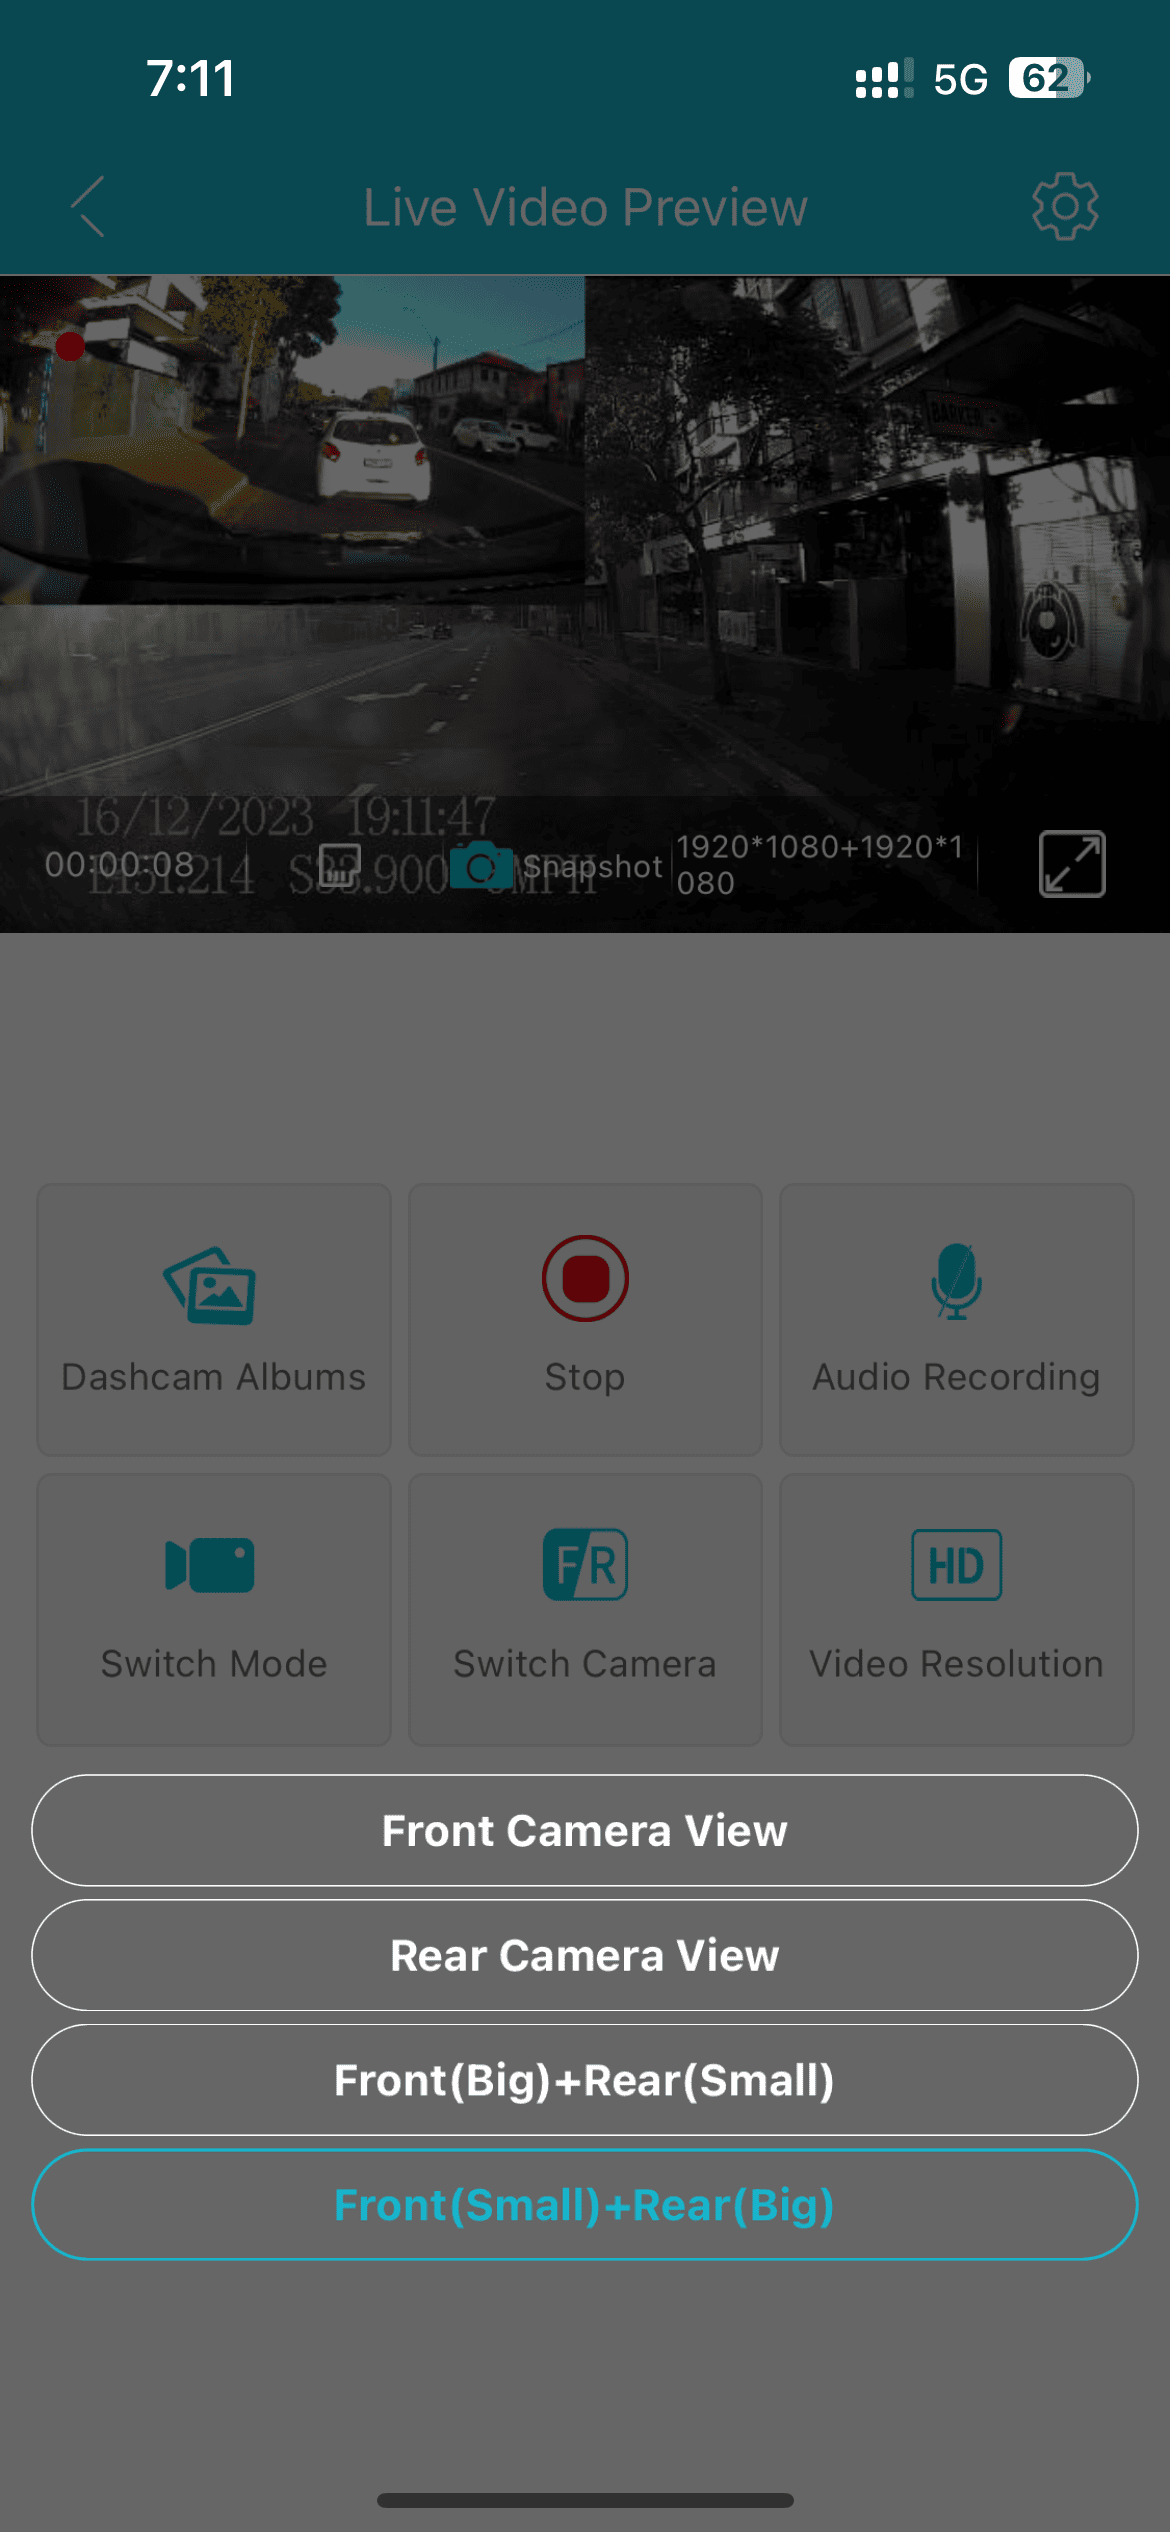
On The Road
The front camera boasts impressive recording capabilities, offering three resolutions: 4K for high-resolution recording, 2K for everyday use, and 1080P. The rear camera supports 1080P resolution, delivering clear footage to cover both front and rear perspectives.
For an added privacy measure, users have the option to toggle the audio recording on or off as needed.
The highly recommended recording mode for the dashcam is “loop recording,” which ensures continuous recording onto the memory card. This mode automatically removes the oldest files to create space for new recordings, ensuring that the dashcam is always ready to capture the latest footage.
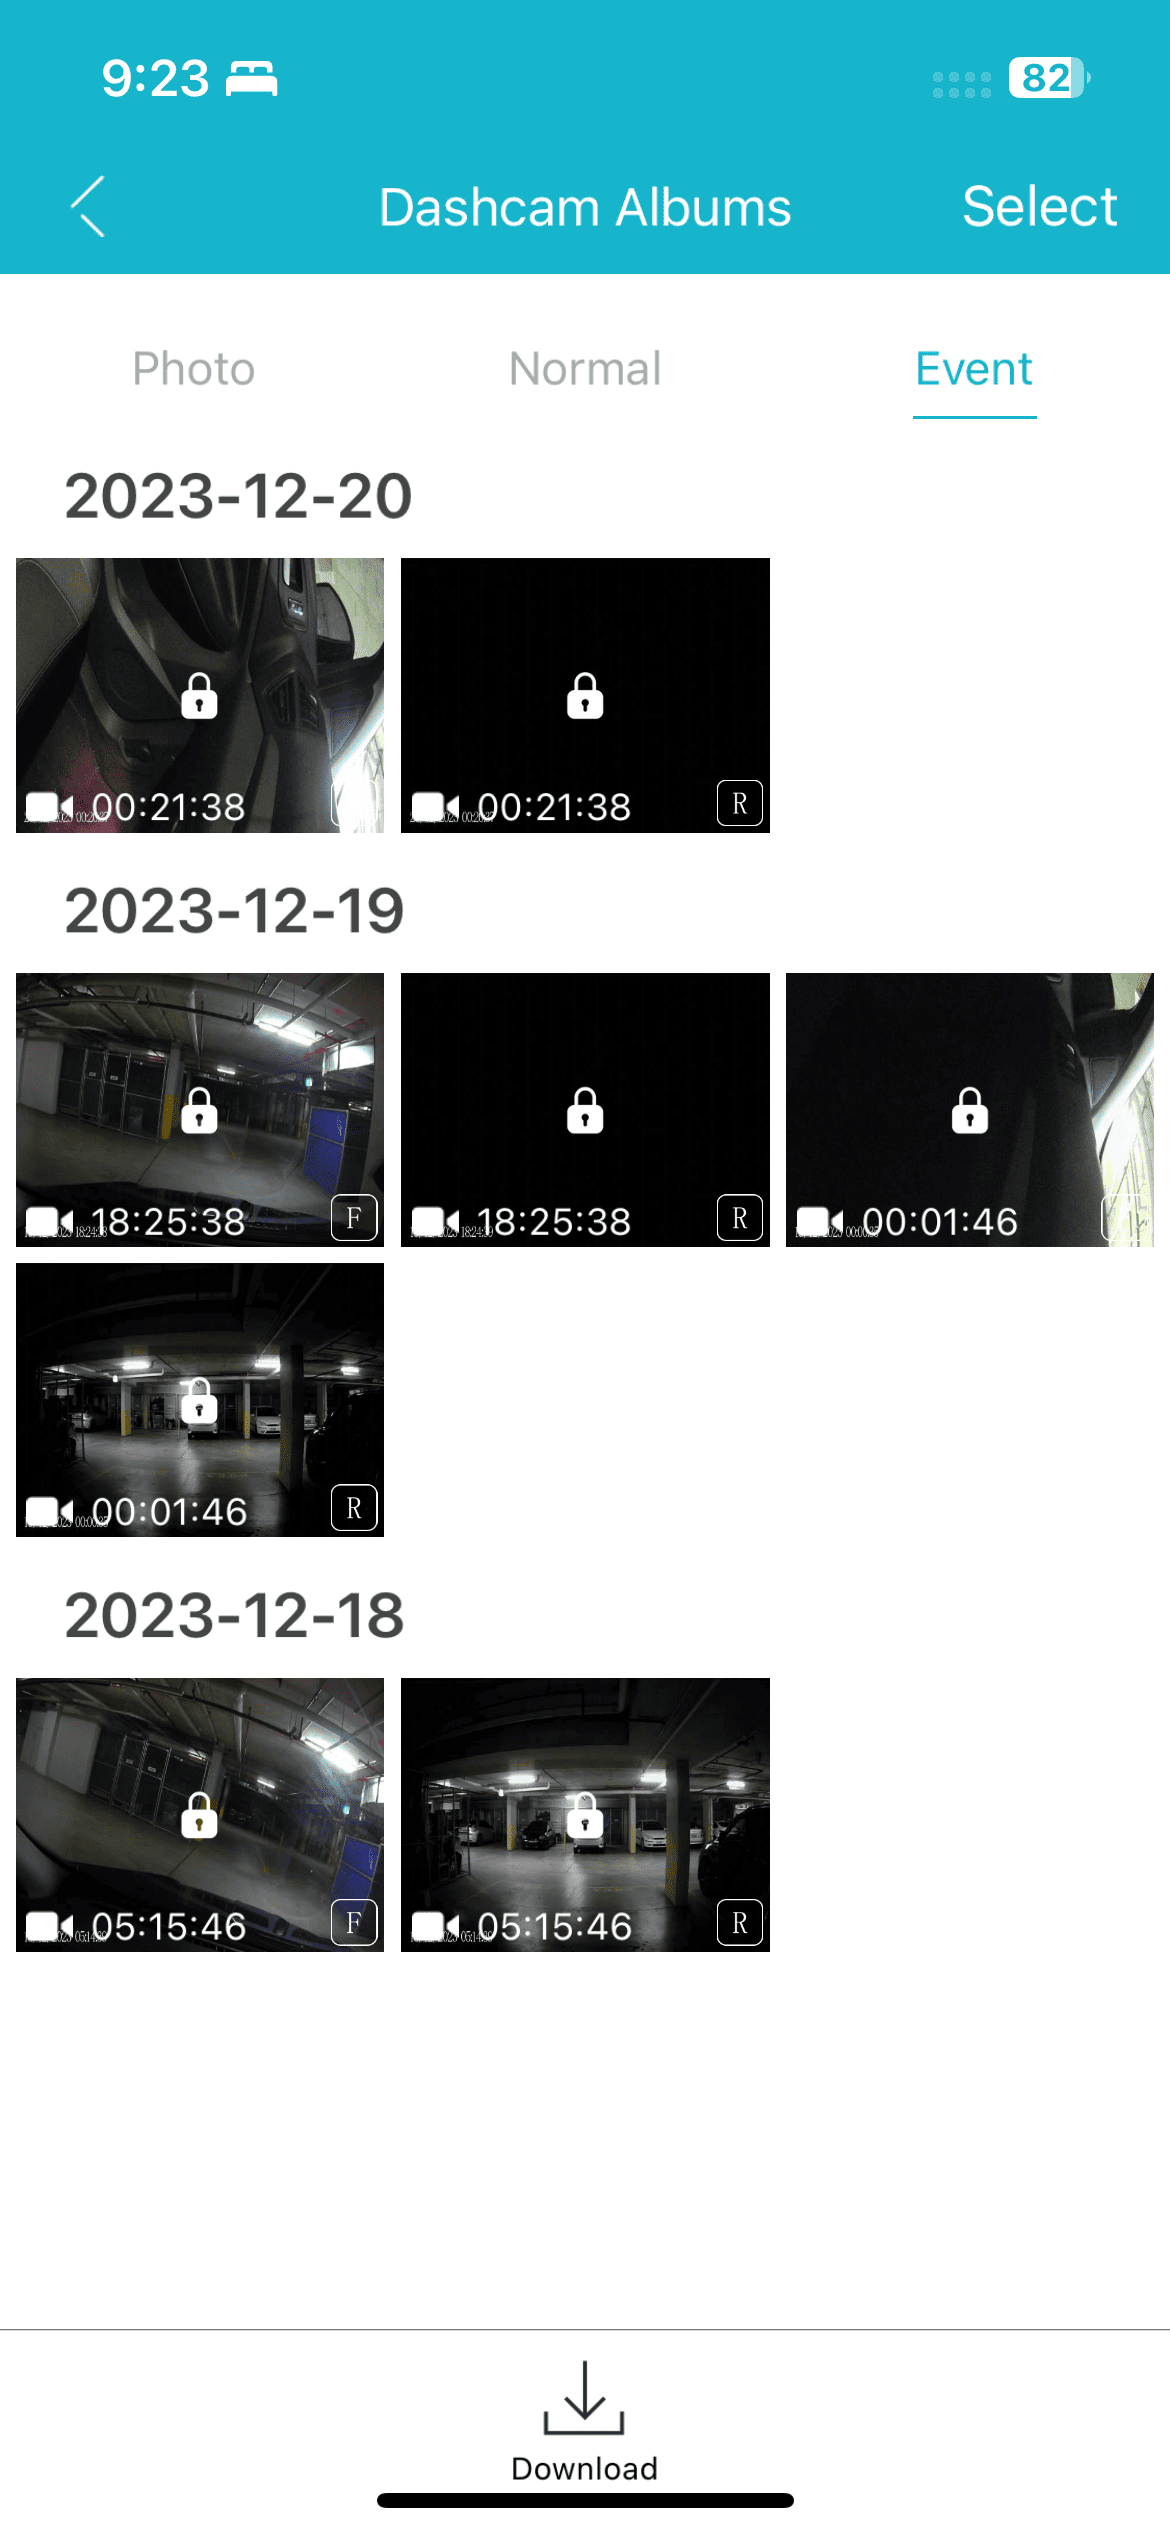
A notable feature is the Automatic Emergency Video Recording, which operates by automatically locking associated videos when sudden vibrations or shocks are detected. These locked videos are available in the “Event” section of the recording for convenient access at a later time. This feature enhances the dashcam’s ability to capture and preserve critical moments during unexpected events on the road.
Not covered in this review is an additional feature—24-hour parking monitoring. To enable this functionality, you need to purchase Ombar’s 3-led hardwire kit accessories. Upon watching their installation instruction video, it is apparent that implementing this feature involves a rather sophisticated installation procedure, necessitating the connection to the internal wiring of the car.
Alternatively, users have the option to leave the camera on while the vehicle is parked, allowing it to automatically record and lock videos in response to detected vibrations and shocks. Upon returning to the car with the paired phone, the camera will notify the user with an “Emergency Video” alert, signaling that events were recorded during their absence. This feature enhances the dashcam’s capability to capture and highlight noteworthy incidents that occurred while the vehicle was parked.
Nevertheless, this approach implies that the camera must continuously record, even in non-eventful situations, leading to a potential drain on the car battery and the risk of deleting older files that may be desired for retrieval later. A potential improvement to this feature could involve the ability to configure “event-only” recording, allowing users to focus recording efforts solely on situations marked as events, thus optimizing battery usage and preserving valuable footage.
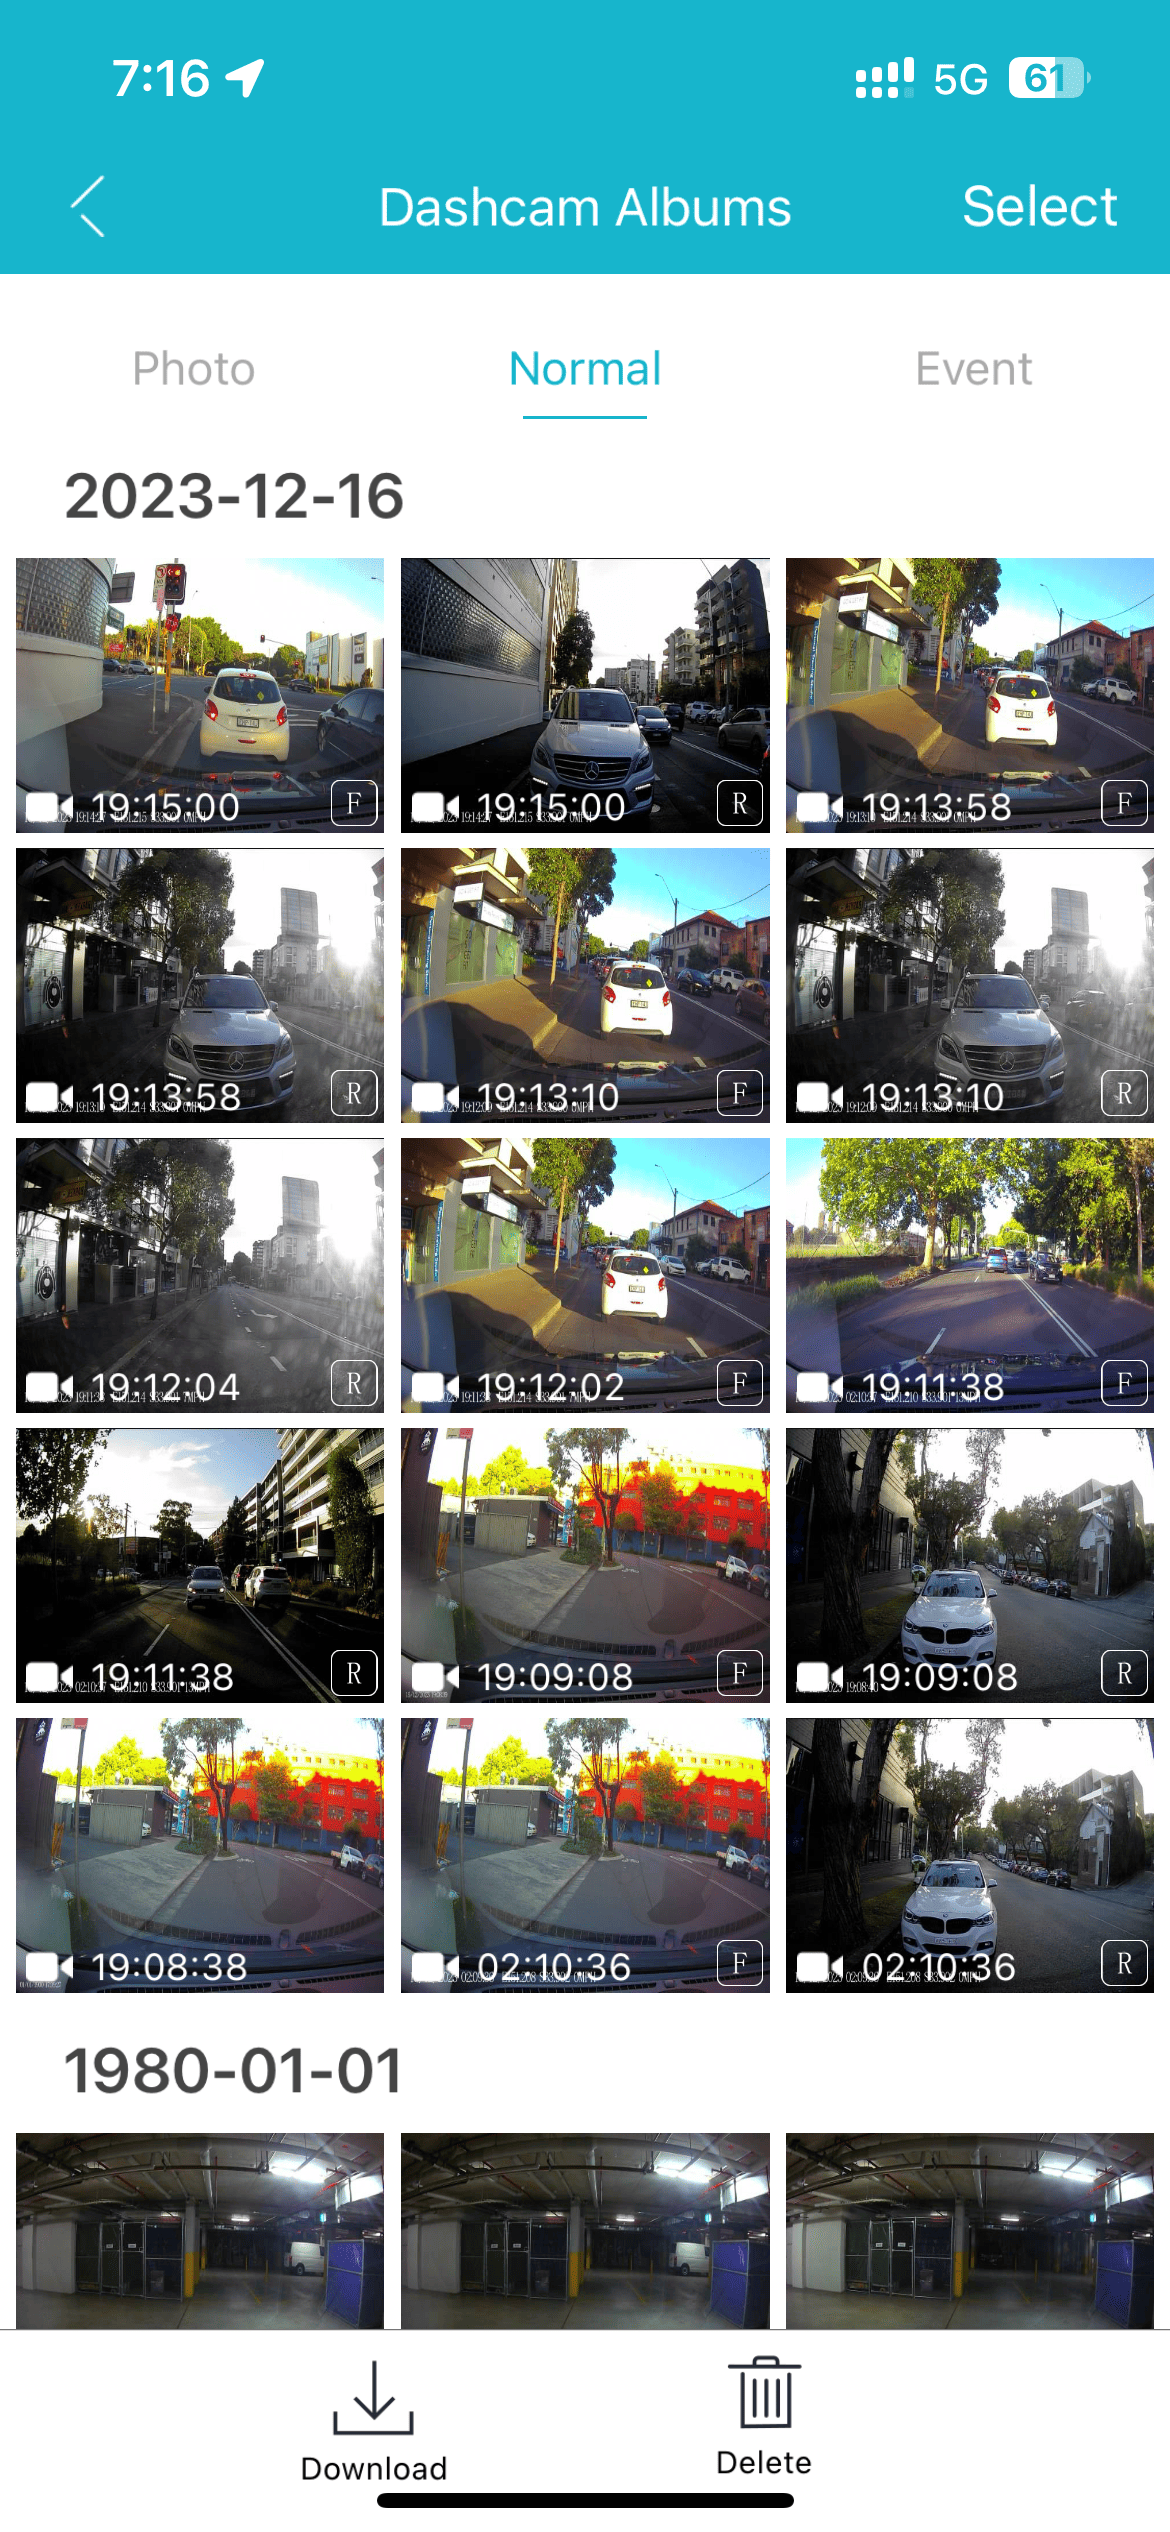
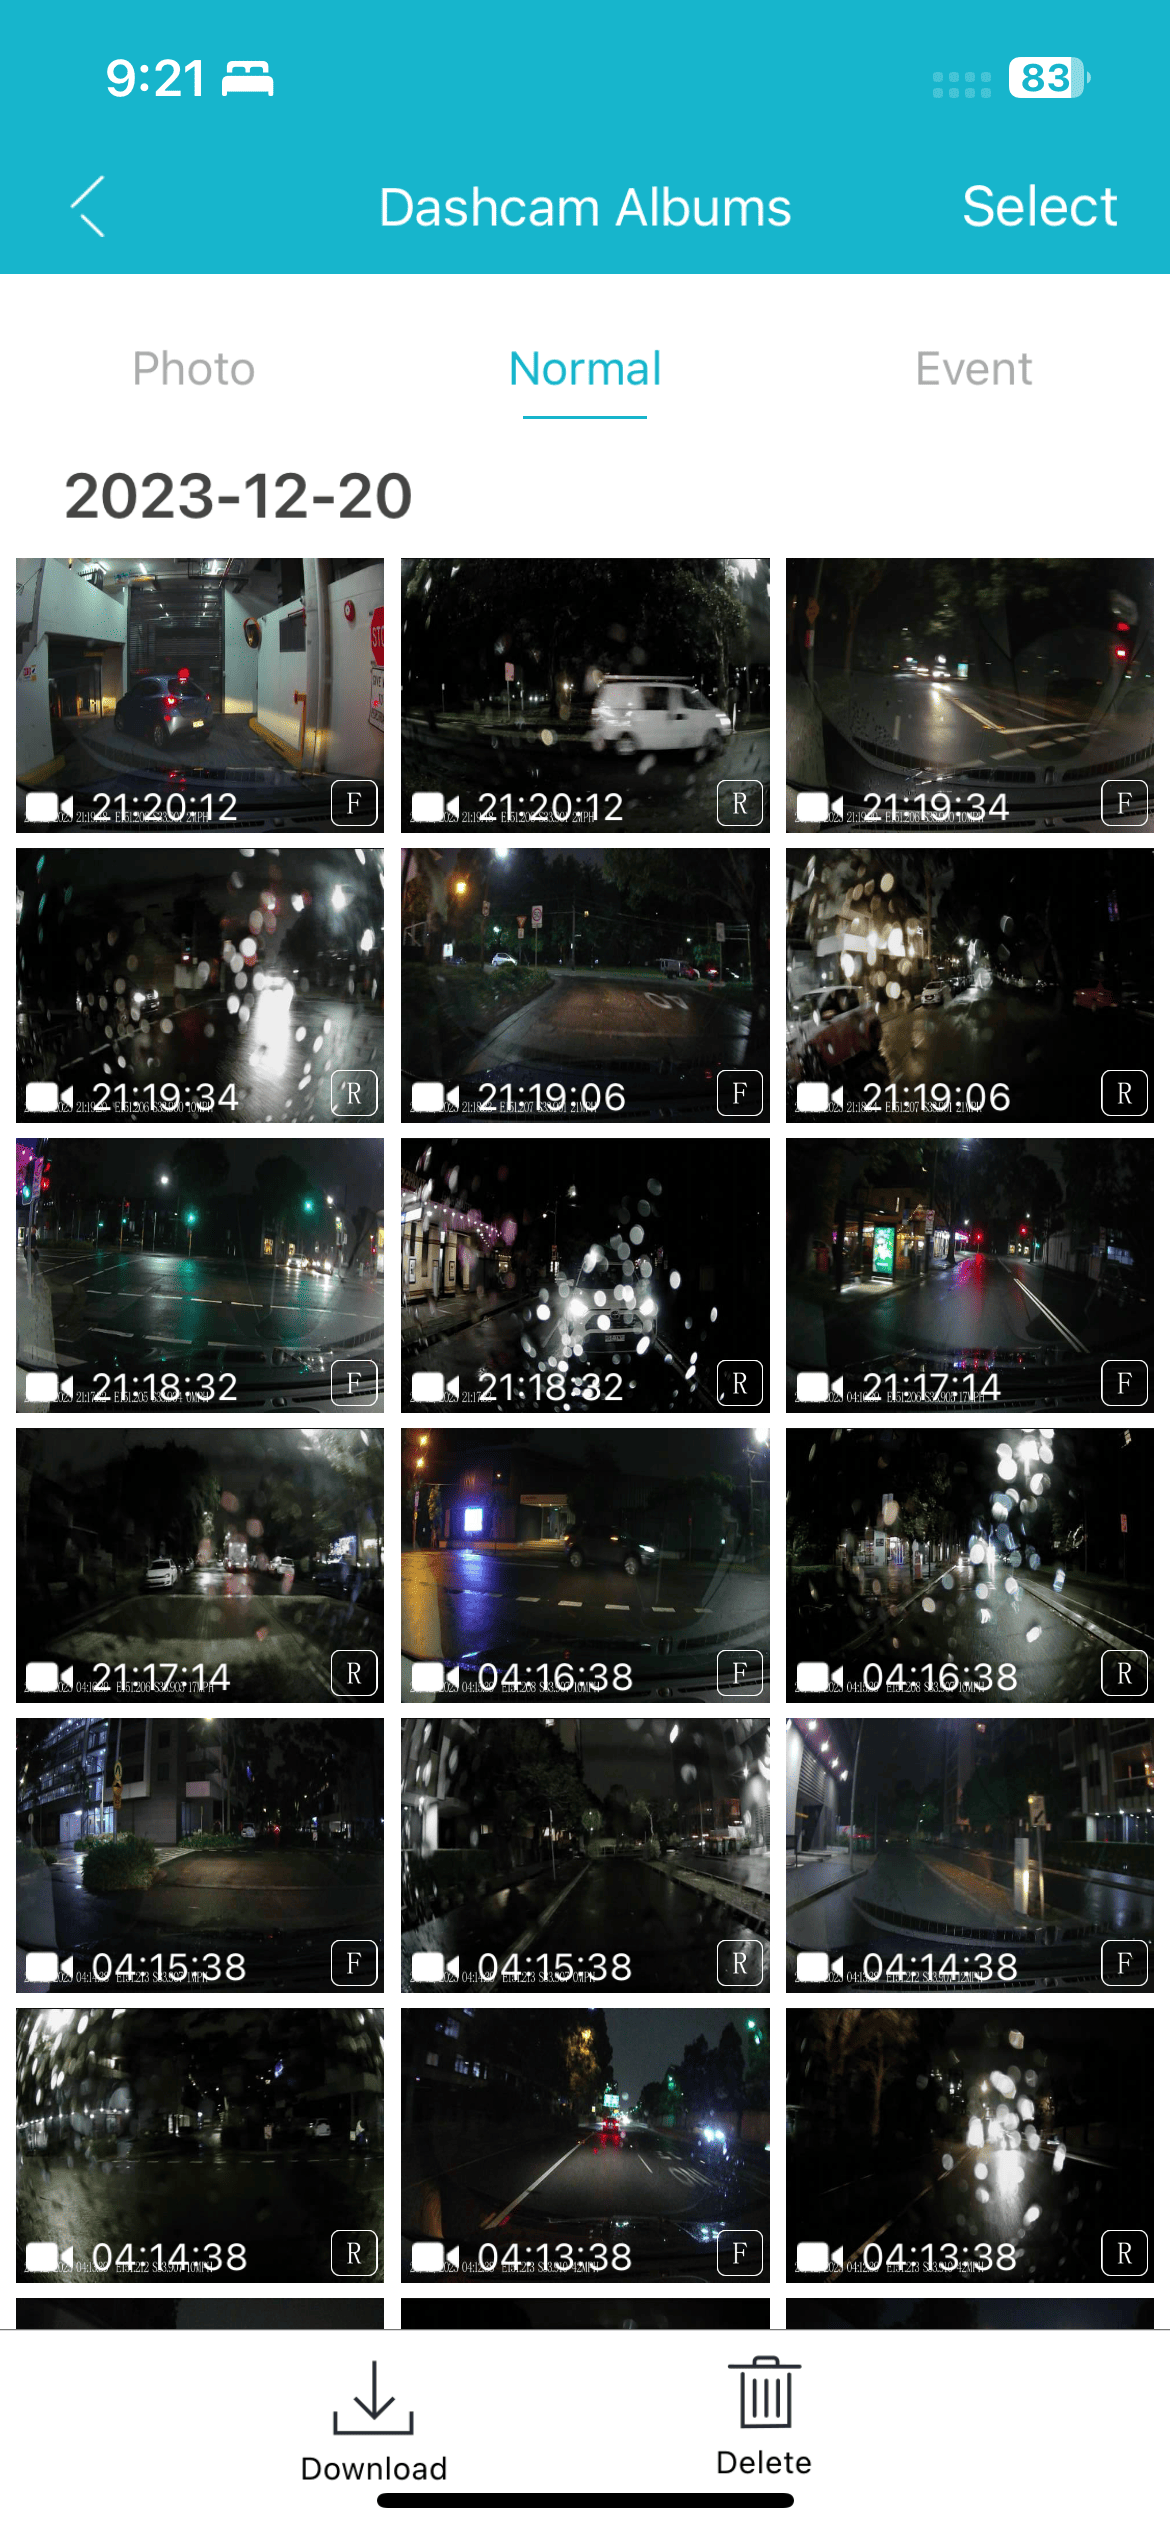
Recordings and Snapshots
The recordings are segmented into 1-minute videos, with distinct files for the front and back cameras. Access to these files is restricted to periods when the cameras are not actively recording. This limitation appears to be a longstanding constraint associated with the use of memory cards.
Retrieving audio and video files can be somewhat cumbersome due to the camera consistently entering active recording mode each time you return to the main screen. This necessitates the continuous halting of recording before accessing and viewing the files.
Moreover, there is a delay in the availability of recordings and snapshots for viewing in the app. Through testing, I observed that attempting to access videos immediately after their completion sometimes resulted in the videos going missing and becoming irretrievable. I suspect this issue may stem from the memory card’s attempt to transition from “write” to “read” mode, experiencing interruptions in the process.
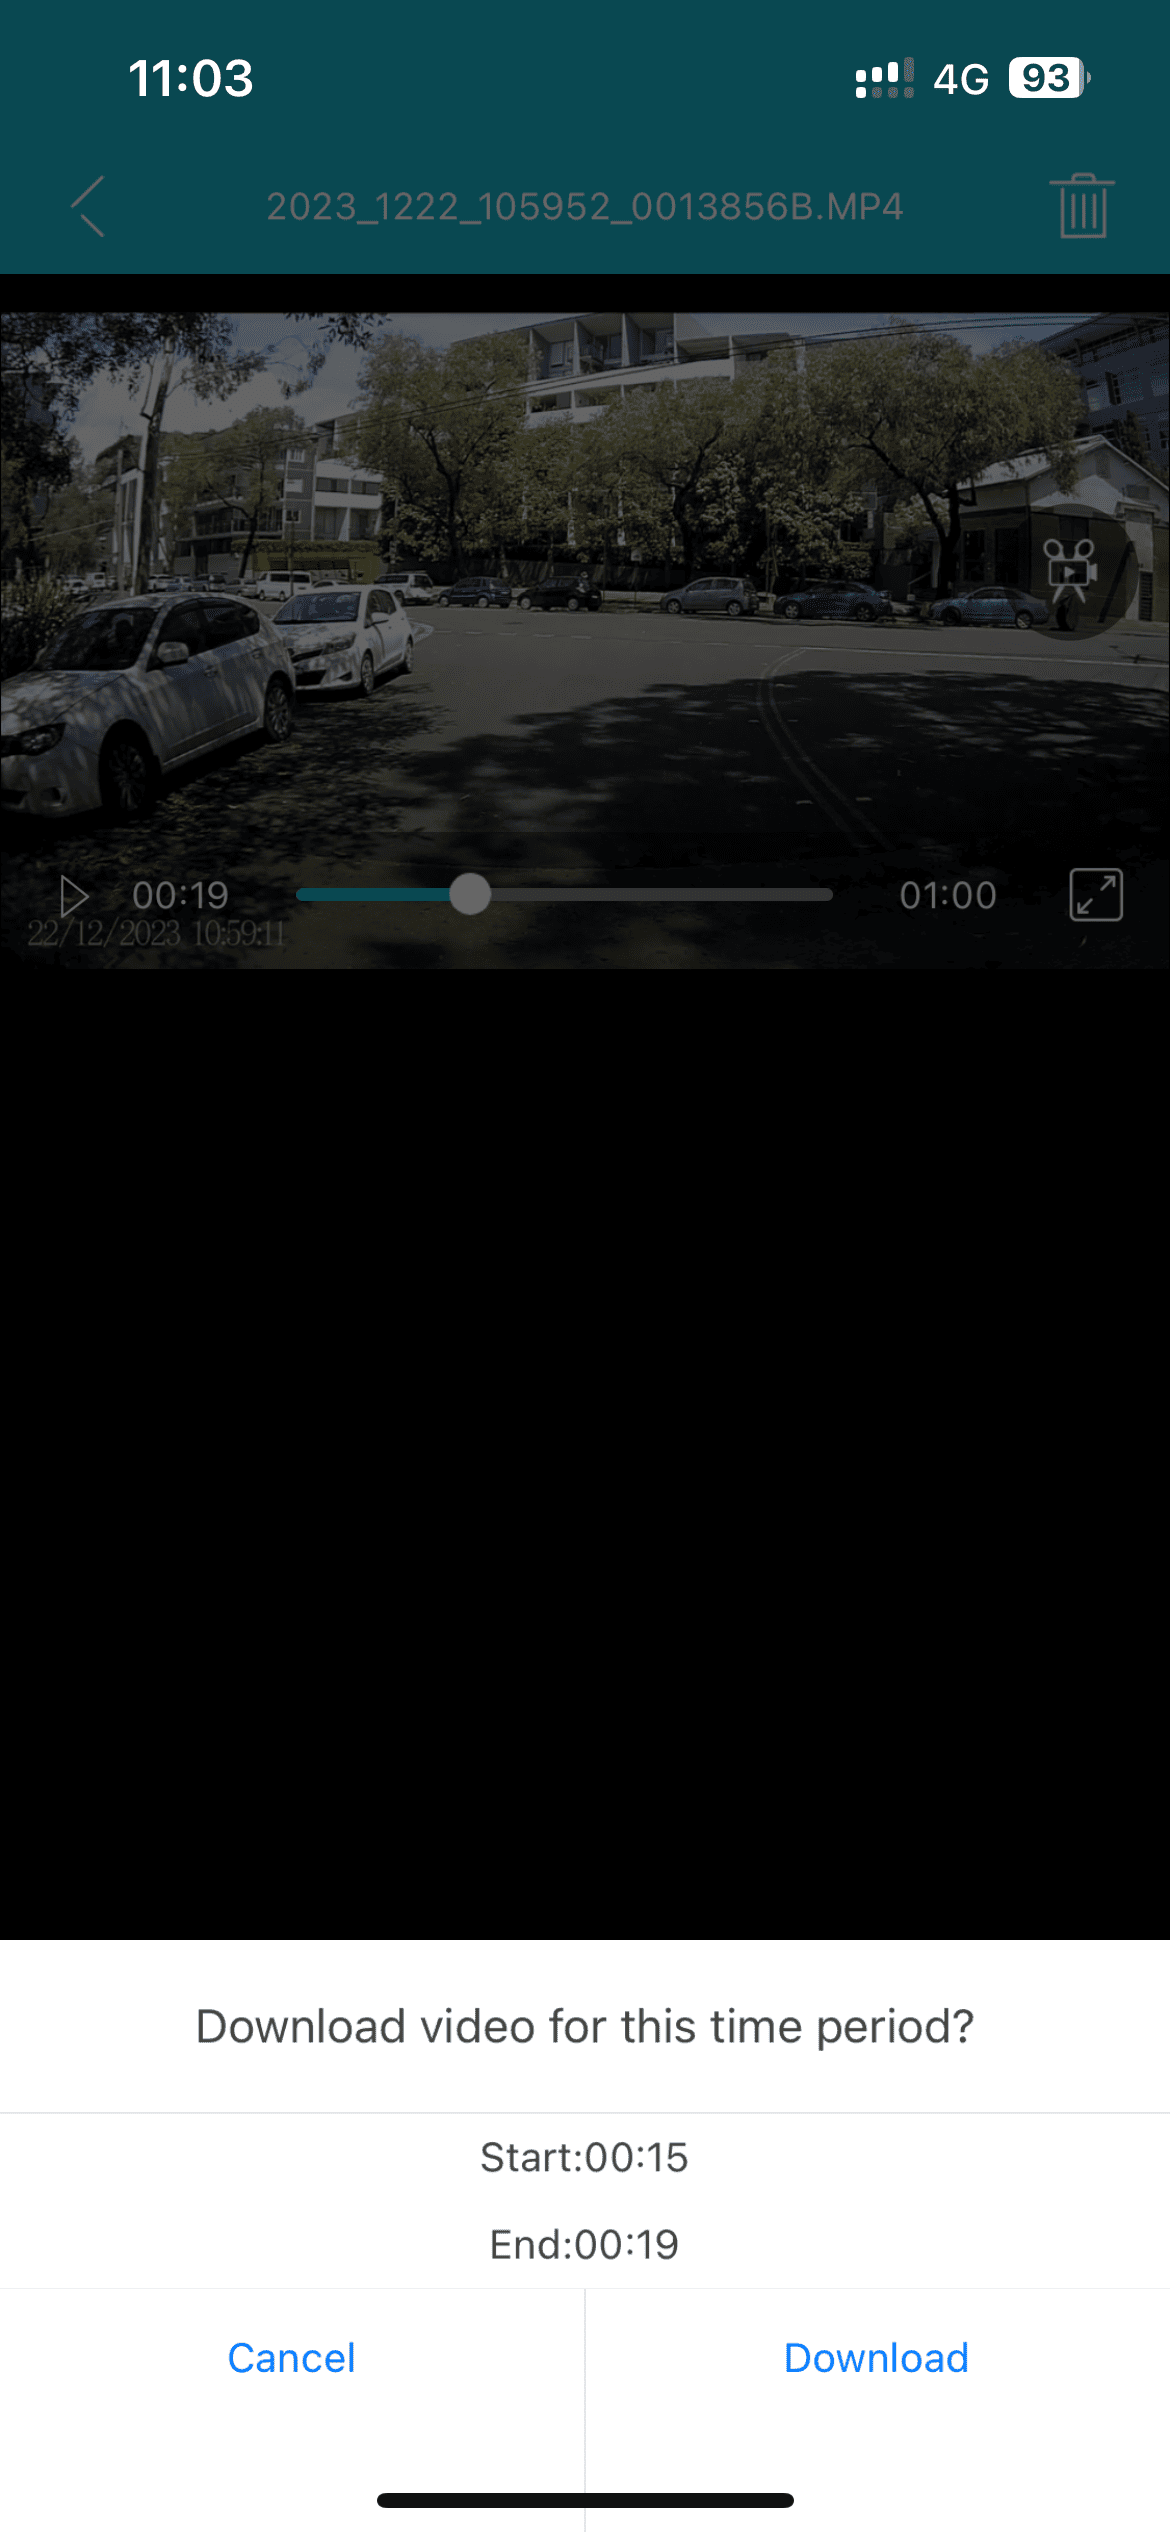
To store the footage in your smartphone’s albums, you must initially save it to “Local Video,” a section that intriguingly carries the heading “My Album” once accessed. Following this, you can utilise the “Share” functionality within the app to transfer the footage to your smartphone’s albums.
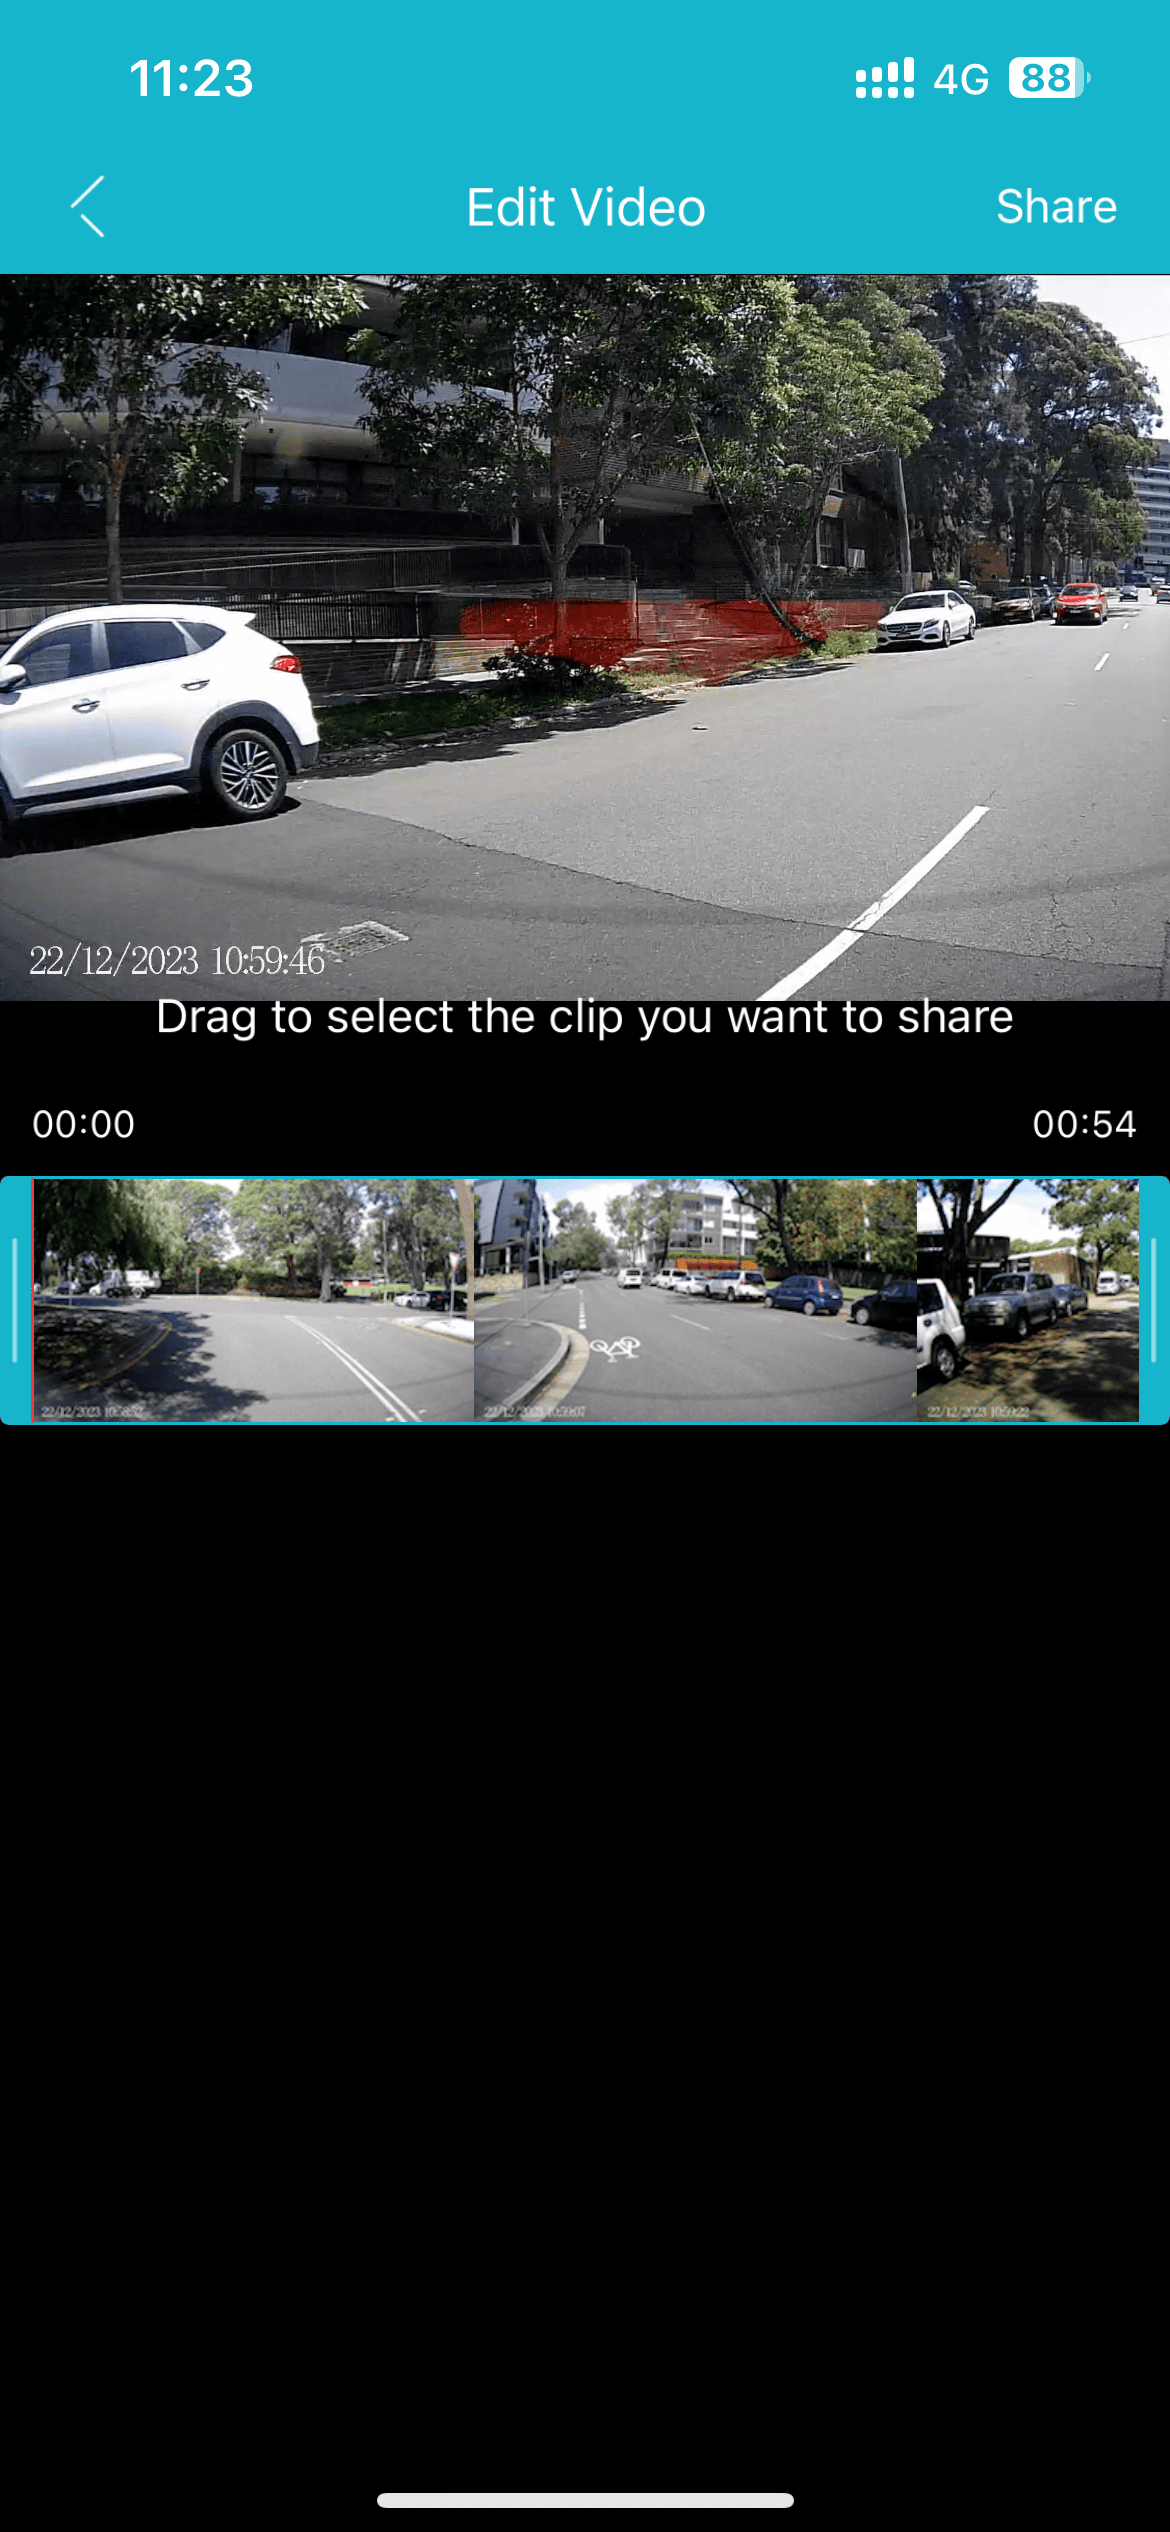
Throughout each of the saving processes outlined above, which include moving from footage folders to “My Albums” and subsequently to your smartphone’s album, users have the ability to crop the video. It’s worth noting that the user interface (UI) differs between the two steps. In the initial step, users can select start and stop times by tapping on the “trim” icon, while the second step closely mirrors the conventional drag-and-scrub mechanism to choose the desired start and stop time.
This functionality specifically applies to videos. However, for snapshots, they are directly stored in your smartphone’s album. Upon returning to the app, you can easily identify the downloaded images with the “Downloaded” tag associated with them.
I hope there is a desire for a more streamlined video retrieval process by eliminating the intermediary step. Achieving a uniform experience between retrieving videos and snapshots would contribute to a more cohesive and user-friendly interface.
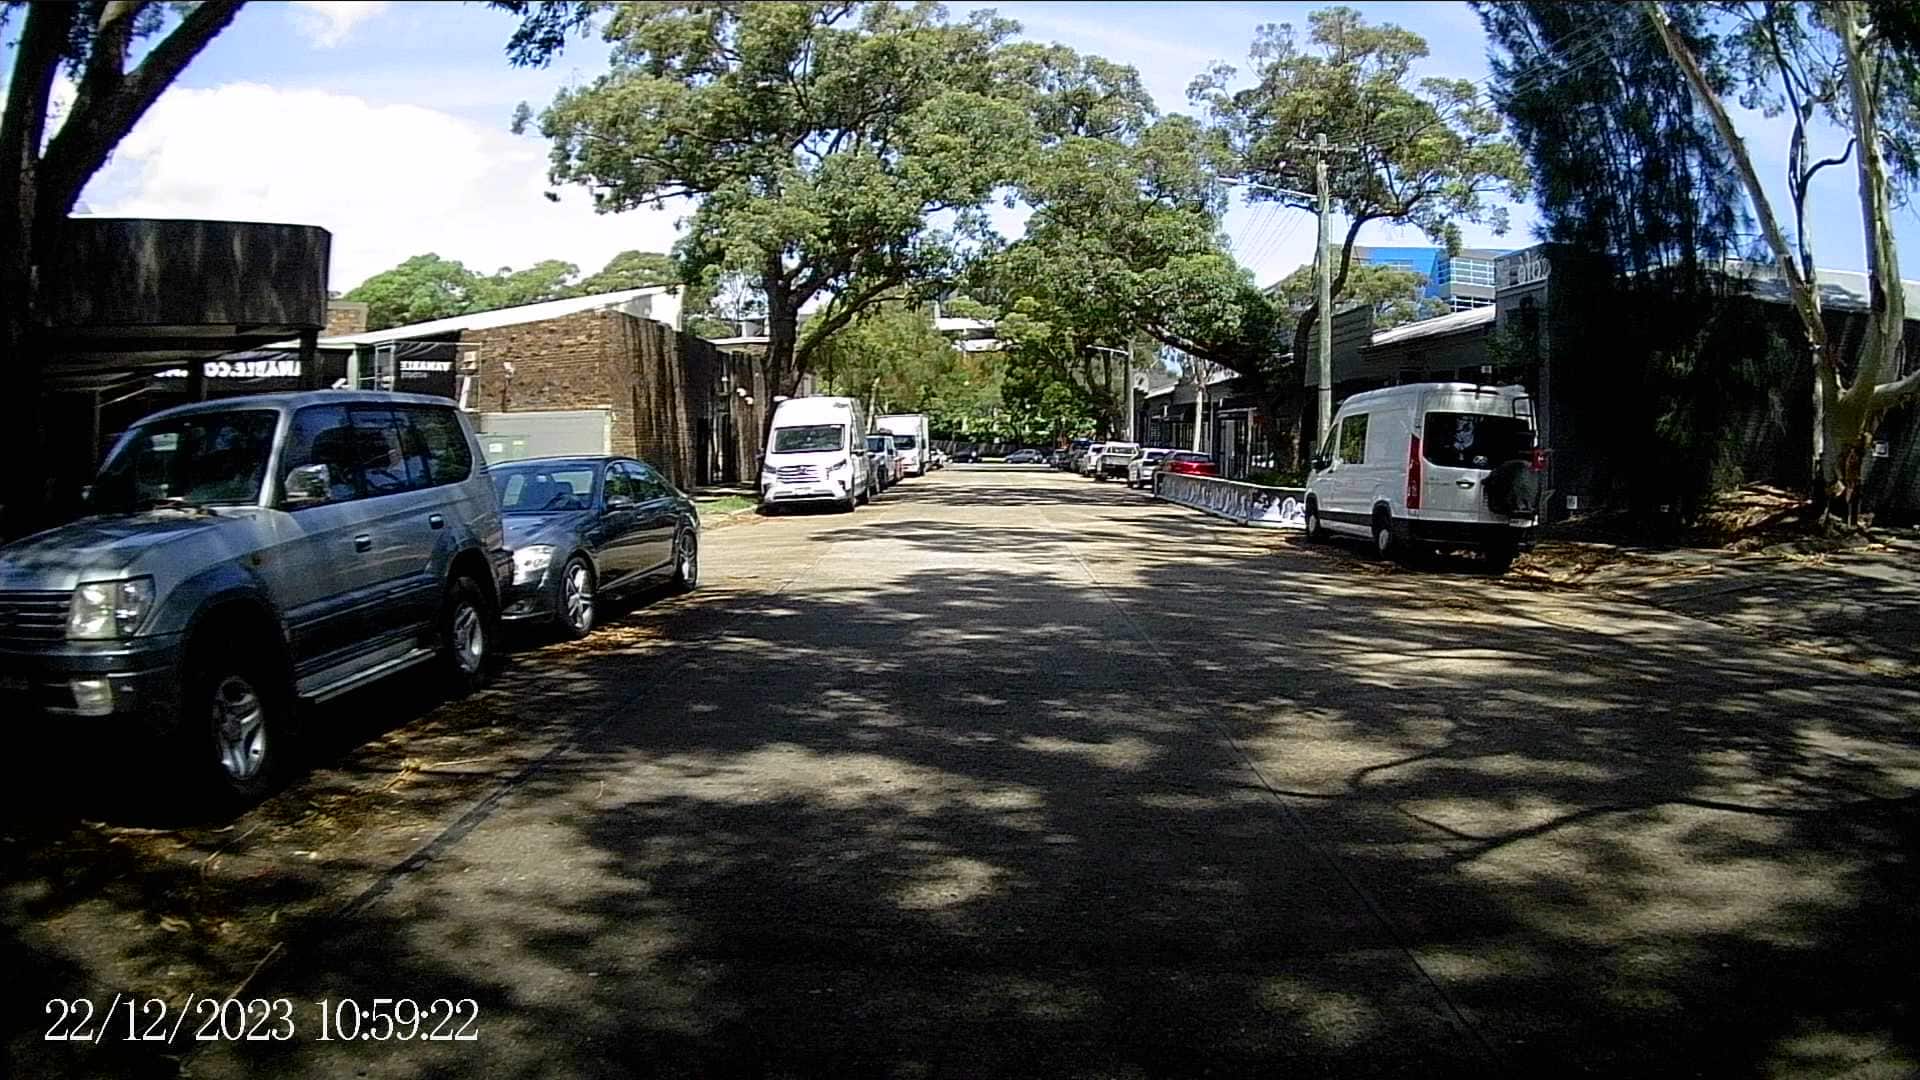
Ombar Dual Dashcam Review – Sample Videos
Front Cam:
Rear Cam:
Ombar Dual Dashcam Review Conclusion
Ombar Dual Dashcam offers impressive value for its price, delivering peace of mind on the road. However, the user experience, particularly with the Kacam app, requires serious refinement to ensure a seamless and satisfying interaction. Despite these drawbacks, Ombar Dashcam still proves to be a contender as a budget-friendly choice in the competitive dashcam market.
You can purchase the dashcam at Amazon.
Disclosure: Ombar Dual Dashcam review sample was supplied for reviewing