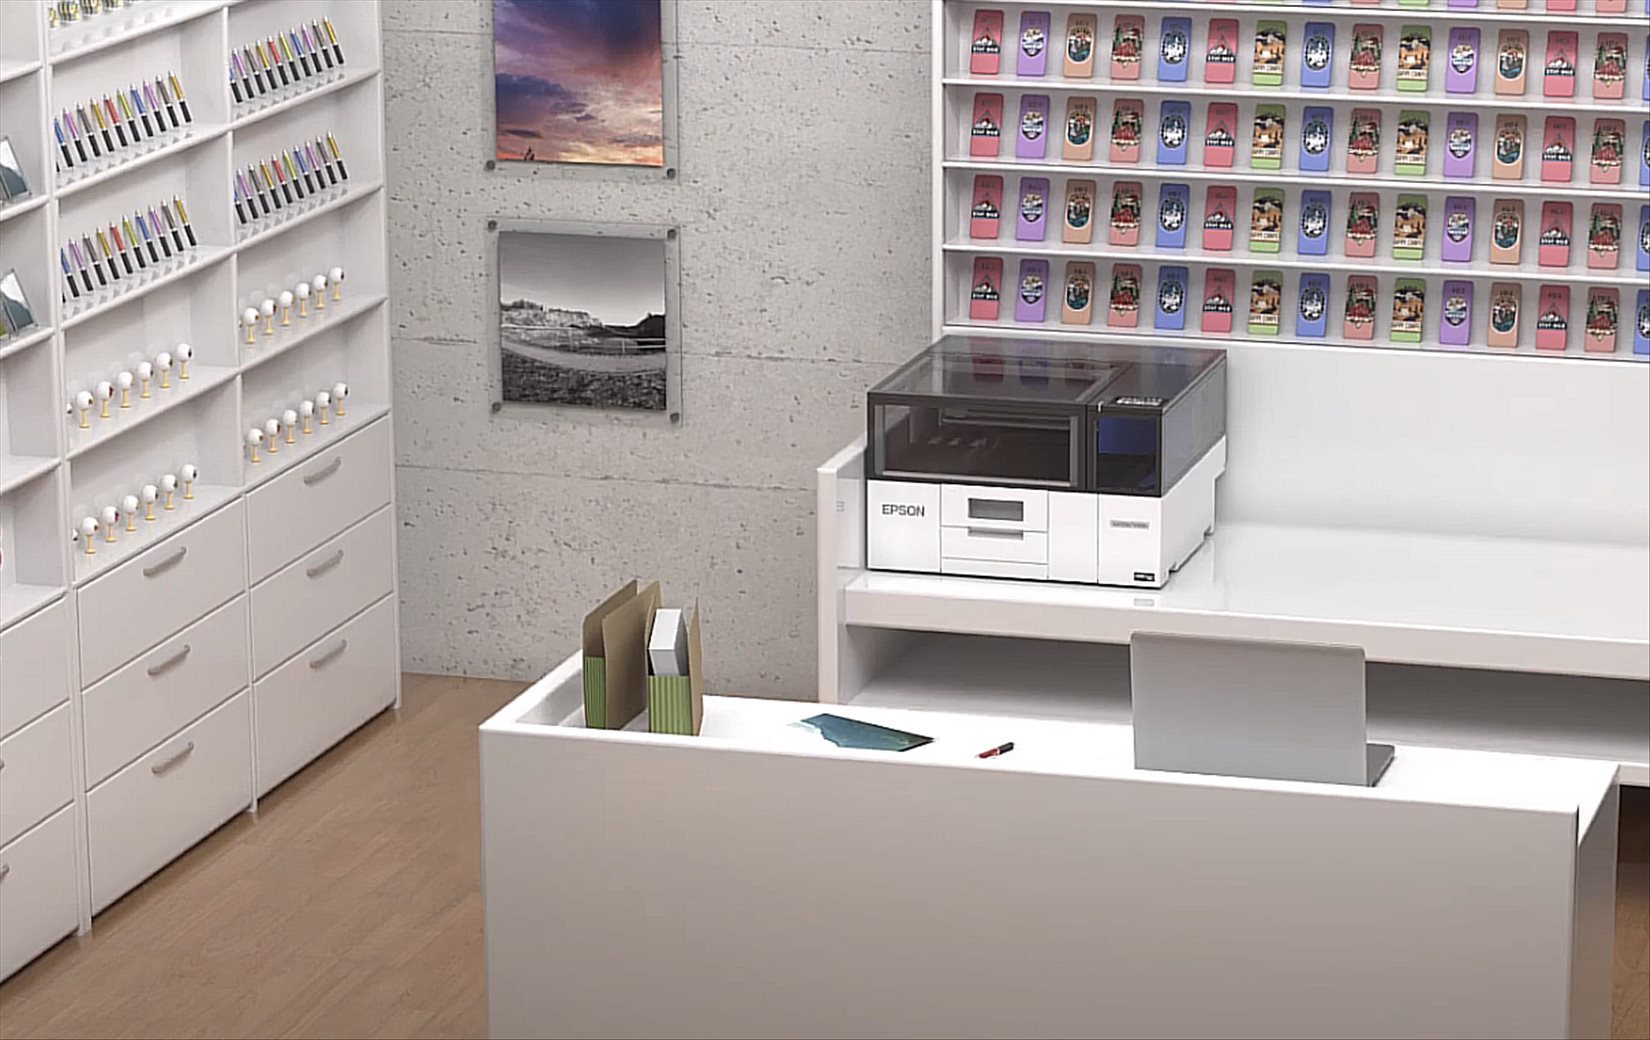
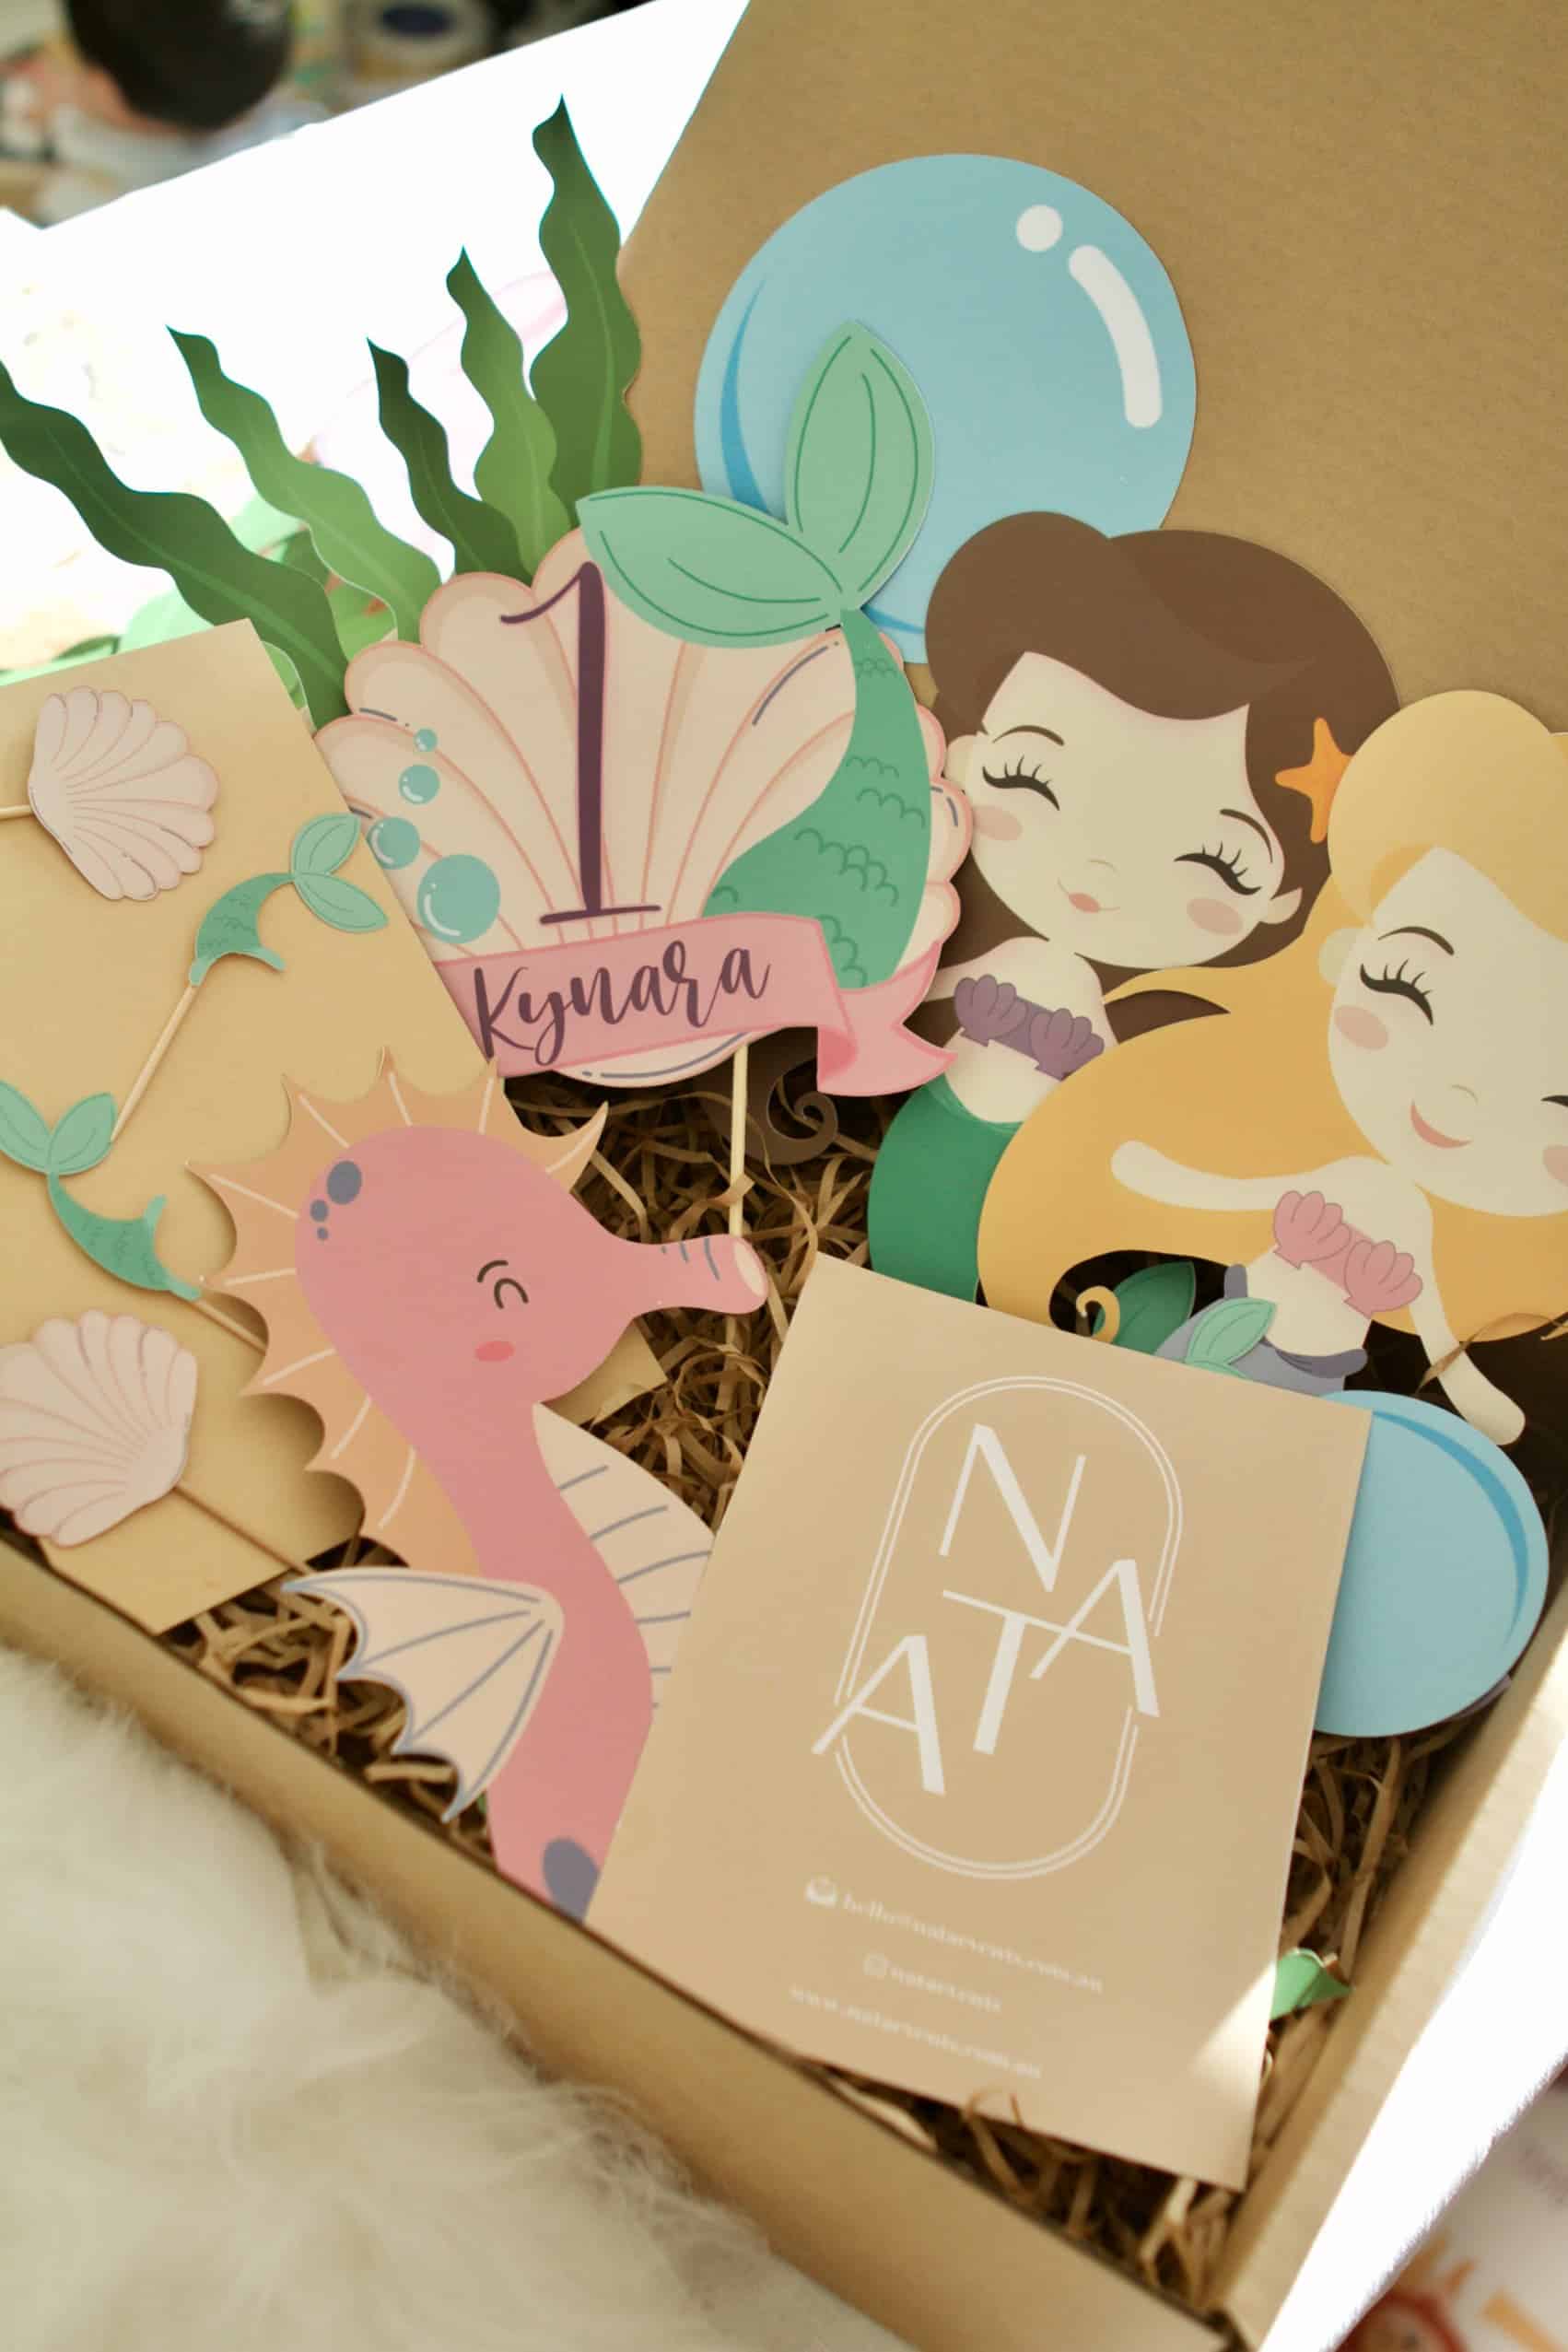
Cricut Maker Review – I so happen to own a small business startup in event styling at Nata Events and we love to add personalised stationaries in our clients’ events. These were done by searching and contacting other vendors to supply them.
But thanks to Cricut Maker, we can now create our own and even design different types of stationaries – not only those with paper-based materials but also other materials such as acrylic, play wood sheet, and leather.
Cricut Maker basically cuts, draws, writes and scores with precision on over 300+ different surfaces. There are attachment tools that you can use on top such as pens, markers, and different blades to help further in your creations. You can use the machine to cut out logos & cards, engrave, debossing, and many more.
What comes in the box:
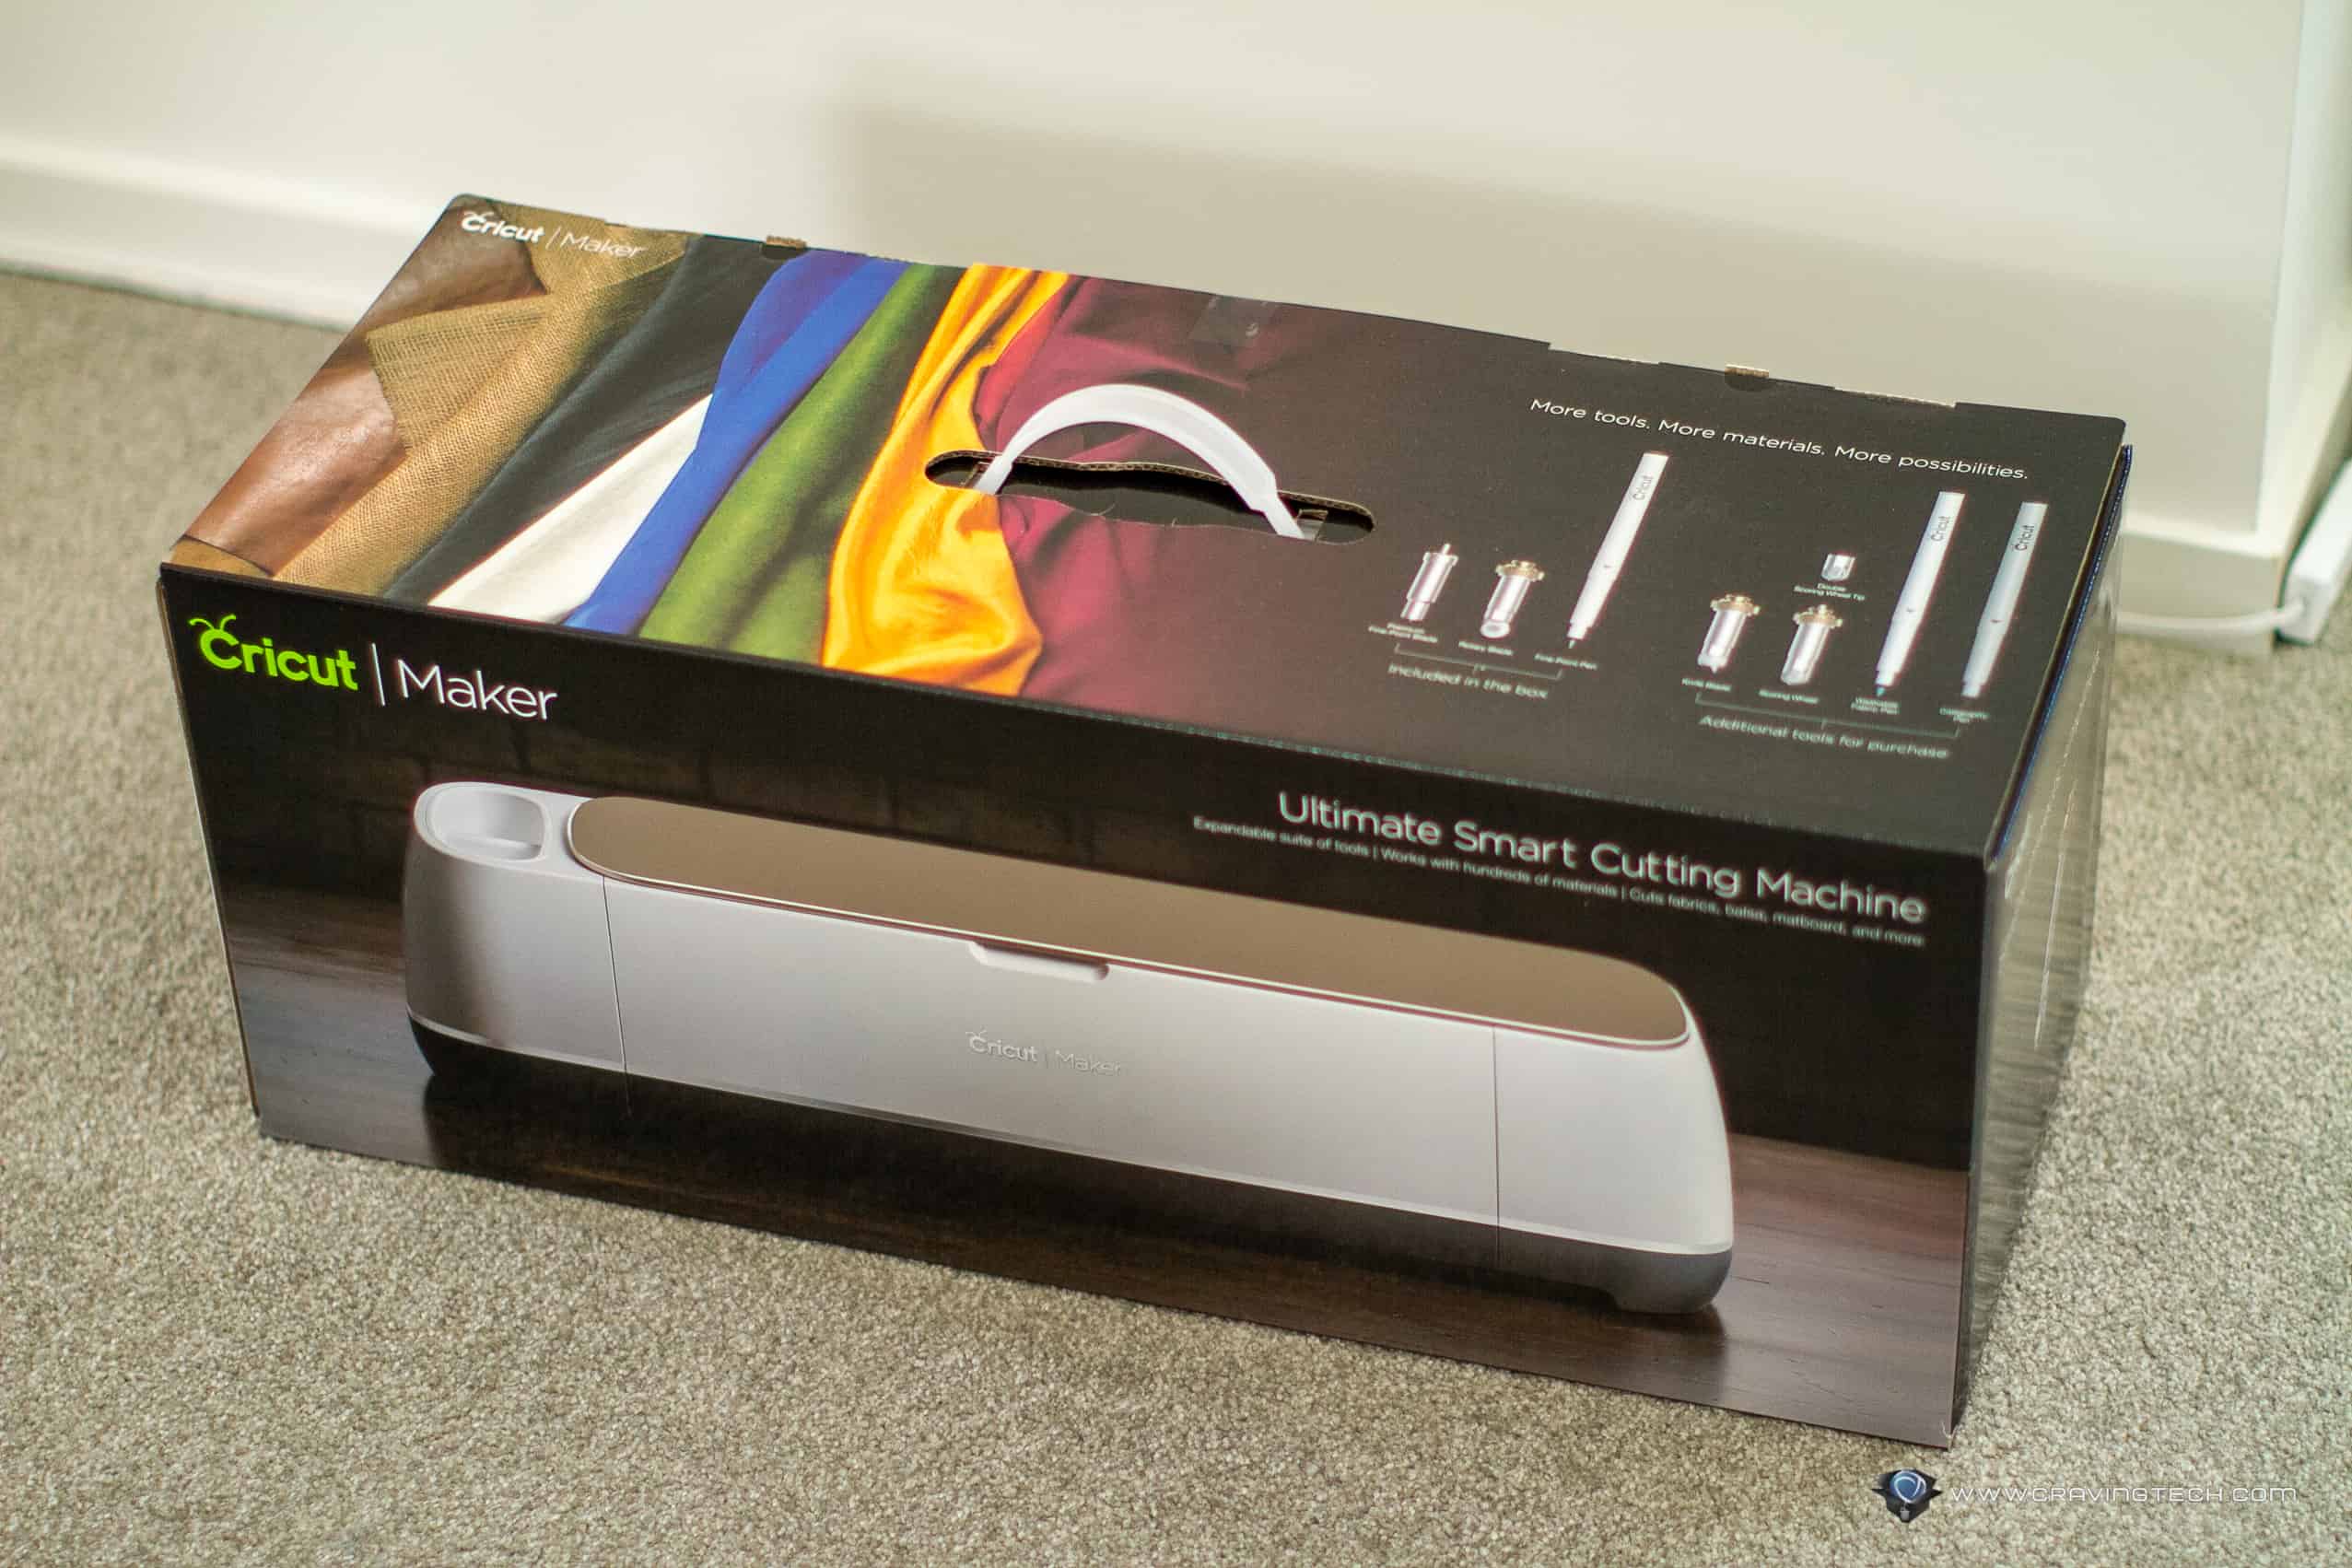
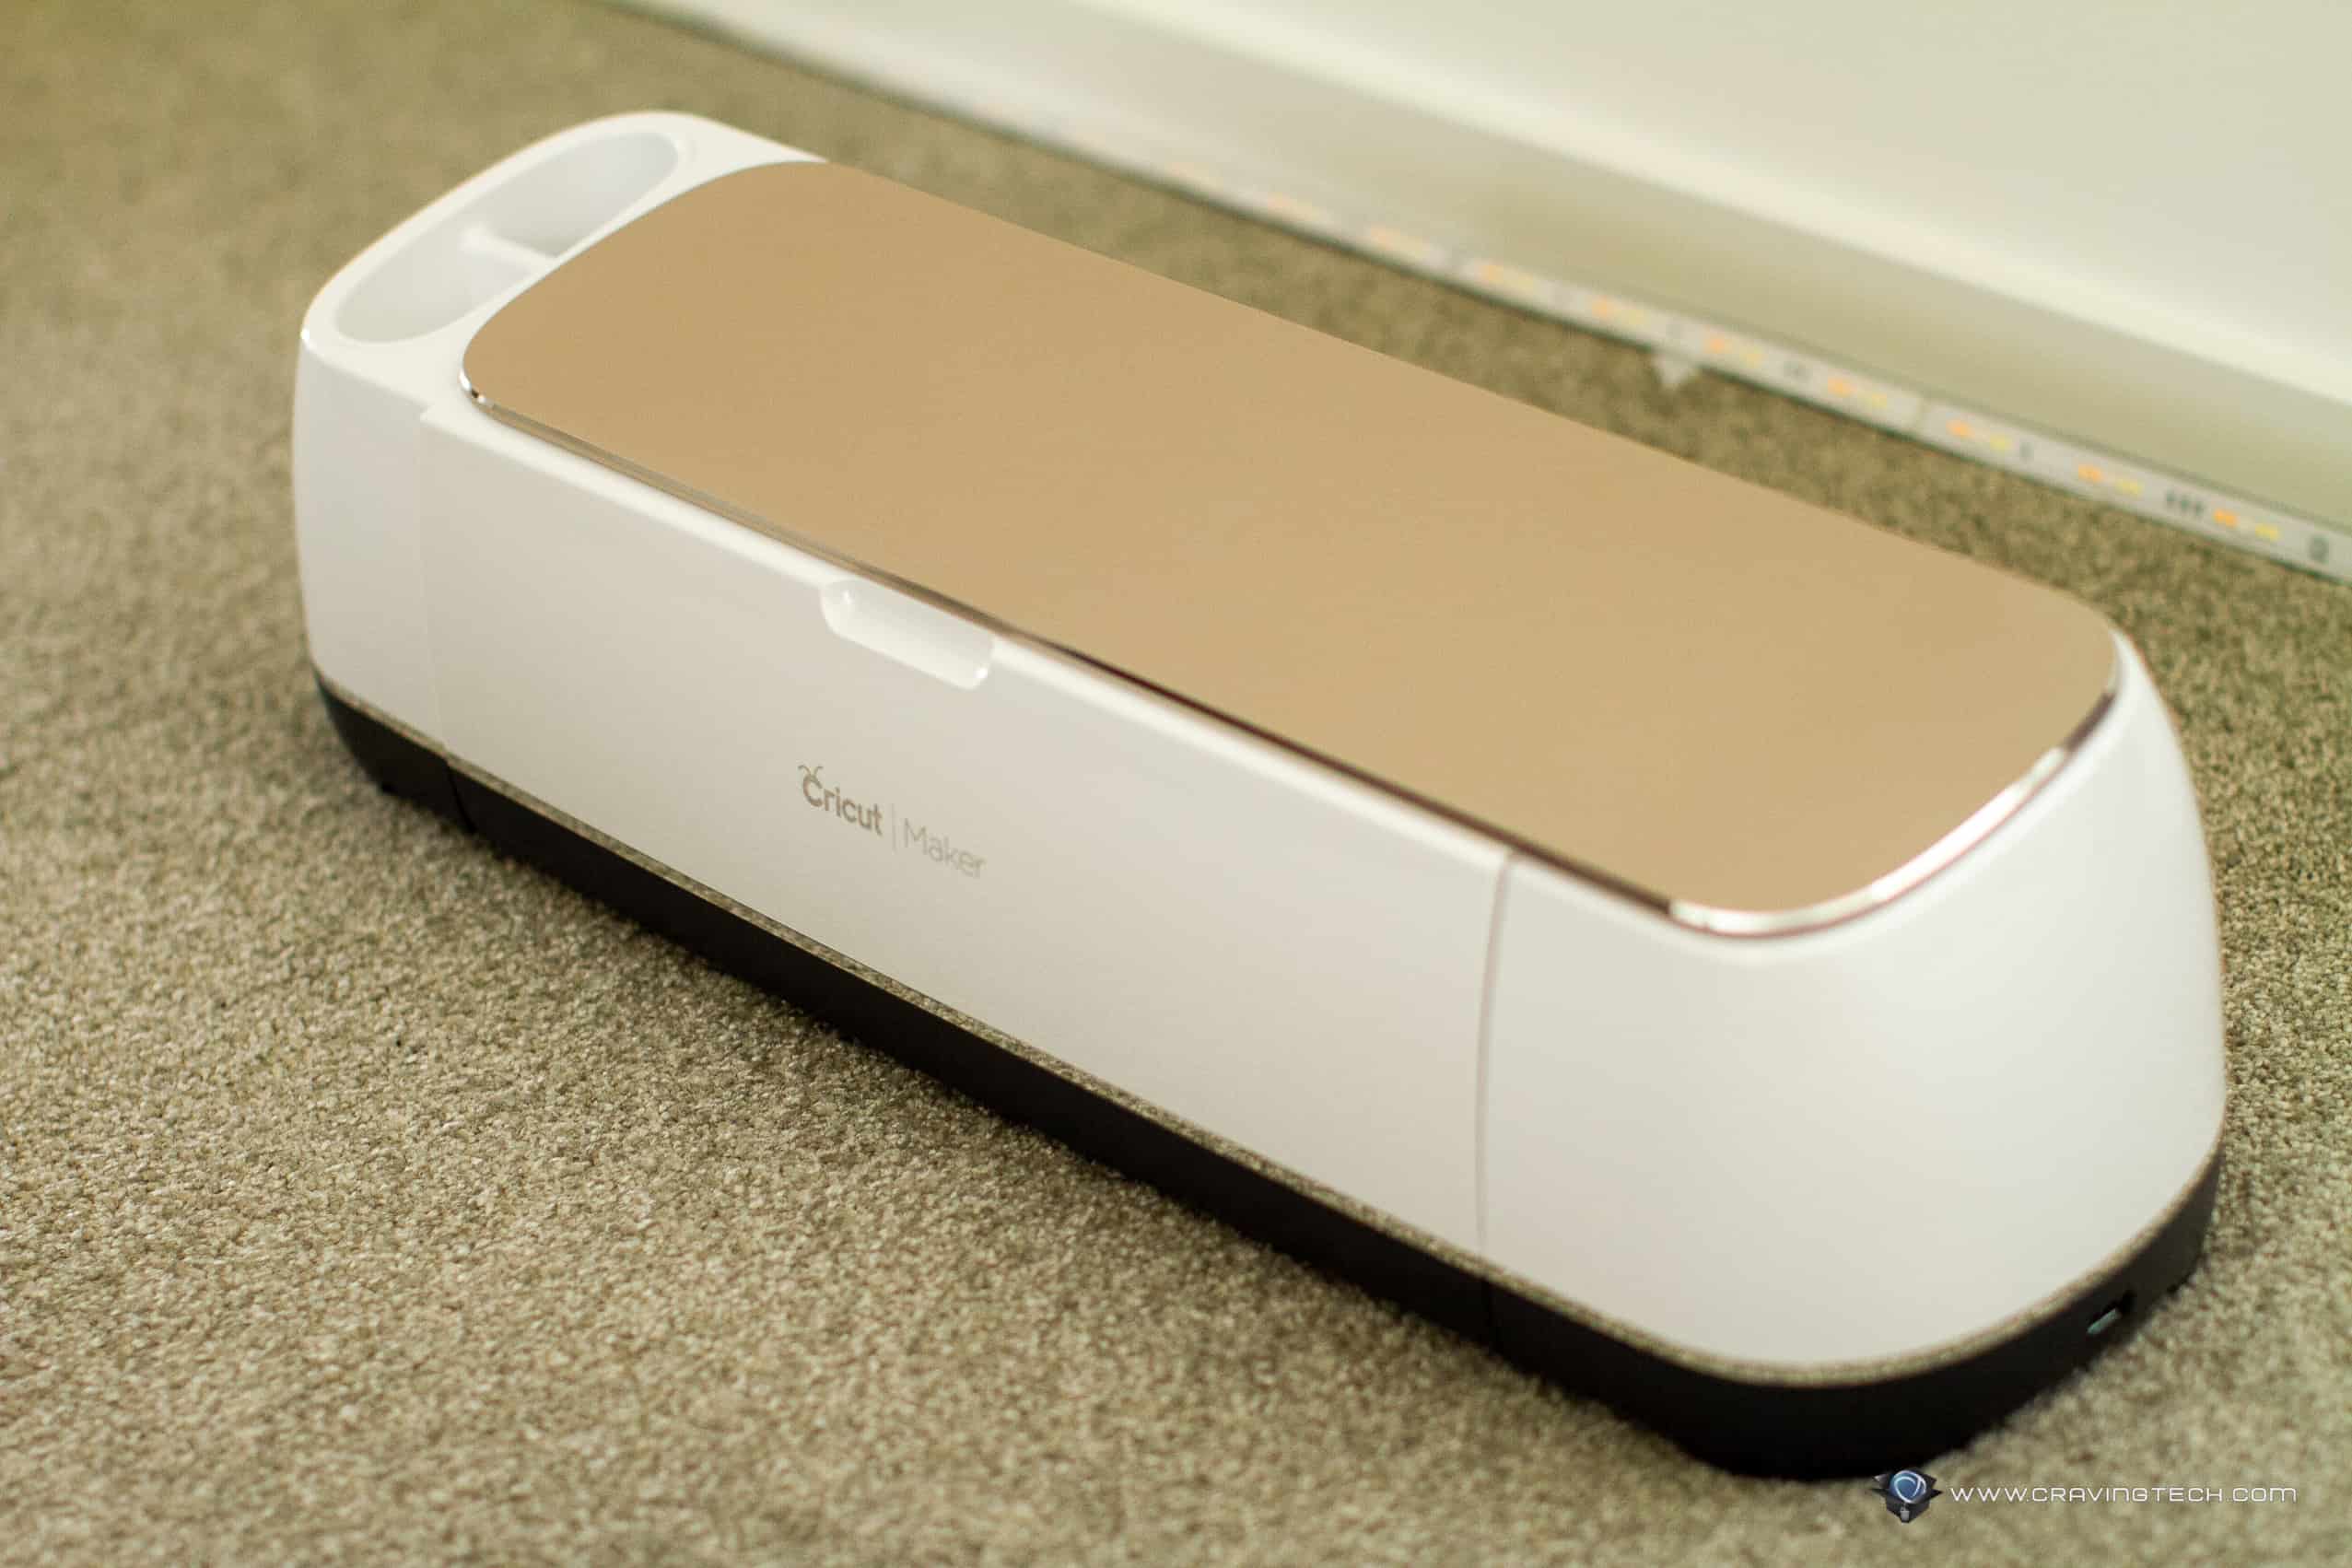
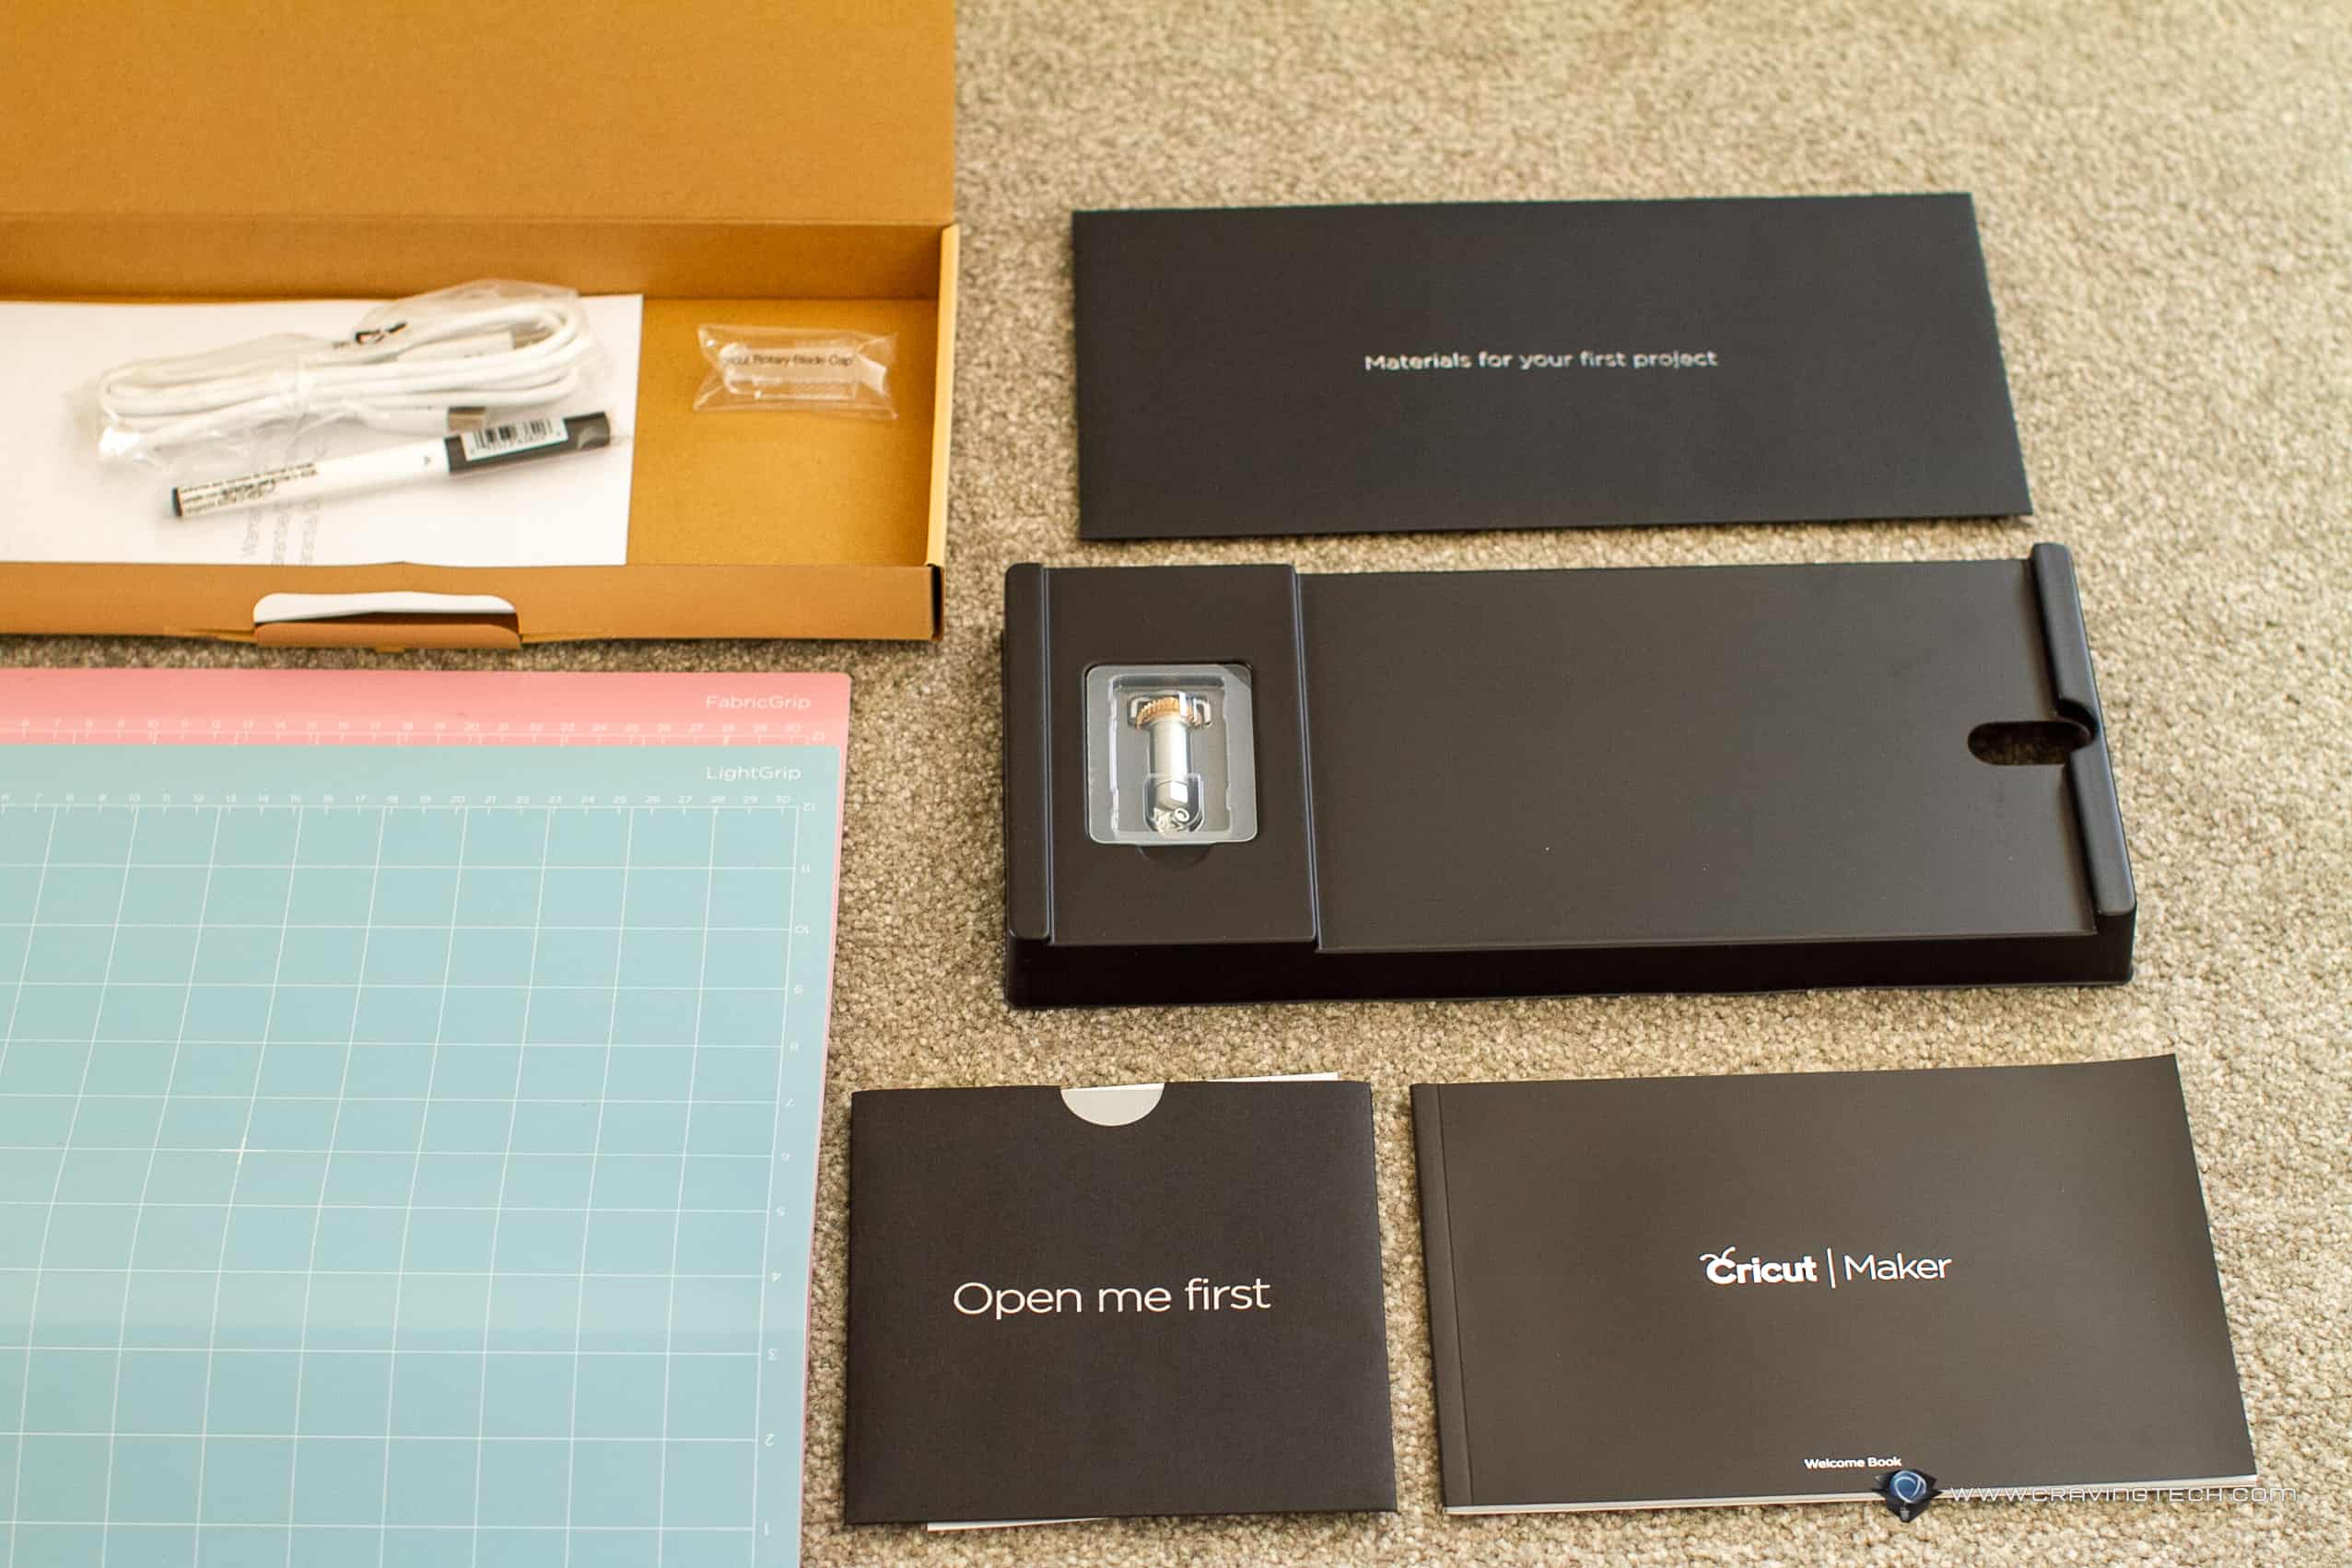
- The Cricut Maker Machine
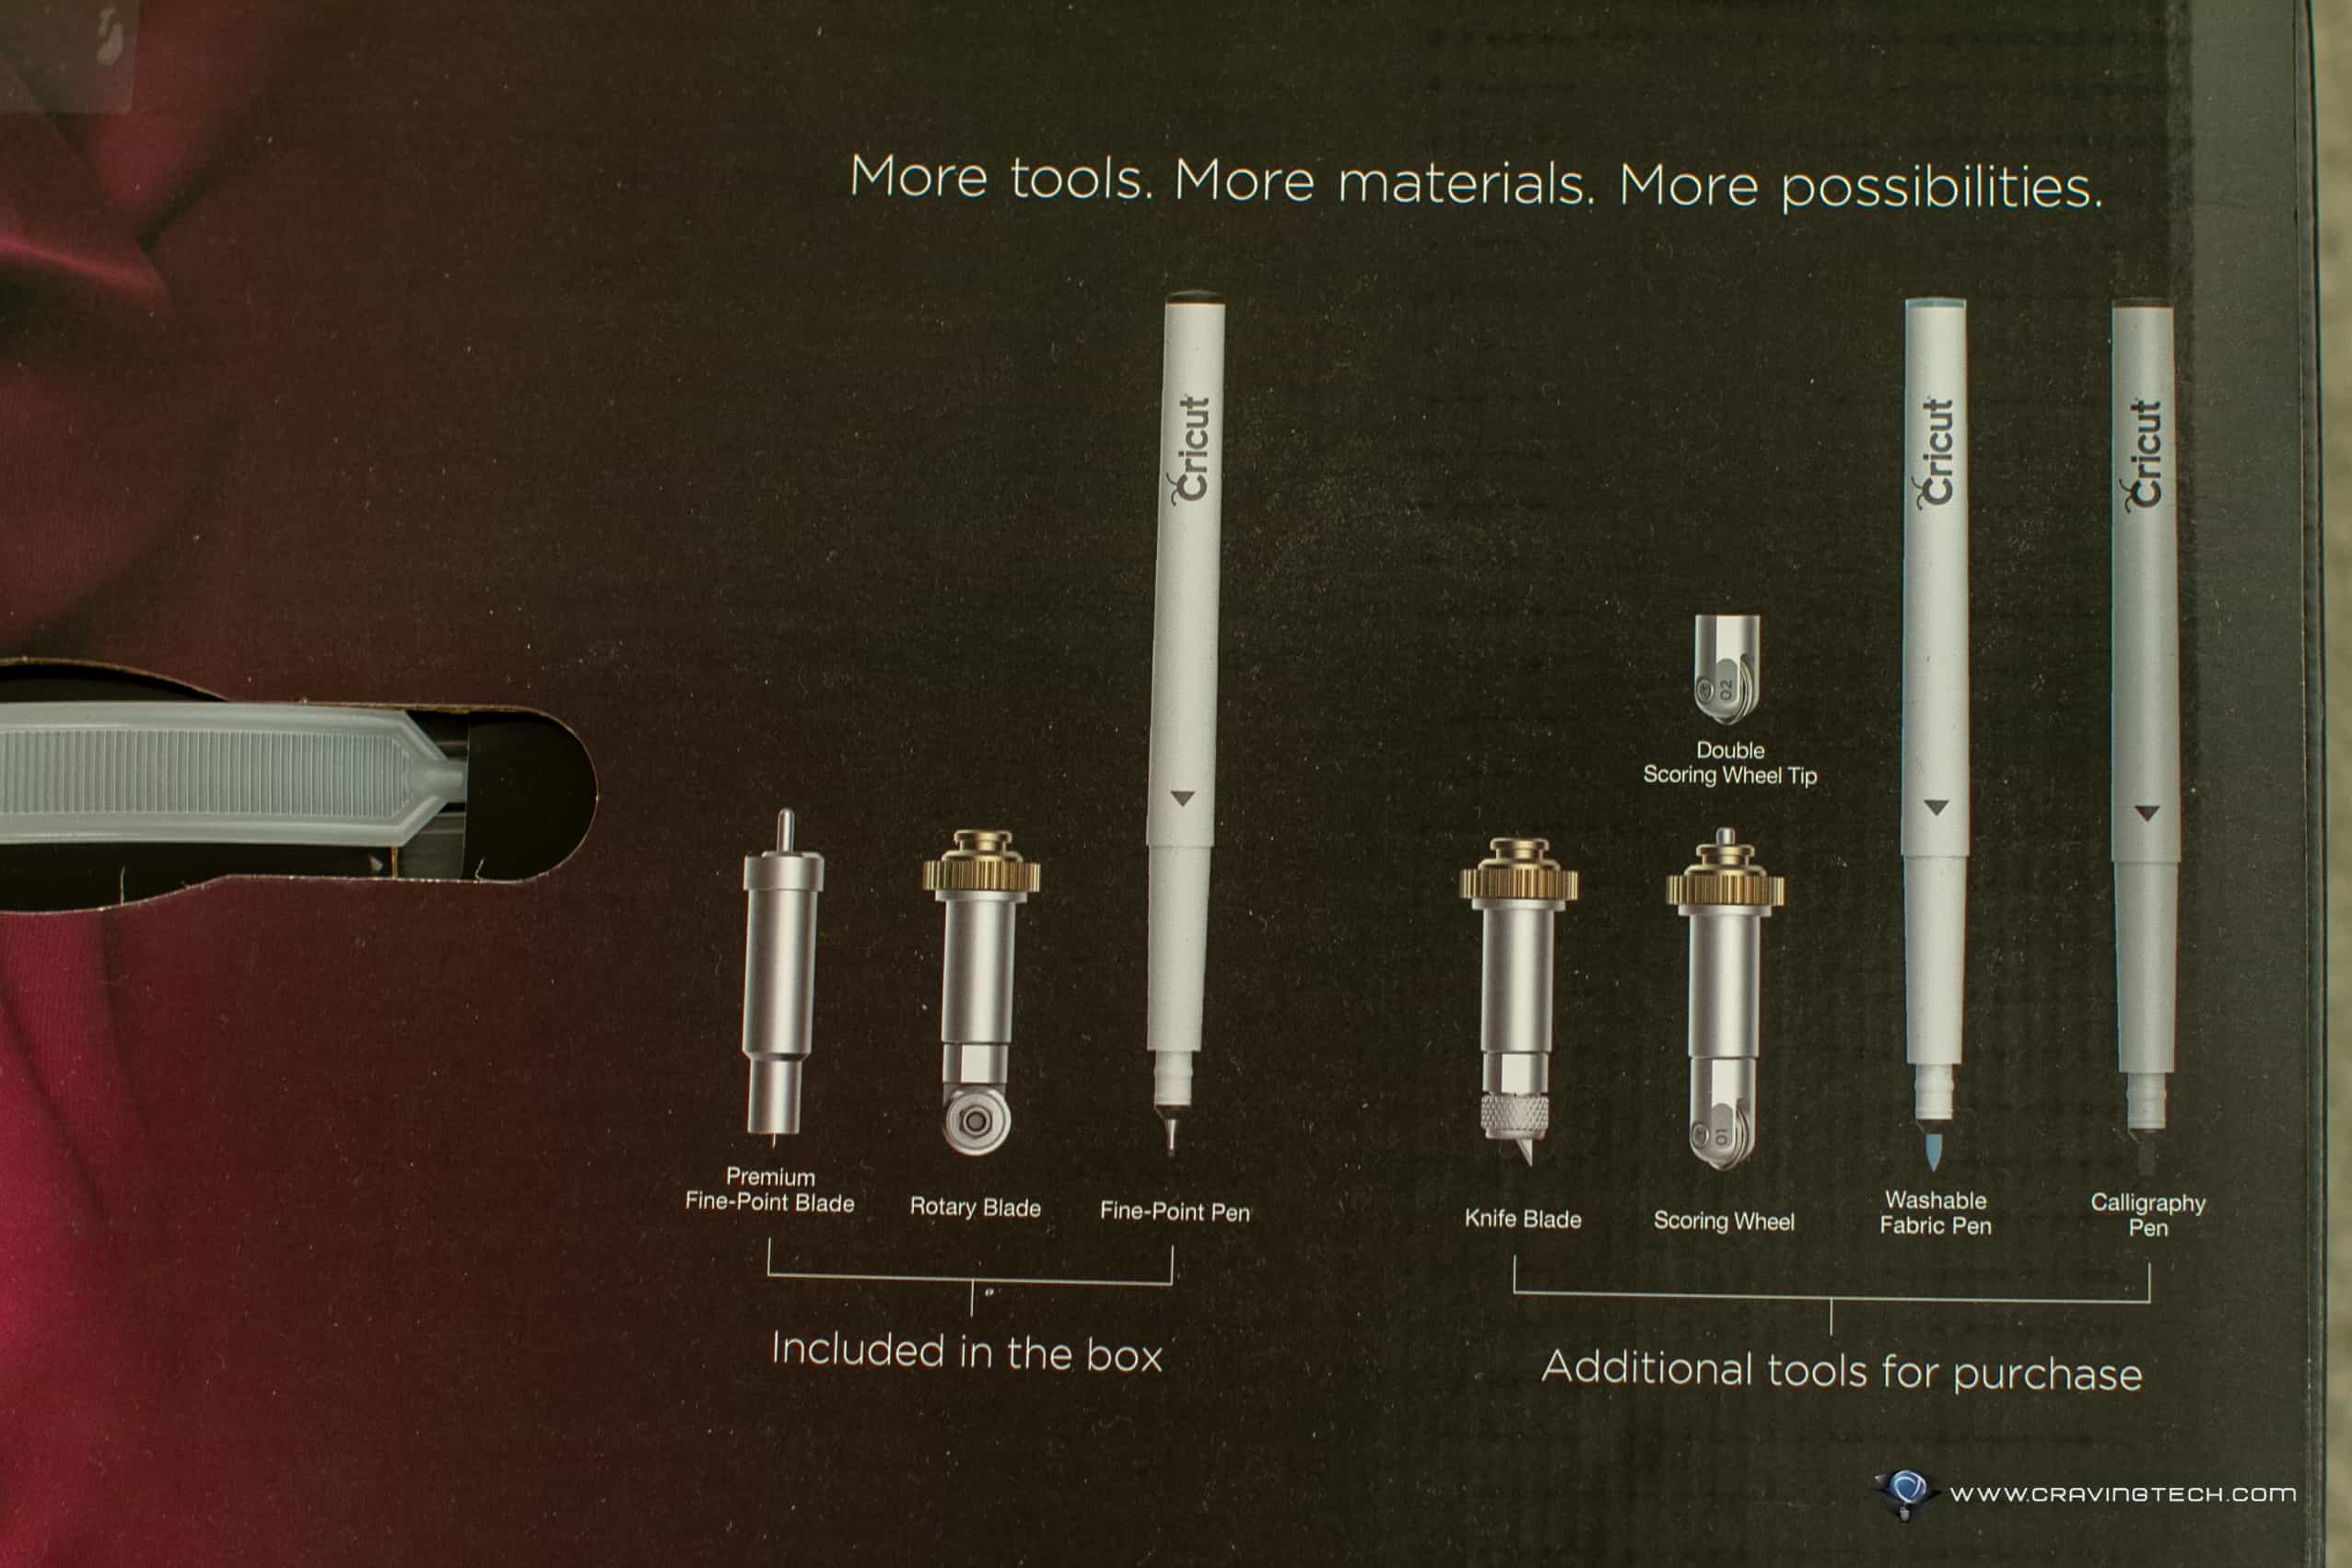
- 1x Rotary blade with drive housing
- 1x fine point blade with housing
- 1x fine point pen, black
- 1x Fabric grip machine mat (30.5cm x 30.5 cm)
- 1x light grip machine mat (30.5cm x 30.5 cm)
- 1x Power adapter
- 1x welcome book
- Free trial membership to Cricut access for those who new subscribers, and 50 free ready to make projects, including 15 sewing patterns.
Most of our trials with the Cricut Maker were with paper-based materials. The machine saved us a lot of times and increased our productivity efficiency.
Cricut Maker comes with Bluetooth connectivity support and direct cable connection via USB (which process things quicker compared to Bluetooth).
I feel that Bluetooth connectivity is a bit flaky at times as the machine sometimes likes to disconnect itself from my MacBook Air and can take a couple of minutes to reconnect. Compared to Cricut Joy’s Bluetooth pairing and connection, Cricut Joy feels faster but of course is more limited in features compared to the Cricut Maker.
I do wish they include a button within the Design Space app (available on Windows, Mac, iOS, and Android) to start the job rather than having to press the button manually on the Cricut Maker machine. I have the Cricut Maker away from my desk due to the limited desk space and it can get tedious having to walk back and forth each time.

With Cricut Maker, I suggest the first thing to do before you try anything with the machine is to watch a lot of tutorial videos in YouTube. Otherwise, you will experience a lot of trials and errors, and may end up wasting a lot of paper and ink.
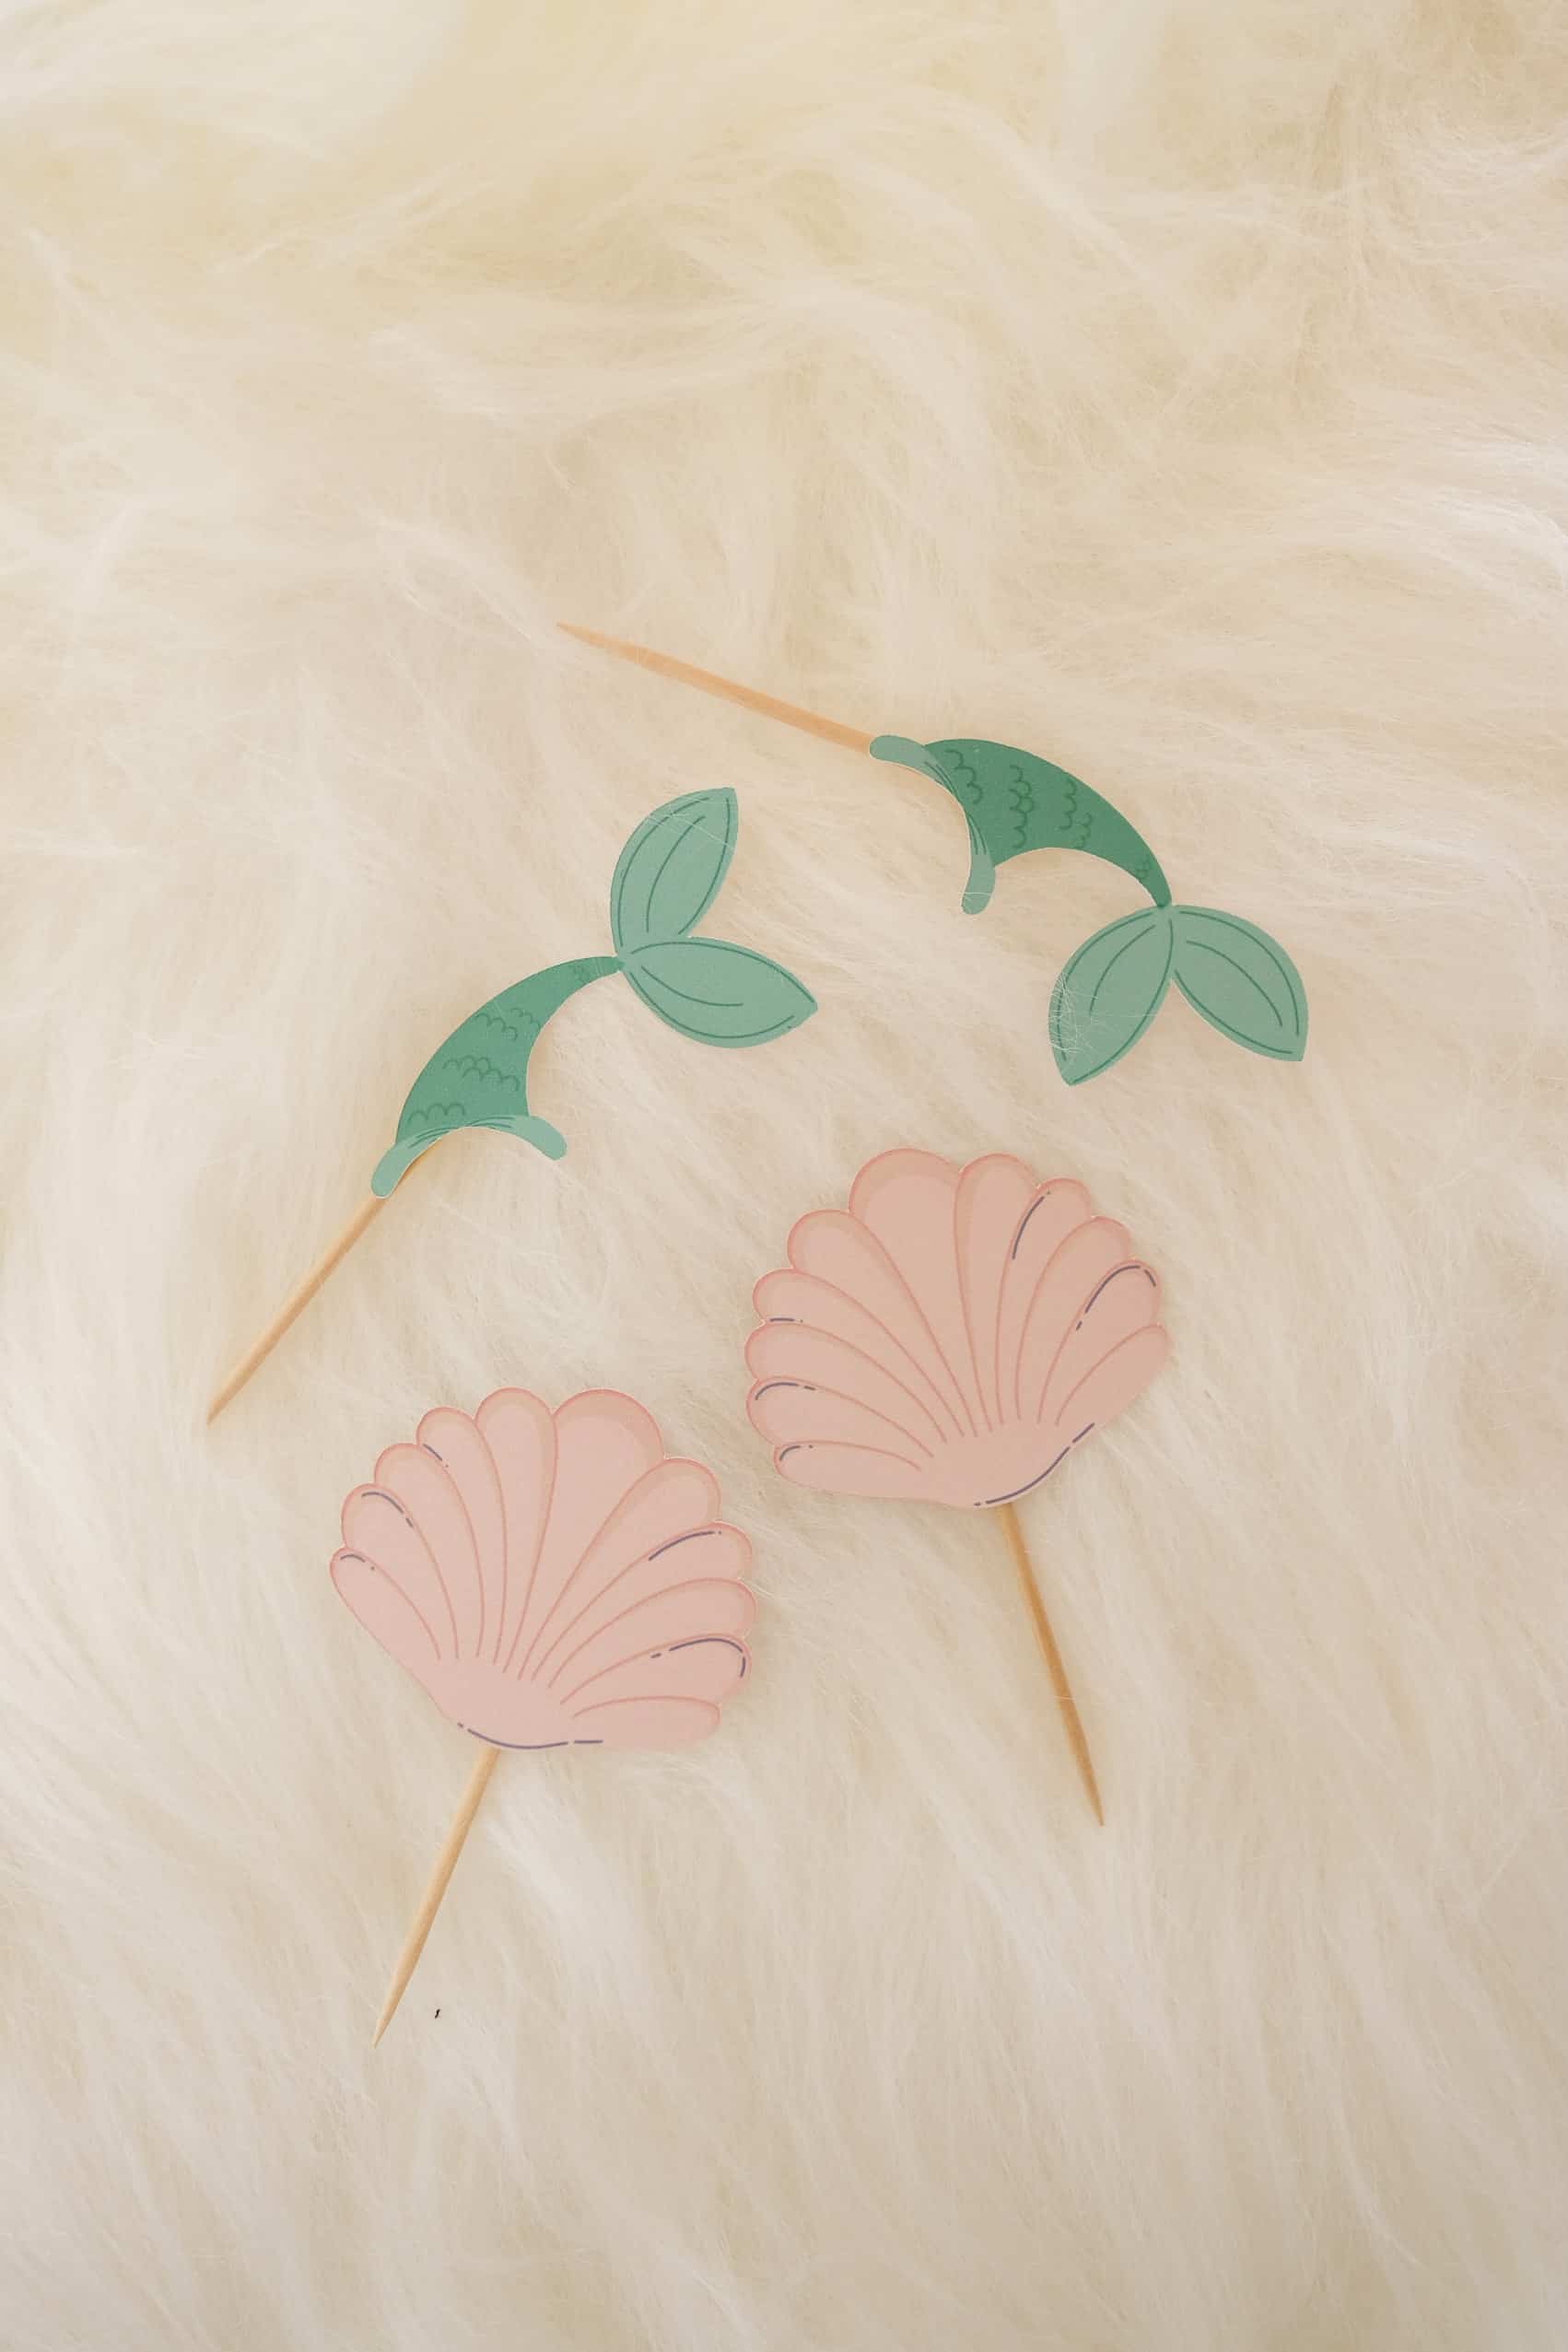
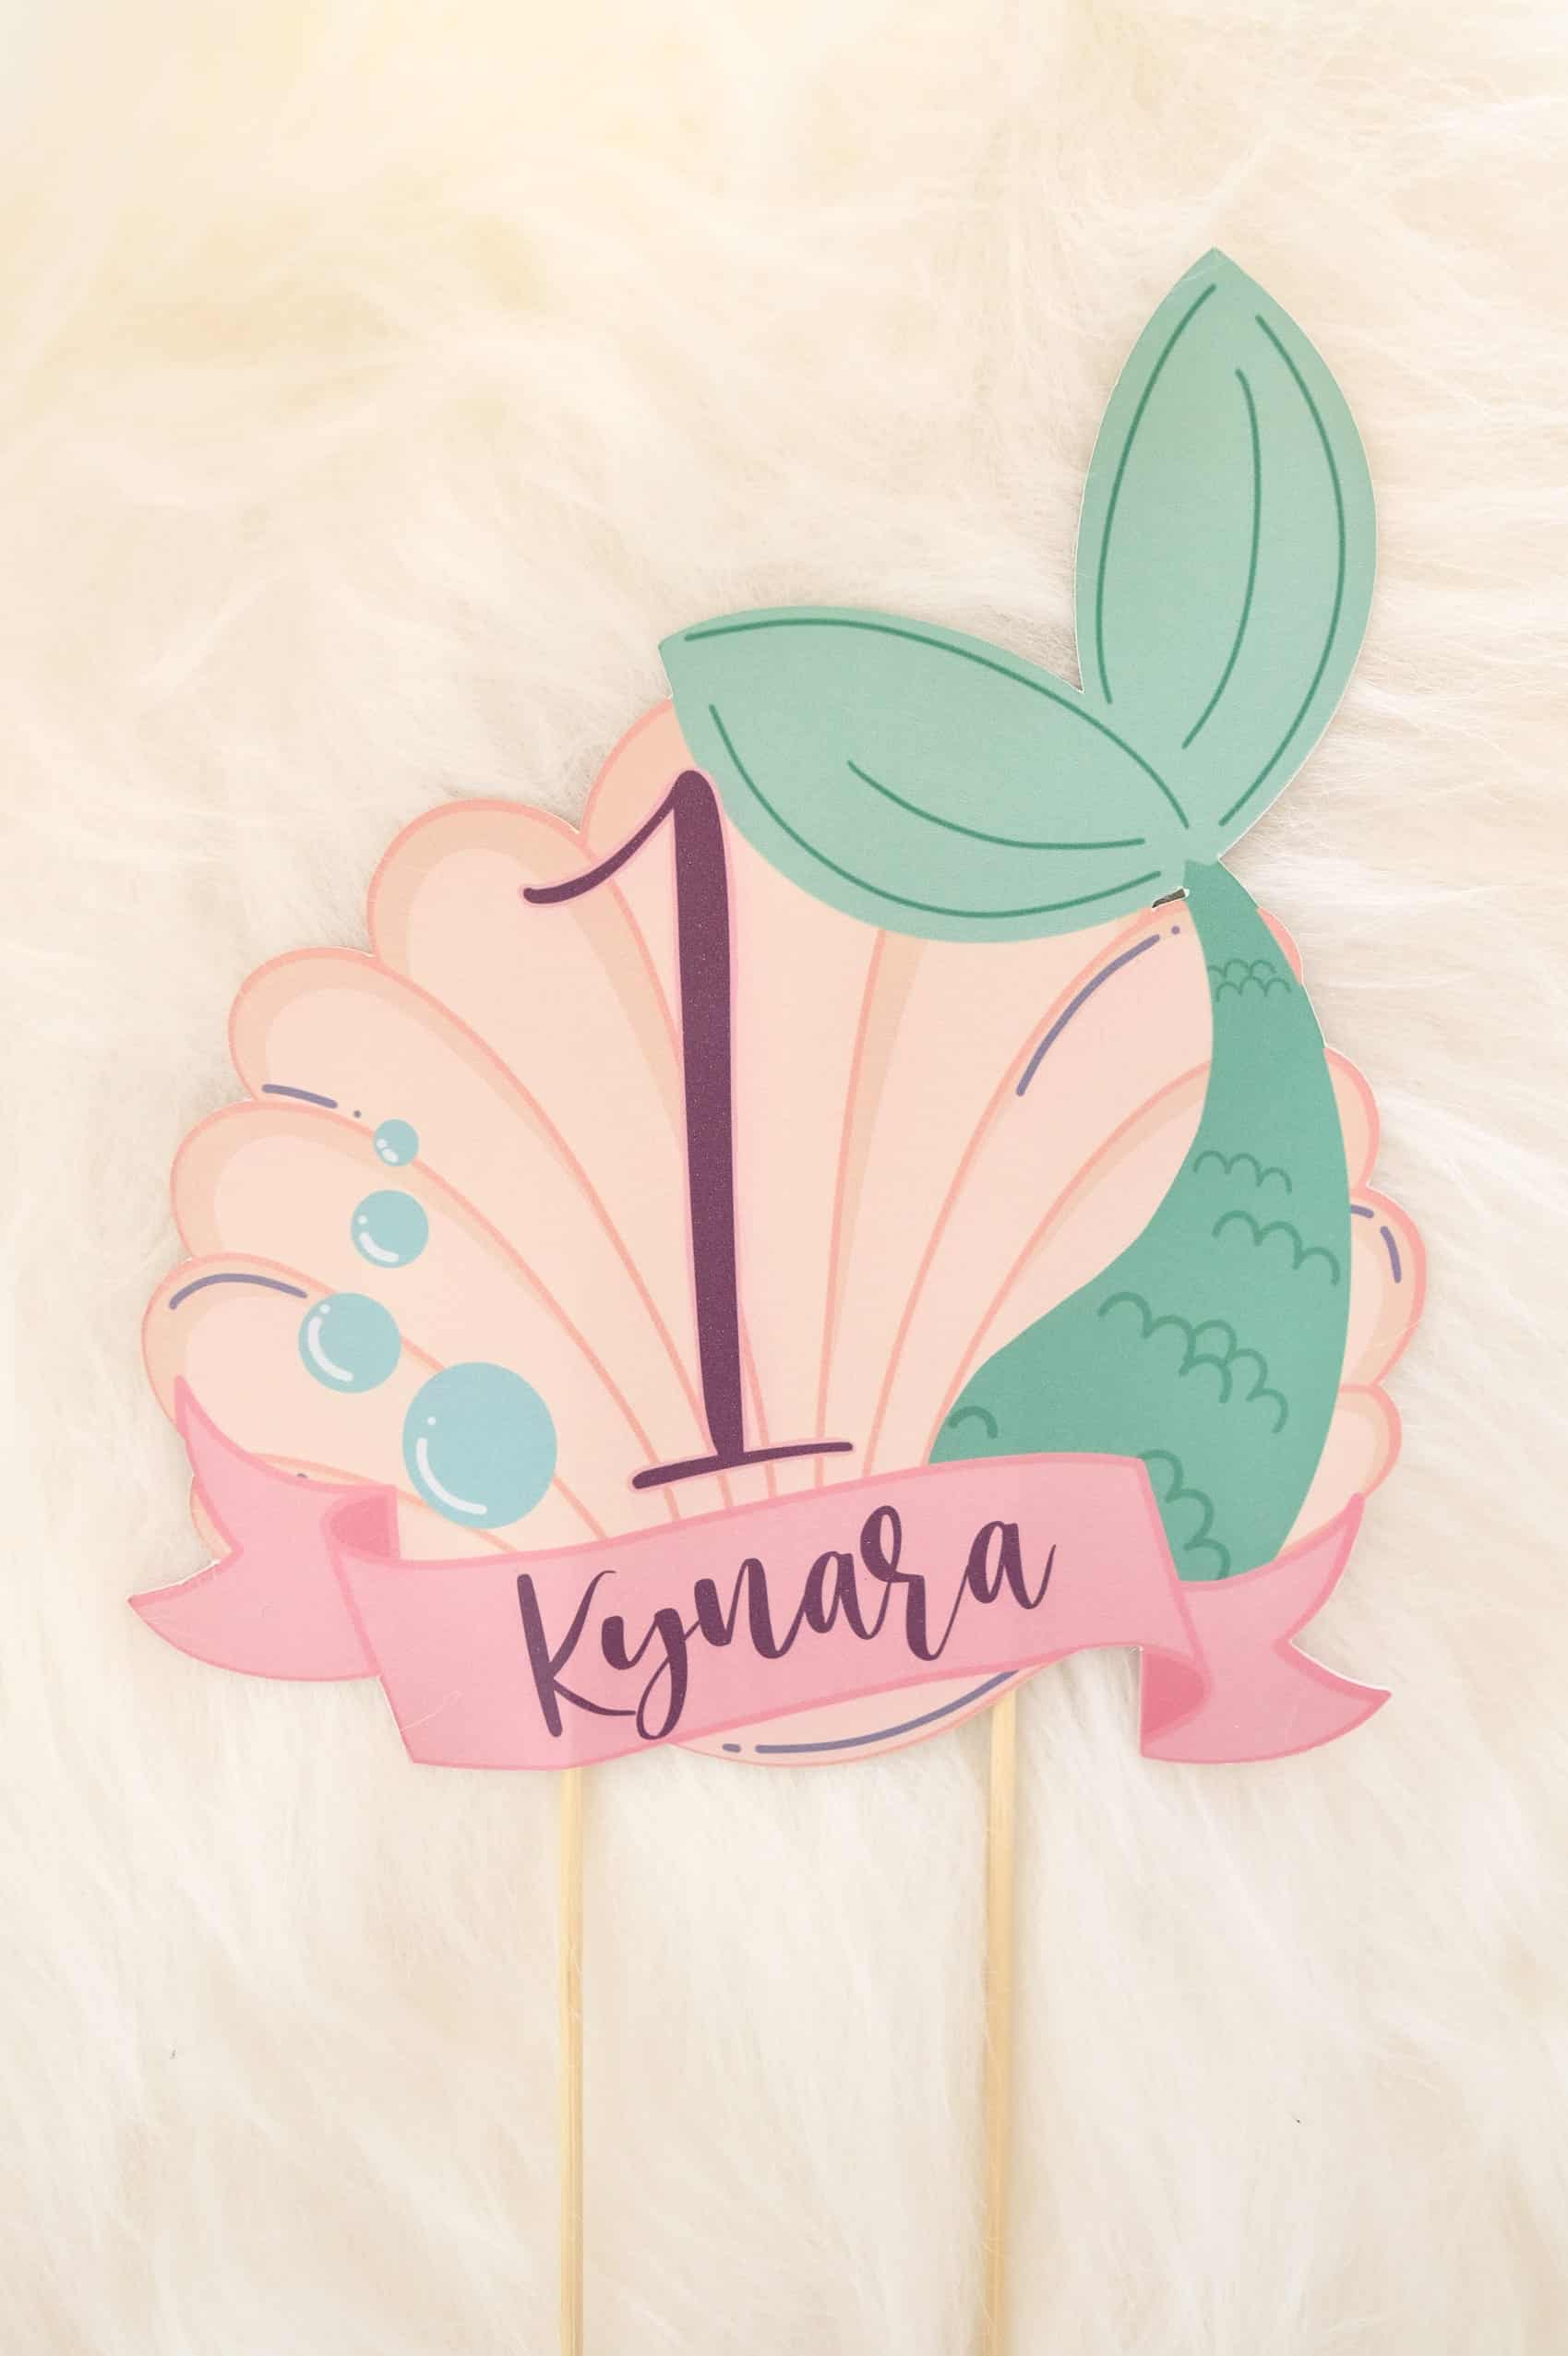
Also note that the type of paper will affect your project as well, so here are some tips. You must find a very good quality paper with proper thickness to get the perfect result (I’ve tried using a recycled paper with around 80 or 100gsm and the blade tore half of the paper). So I’d suggest using a 250gsm and 300gsm paper for printing things like cupcake or cake toppers.
If you are using a Cardstock which usually comes in 190gsm, I’d suggest printing the result twice and combine them together to give a sturdier result. I love printing with 250gsm HP paper because it gives great quality print results so far.
In order to have the best quality of printing and accurate cutting, you also have to calibrate the Cricut’s knife every now and then, plus check & clean the print nozzle (like a printer).
Cricut Maker comes with a fine point blade that can be used in almost any kind of papers with various thickness. I am using a 300gsm paper to make some paper cut-outs and they turned out perfect. If your project is mostly using paper-based materials, the fine point blade and light grip machine mat are enough but you might need to get the extra tools for different projects.
I’ve tried using the deep point blade to cut a laminated paper and it also turned out great. With Cricut Maker, you can do a lot of things such as embossing and engraving but you need to buy a special blade for this feature.
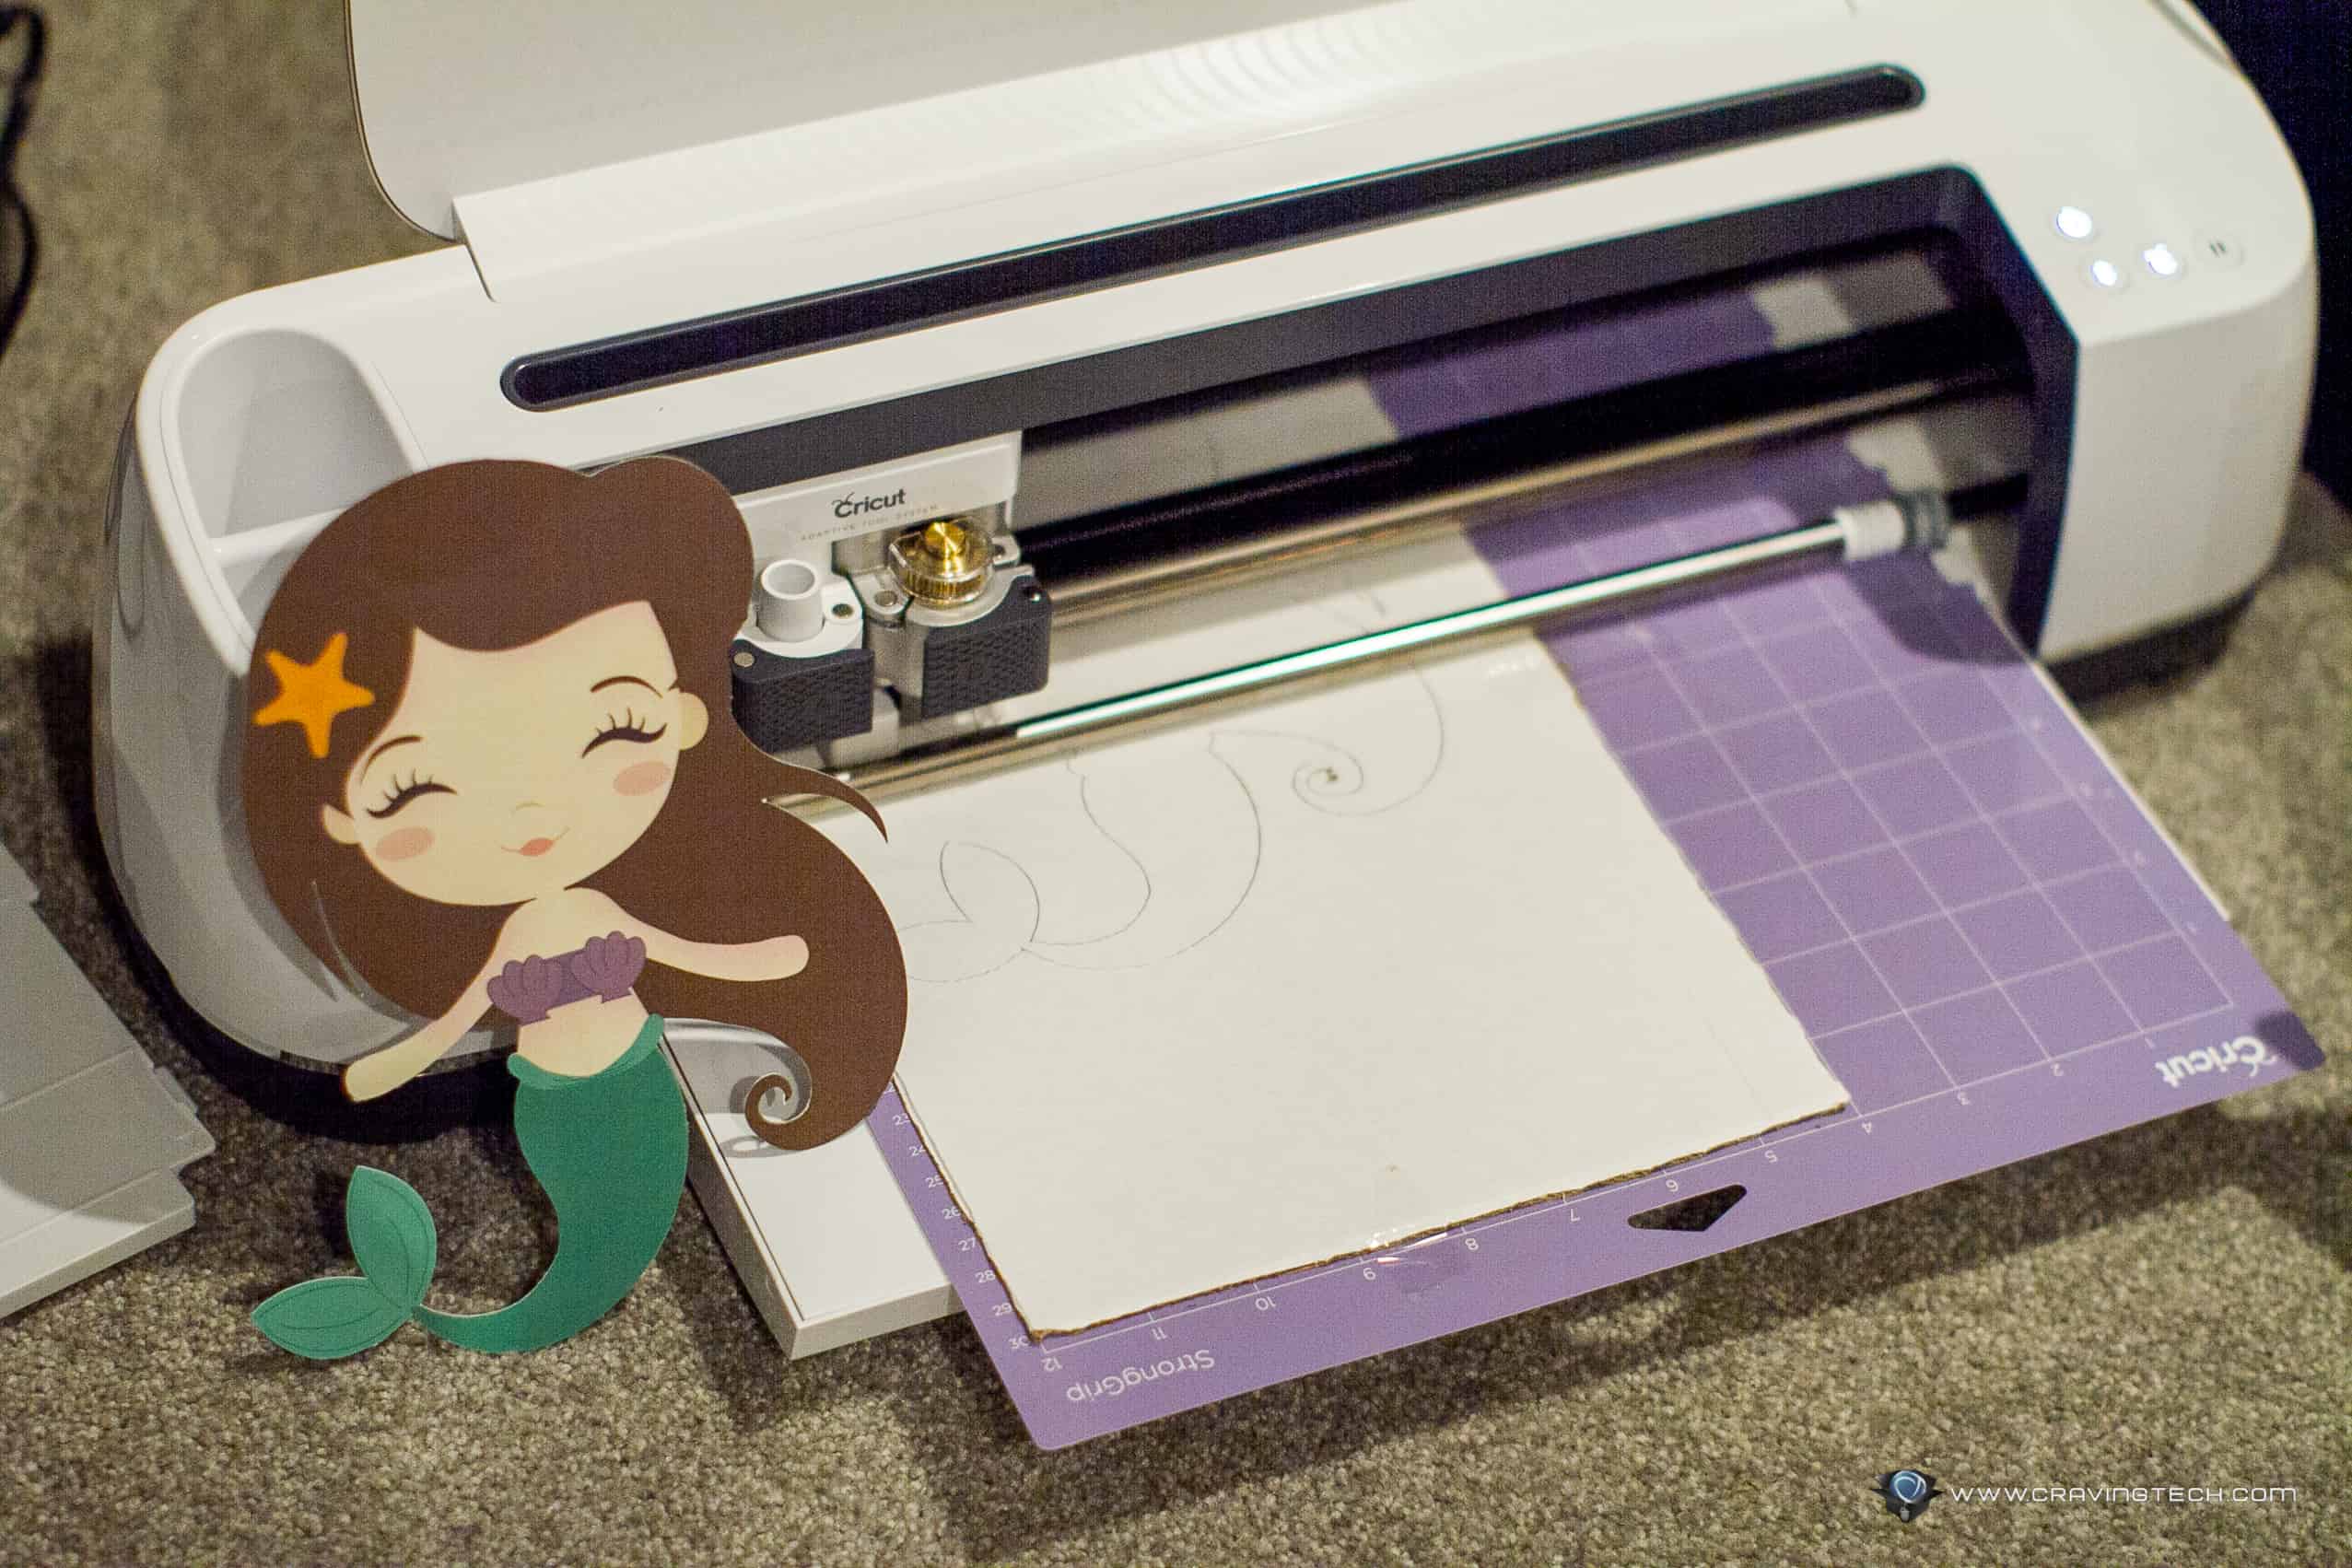
I’ve never used an advanced cutting machine like Cricut Maker before (apart from Cricut Joy – check my review out), so what I love the most about Cricut Maker is one of its features called “Print then Cut”.
You basically use Cricut’s software, Design Space, to create your project. It will then send the project to your printer and without changing any settings, place the printed project to Cricut Maker. The machine will then start cutting away. It’s definitely a simple, yet brilliant idea.
However, I wish that you can print a whole A4 or A3 page because with the “Print then Cut” feature, you can only cut within an image size of 23.495 cm x 17.145 cm. Despite of this limitation though, I still think this is one of the best features offered by Cricut.
There are definitely a lot of other things to try with Cricut Maker as you can also use other non-paper materials like leather, plywood sheet, acrylic, etc. But even with just paper-based materials project, you can already go far with this machine.
I’ve found Cricut Maker to be extremely useful if you like to make crafts with your children, especially during this quarantine period. You don’t need to worry about what kind of craft activity you want to give to your child. You can either find some ideas on YouTube or use Cricut’s complimentary, 50 ready-to-make projects.
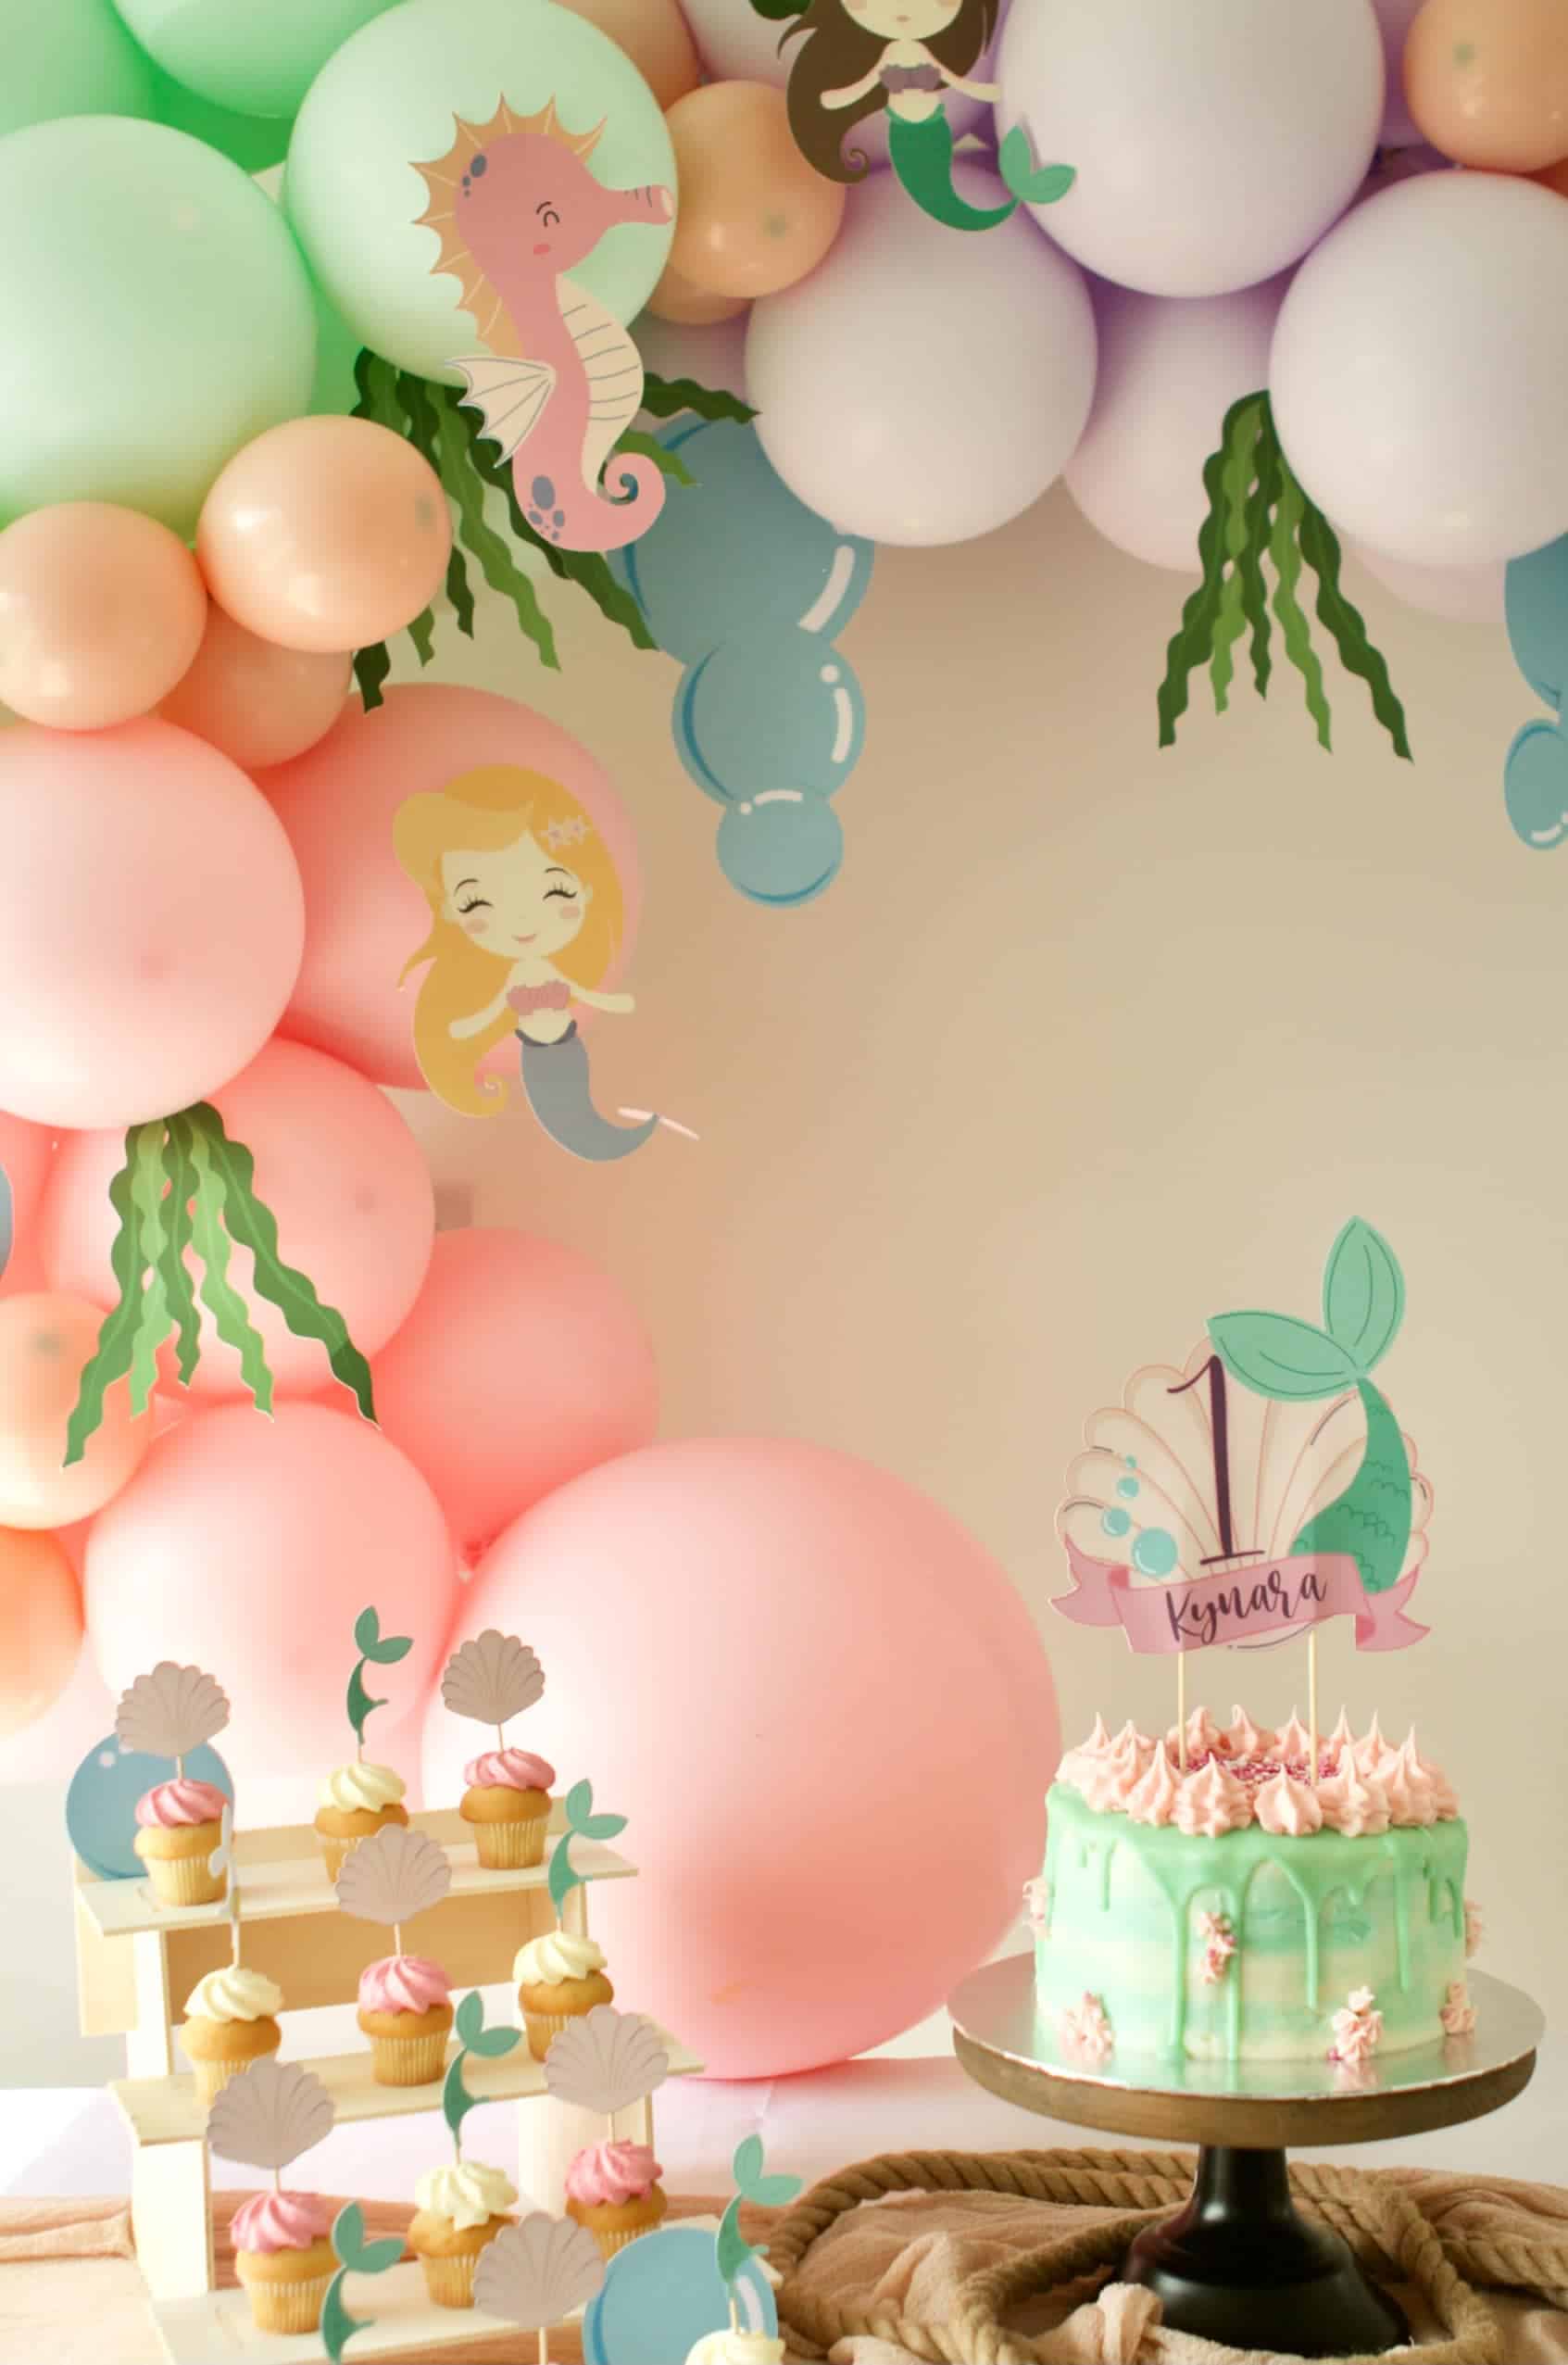
We personally have been using the Cricut Maker for our real projects and most recently, a custom party box that you can order for celebrating small parties at home.


Cricut Maker is an awesome, seamless cutting machine that you can definitely use for both personal and professional projects. I’m definitely looking forward to know what the new Cricut Maker 3 offers but to most of you, the original Cricut Maker should already bring a smile to your creative mind!
Disclosure: Cricut Maker review sample was supplied for reviewing