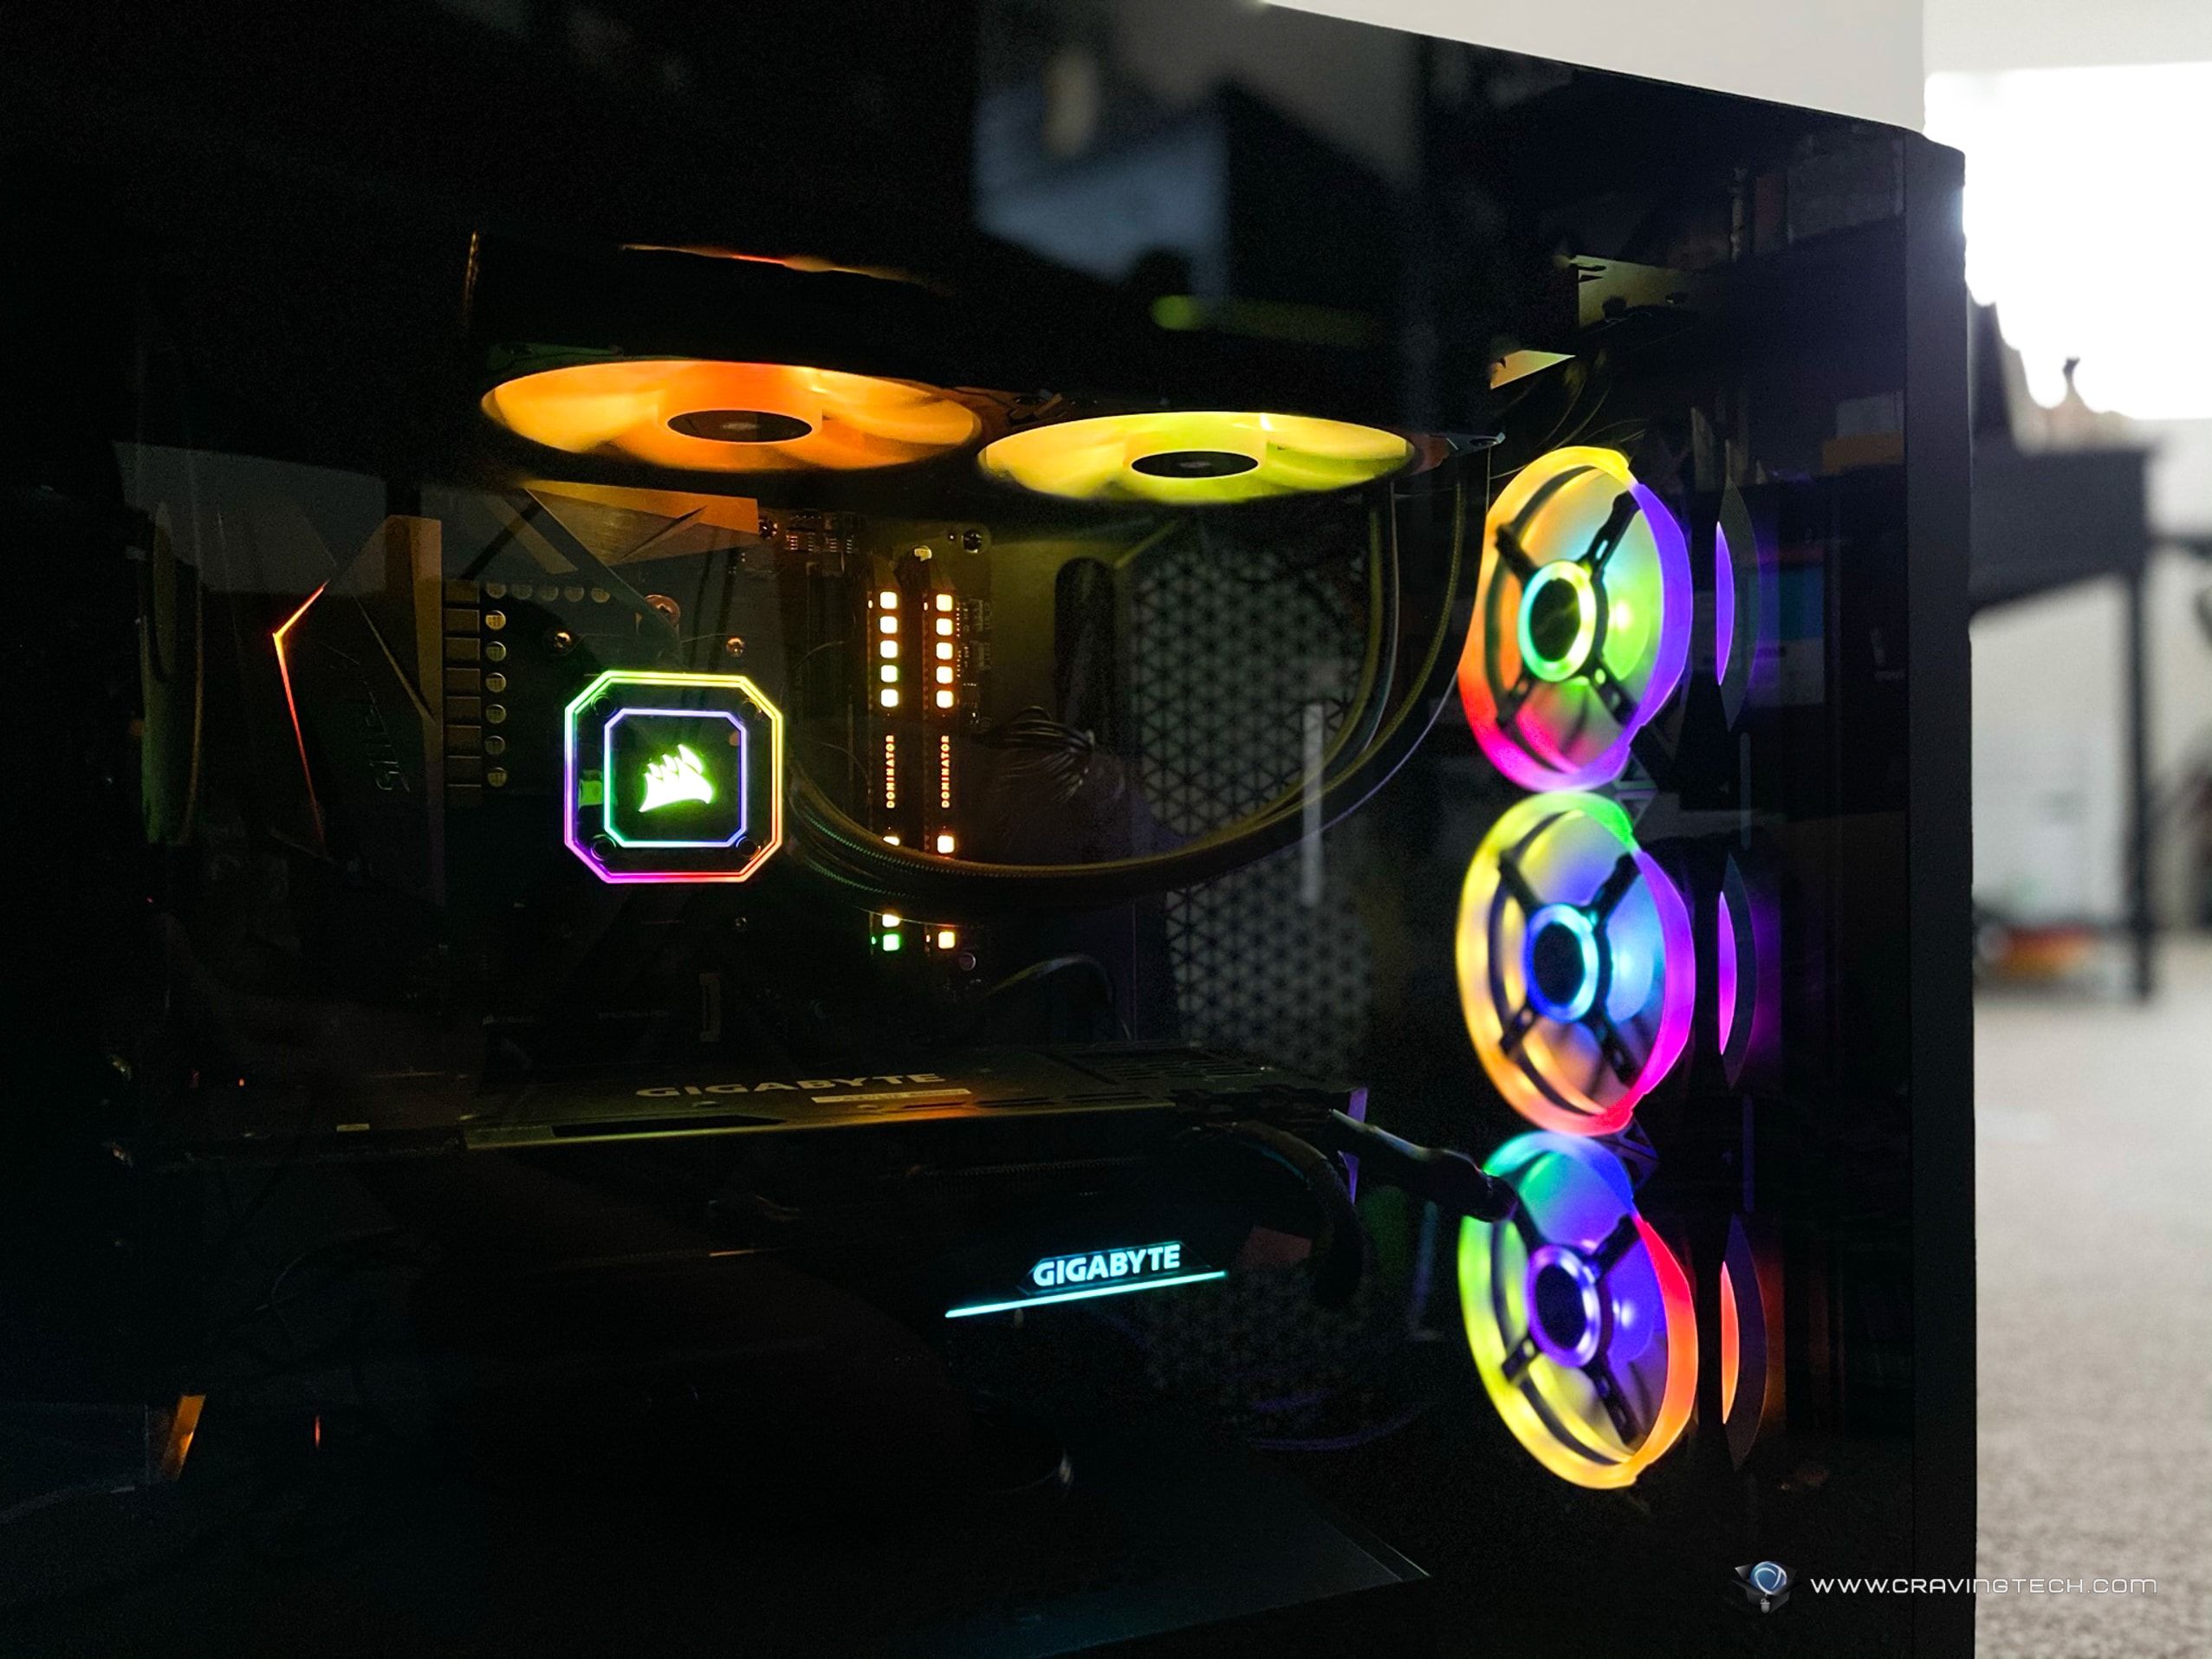
Note: This is a guest post written by Deepak Setia – Gaming has evolved from a niche hobby to a global phenomenon, fascinating millions of players around the world. To fully immerse yourself in the gaming experience, a well-built gaming PC is essential. While purchasing pre-built systems is an option, building your own gaming PC offers a more personalized and cost-effective solution.
This Building Gaming PC Guide will walk you through the process of building your first gaming PC, transforming your dream configuration into a reality.
Step-1. Research and Planning
The journey begins with thorough research and planning. Define your budget, preferred games, and desired performance level. Research hardware components like CPUs, GPUs, RAM, storage, and power supplies to understand their compatibility and performance metrics.
Websites, forums, and YouTube channels dedicated to PC building are valuable resources for beginners. Create a list of components, ensuring they are compatible and meet your gaming needs.
Step-2. Gather Your Components
Once you’ve finalized your component list, it’s time to gather the essential components. Common components include the central processing unit (CPU), graphics processing unit (GPU), motherboard, RAM, storage drives, power supply unit (PSU), and a computer case/cabinet. Double-check compatibility to prevent any headaches during assembly.
Step-3. Prepare Your Workspace
Select a clean and spacious workspace with plenty of light. A large table or desk is ideal to lay out your components and work comfortably. Gather essential tools such as screwdrivers, cable ties, and thermal paste. An anti-static wrist strap can prevent static electricity from damaging sensitive components.
Step-4. CPU and Cooler Installation
Start by installing the CPU onto the motherboard. Open the CPU socket, align the notches on the CPU with those on the socket, and carefully fasten it in position. Apply a small amount of thermal paste on the CPU’s surface to ensure proper heat transfer. Attach the CPU cooler according to the manufacturer’s instructions.
Step-5. Install RAM
Insert the RAM modules into the designated slots on the motherboard. Press down firmly until you hear a click, indicating they are securely in place. Refer to your motherboard manual to ensure you’re installing them in the correct configuration for optimal performance.
Step-6. M.2 and Storage Drives
If you’re using M.2 drives, insert them into the corresponding slots on the motherboard. These drives offer high-speed data transfer rates. Connect your other storage drives, such as SSDs or HDDs, to the motherboard and power supply using appropriate cables.
Step-7. Mount the Motherboard
Carefully place the motherboard into the computer case, aligning the screw holes. Fasten it using the provided screws. Ensure no metal components on the back of the motherboard are touching the case, as this could cause a short circuit.
Step-8. Connect PSU and Cables
Next comes the time to mount the PSU (Power Supply Unit) in the case and fasten it with screws. Once it’s done, you should connect the necessary cables to the motherboard. Cable management is crucial for airflow and good appearance. Make use of cable ties to bundle and secure cables neatly.
Step-9. Install GPU
Gently insert the graphics card into the appropriate PCIe slot on the motherboard. Secure it with the retention bracket or screws provided. Connect the necessary power cables from the PSU to the GPU.
Step-10. Case Fans and Final Checks
Install any additional case fans for improved airflow. Double-check all connections and ensure everything is properly seated. Connect your monitor, keyboard, mouse, and any other peripherals.
Step-11. Power Up
Moment of excitement! Now it’s time to connect the assembled PC to a power source. Do so and turn the power button on. Your computer will boot up and the motherboard’s splash screen will appear if everything goes well.
(Note: In case, it doesn’t work, recheck your connections. You should also refer to the motherboard and component manuals for guidance.)
Step-12. BIOS and Software Setup
Enter the BIOS by pressing the designated key (usually DEL or F2) during startup. Configure the boot order, enable XMP for RAM if applicable, and update the BIOS if necessary. Install the operating system (Windows, Linux, etc.) and the latest drivers for your components.
Step-13. Testing and Optimization
Run benchmark tests to ensure your components are performing as expected. Monitor temperatures and adjust fan curves if needed. Overclocking is an option for advanced users, but it requires careful consideration to avoid damaging your components.
Step-14. Enjoy Your Gaming PC
With your gaming PC up and running, dive into the world of gaming. Feel the pride and satisfaction of playing on a system you built yourself, tailored to your preferences and performance needs.
Conclusion
Building your first gaming PC might seem daunting, but with careful research, planning, and patience, it’s a rewarding experience that provides you with a deeper understanding of computer hardware.
From selecting components to powering up your creation, each step brings you closer to a high-performance gaming setup that’s uniquely yours. So, roll up your sleeves, follow this Building Gaming PC Guide, and start an exciting journey of building your very own gaming PC.


