
I was being asked by a good friend of mine to make a photo slideshow for his wedding today. I never made one before so it was quite challenging but I accepted his request. After a whole week of work (about 4 hours a day) choosing the right photos, doing some post processing, and putting all the photos together, I got a lot of good feedback about it today on his wedding reception.
So I thought I’ll share this post to you in case you want to learn on how to make a wedding slideshow for yourselves or for someone’s.
The Wedding Slideshow video
First of all, let’s have a look at the video. This whole post worth nothing if you think that the video sucks, right?
The video:
If you like the video and you are interested in knowing how to make a slideshow like that, read on. I actually used Adobe Lightroom 3 to enhance the photos and Adobe Premiere Elements 8 to make the whole slideshow.
Tips on how to make the wedding slideshow
(1) Choose the best photos out of all the photos in the collection
With digital camera nowadays, photographers tend to shoot as many as they can and select the good ones later. Some photos are good, some are not. You need to filter the good photos out from the bad. I selected about 5o-ish photos out of 230 photos that my friend gave me. Try to think about what sort of story you want to tell on the video and this should be included in your photo selections.

(2) Post processing
I used Adobe Lightroom 3 to edit the photos one by one (and using some presets available on the internet). On each photo, you might want to think about what you want to highlight in the photo and what sort of mood you want to set the photo to.
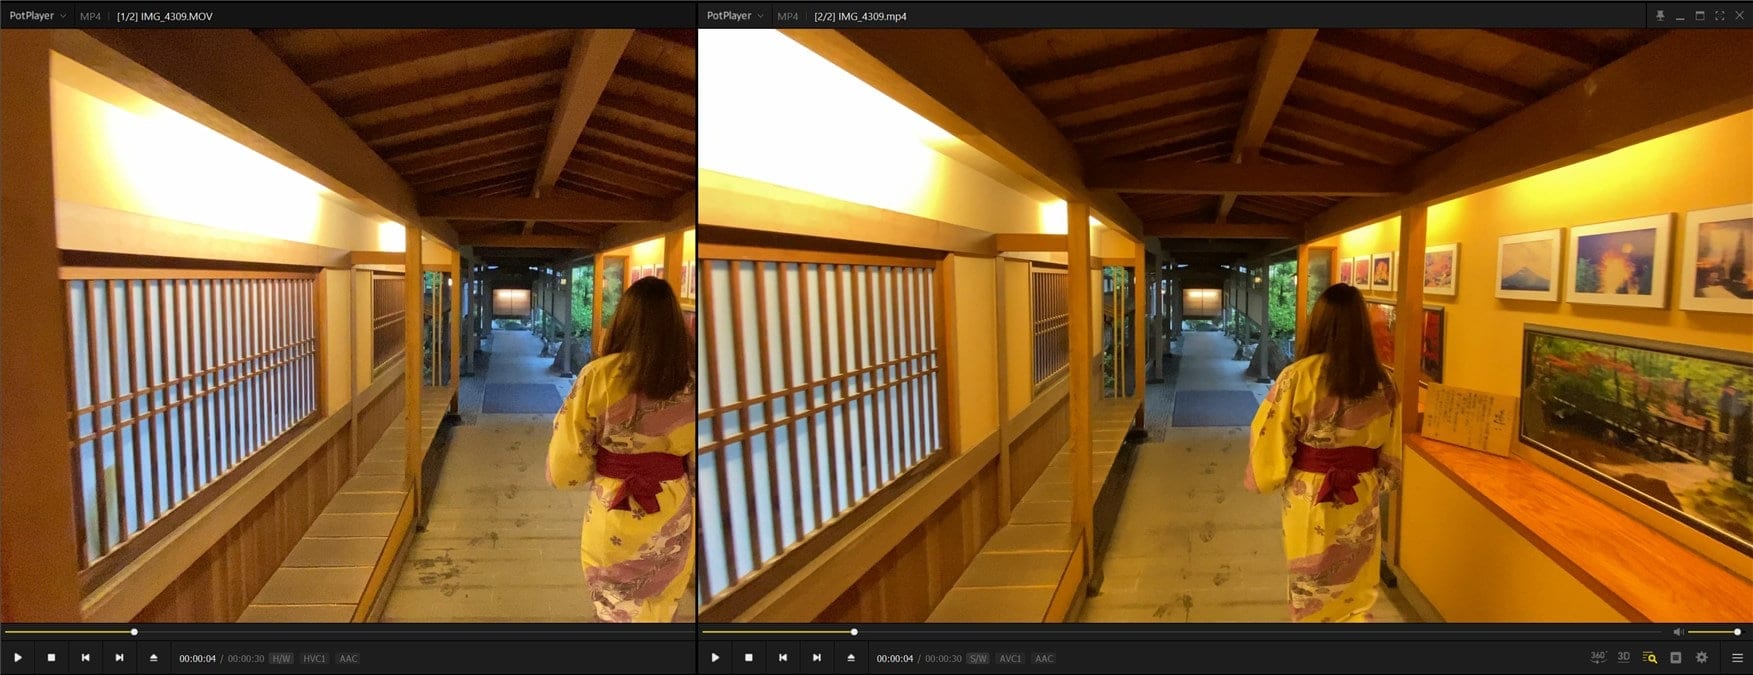
This photo was shot 3 years ago and I wanted the video to show a flashback of their relationships from 2007 until today so I made all the past photos look old (with the help of Adobe Premiere Elements 8 Old Film effect later on)


Other photos have their mood changed after the touch ups:


This one (supposed to :)) highlight the flower’s texture and color:


Again, this is still my first time doing digital post-processing so I might go a bit too far there but you get the idea. Most photos may look much better after you do some tweaks to them. I’m sure some of you here might not agree with the post processing I took on some photos, which is fine by me.
(3) Pick the right music
Choosing the right music is not easy either. You need to pick the right music as it will affect the emotion of the viewers. I listened and picked a few music that I think will suit the slideshow well. Then I started imagining in the head whether this music would match with the photos.
(4) Resize the photos to 1000 x ……pixels
I was shocked for a couple of days because when I tried to do the slideshow, the image quality suffered too much, especially when I start doing the pan and zoom on some photos. After searching through the net and forums, I found from an Adobe forum that the image is best to be resized to 1000 x .. pixels outside of the Adobe Premiere Elements 8.
Adobe Lightroom 3 is recommended because it can do batch exporting easily, without tampering the original files but feel free to resize it with other photo editing/resizing software.
(5) Start importing the photos and do the slideshow on Premiere Elements 8.

Make the slideshow more interesting by doing different panning and zooming. Try to find the right angle and direction first by looking at the photo and find out the focus points. For example, in one of the photo, I picked the flower first as the first focus point and then zoom out to the couples. Be creative.
In Adobe Premiere Elements 8, you have the keyframes to manually control the scale, position, and also the opacity in the frames. Make use of that on every photo if you don’t want your viewers to see a static & boring photo slideshow.
(6) Transitions and effects at your disposal
There are tons of transitions and video effects that you can use in Adobe Premiere Elements 8. Use them wisely but not too much. Some animations look cool but probably not appropriate for a wedding slideshow.
(7) Try to match the music beat with the photos / animations
![wedding slideshow - music[3]](https://www.cravingtech.com/blog/wp-content/uploads/2010/08/weddingslideshowmusic3.jpg "wedding slideshow - music[3]")
As much as possible, try to match some photo sequences or effects with the music beat. For example, in my video, I tried to match some transitions and photo animations along with the music a few times. This is not compulsory but it helps to enhance your wedding slideshow.
(8) Revise, revise, revise
Look at your creation many many times, over and over. Look for:
- Boring moments (did you put a photo up too long?)
- Not enough highlight (good photos should be displayed longer)
- Harsh transitions, effects, or sudden sound cut-off (try to make everything as smooth as possible)
- Any other “imperfect” moments.
(9) Do a live test on the reception’s camera projector
Even if the final video looks good at your end, it doesn’t mean it will look the same on the wedding day. It may look too dark or some texts/titles may look small. The only way to find out is to go ahead and try playing your masterpiece before the D-day at the reception’s hall.
At the end of the day, it’s your choice. You can be lazy and get a program like Adobe Lightroom 3 to automatically create a slideshow out of your photo collections and let it match the photos automatically with the music. Or you can give your best by manually looking at each photo and set it differently (how to display? how long? etc).
All the best in making your wedding slideshow!
Adobe Australia Special Offers
[AMAZONPRODUCT=B003739DVY]
[AMAZONPRODUCT=B002IJA1DM]

Comments are closed.