 Did you know that you can create a zip file out of folders/files in Windows easily without any third party software? Windows has a built in zipping and unzipping tools so you don’t have to install WinZip in your computer.
If you right click a folder on your Windows Explorer, you’ll see a sub-menu called “Send To”. If you hover on it, you’ll see more options under the “Send To” sub-menu. Click on the Compressed (zipped) folder and Windows will automatically create a zip file out of your folder. You can do the same to files too. Simply selects all the files you want to zip/compressed and repeat the step above.

Do you know that you can easily add a password to the compressed zipped file on Windows too?
After you have the zipped file, double click on it to go inside the zip file and see its contents. You can use this method to extract only the files (and folders) that you want.
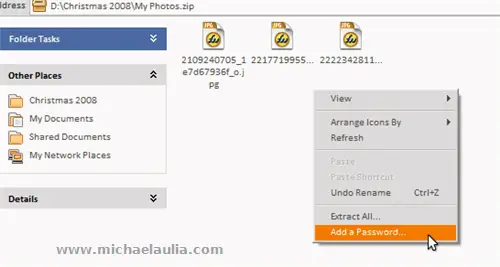
Then right click anywhere on the screen and select the “Add a Password”. You can also do this step by going to “File->Add a Password”.
Simply type in the password to your zipped file! Easy, isn’t it? Just make sure that you don’t forget the password to your zip file!


Comments are closed.