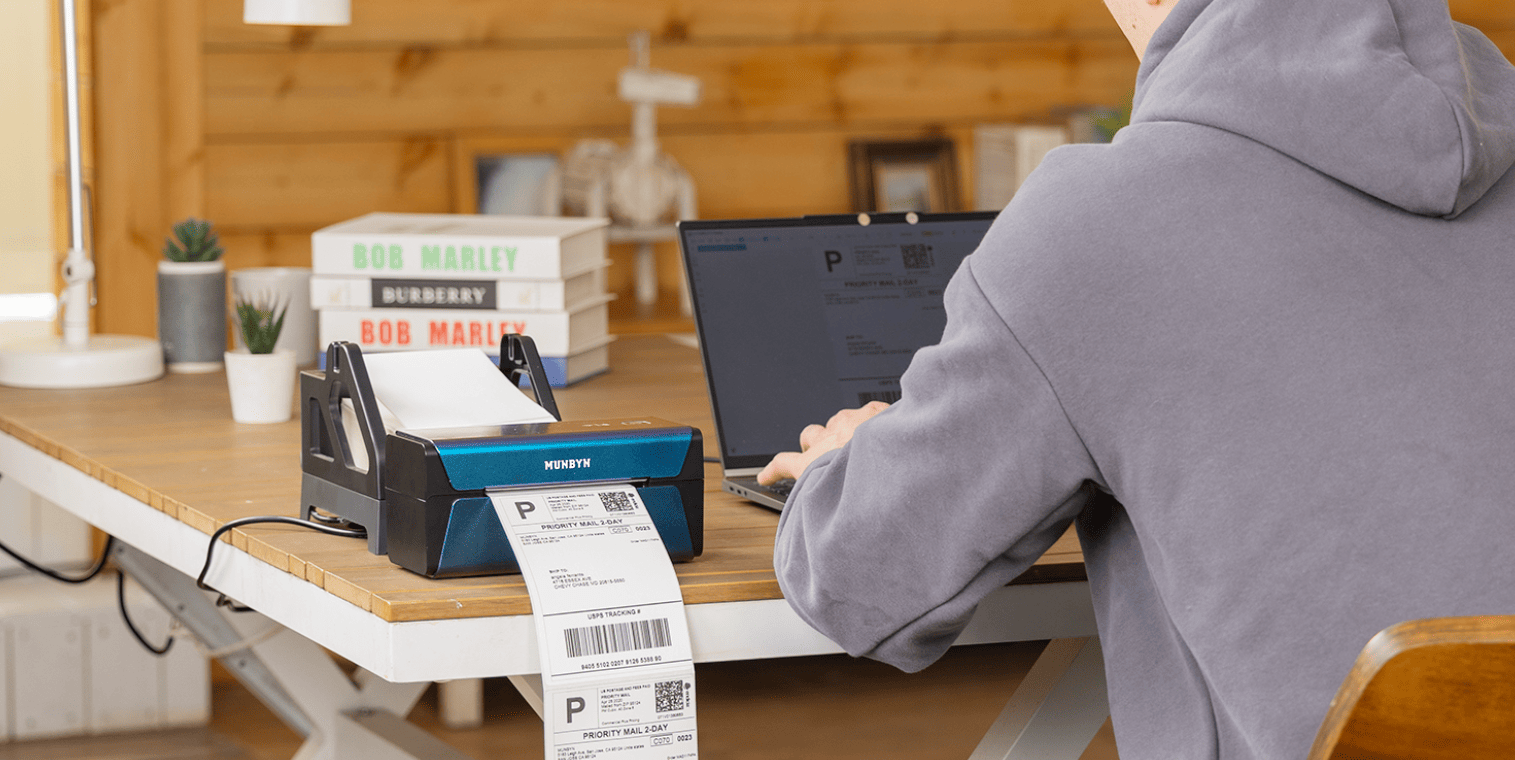
If you are looking for a printer that can print labels without using any ink or cartridges, you might want to check out Munbyn Print thermal label printer.
Thermal printer uses heat to print on thermal labels, which means you don’t have to worry about running out of ink or replacing cartridges. However, this means that you need to buy thermal labels that are compatible with the printer.
In this review, I will share my experience with using the Munbyn Thermal Label Printer 300 DPI, and how I used it to print not only shipping labels, but also some fun images for presents. I will also show you how to print using only your smartphone or computer, and where to get more labels for different purposes.
What’s in the box
Munbyn Thermal Label Printer 300DPI comes with a USB cable (to connect the printer to your computer), a power adapter, a user manual, and a few A6 labels to allow you to test the printer.
The box contains indication of the colour variant of the printer (which comes with white, green, grey, and pink) and quite detailed specifications such as maximum printing speed (which is 150mm/s) and printing life (which is approximately 650,000 labels).
Interestingly enough, the box doesn’t mention the model name of the printer, which I think is a bit of a miss.
The A6 labels are of 150mm x 100mm in size each, and they are perfect for printing shipping labels.
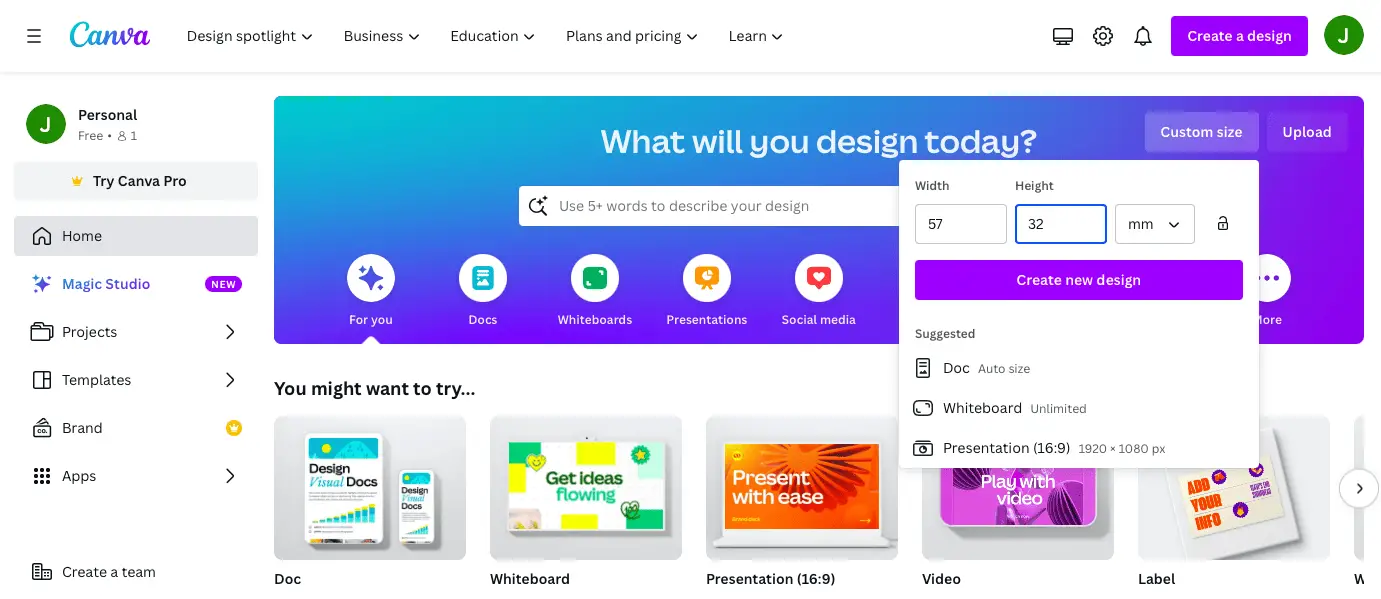
We were also supplied additional pack of A6 labels and a roll of smaller labels of 57mm x 32mm size. Keep in mind that none of the additional label packs supplied have any size information on the packaging.
The printer itself is compact and lightweight, and it has a streamlined design.
On the back are the DC power connector, the on/off switch, and a USB connector for when you want to connect the supplied cable to your computer.
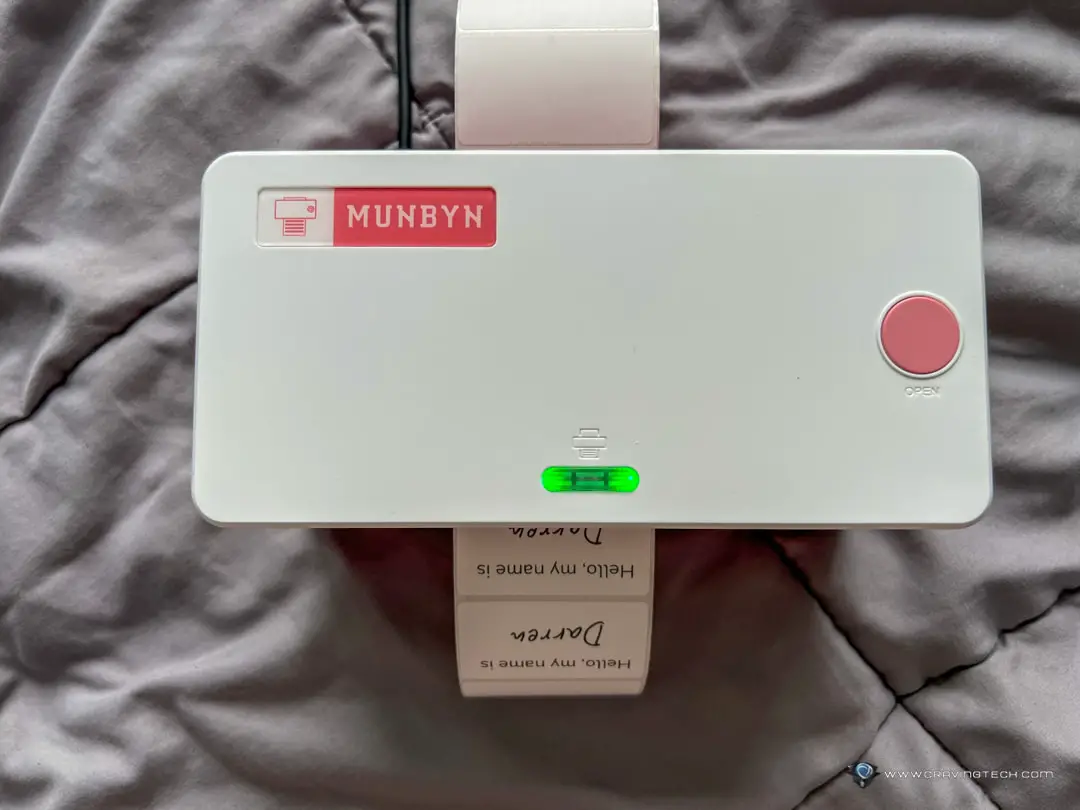
On the top is a top cover button to open the printer, and a feeder button which also doubles as status light.
Using the printer with your smartphone
One of the features that I like about the Munbyn Thermal Label Printer is that it can connect to your smartphone via Bluetooth (which is always on when the power is turned on), so you can use the Munbyn Print app to print labels from your phone. The app is available for both iOS and Android via the App Store and Google Play.
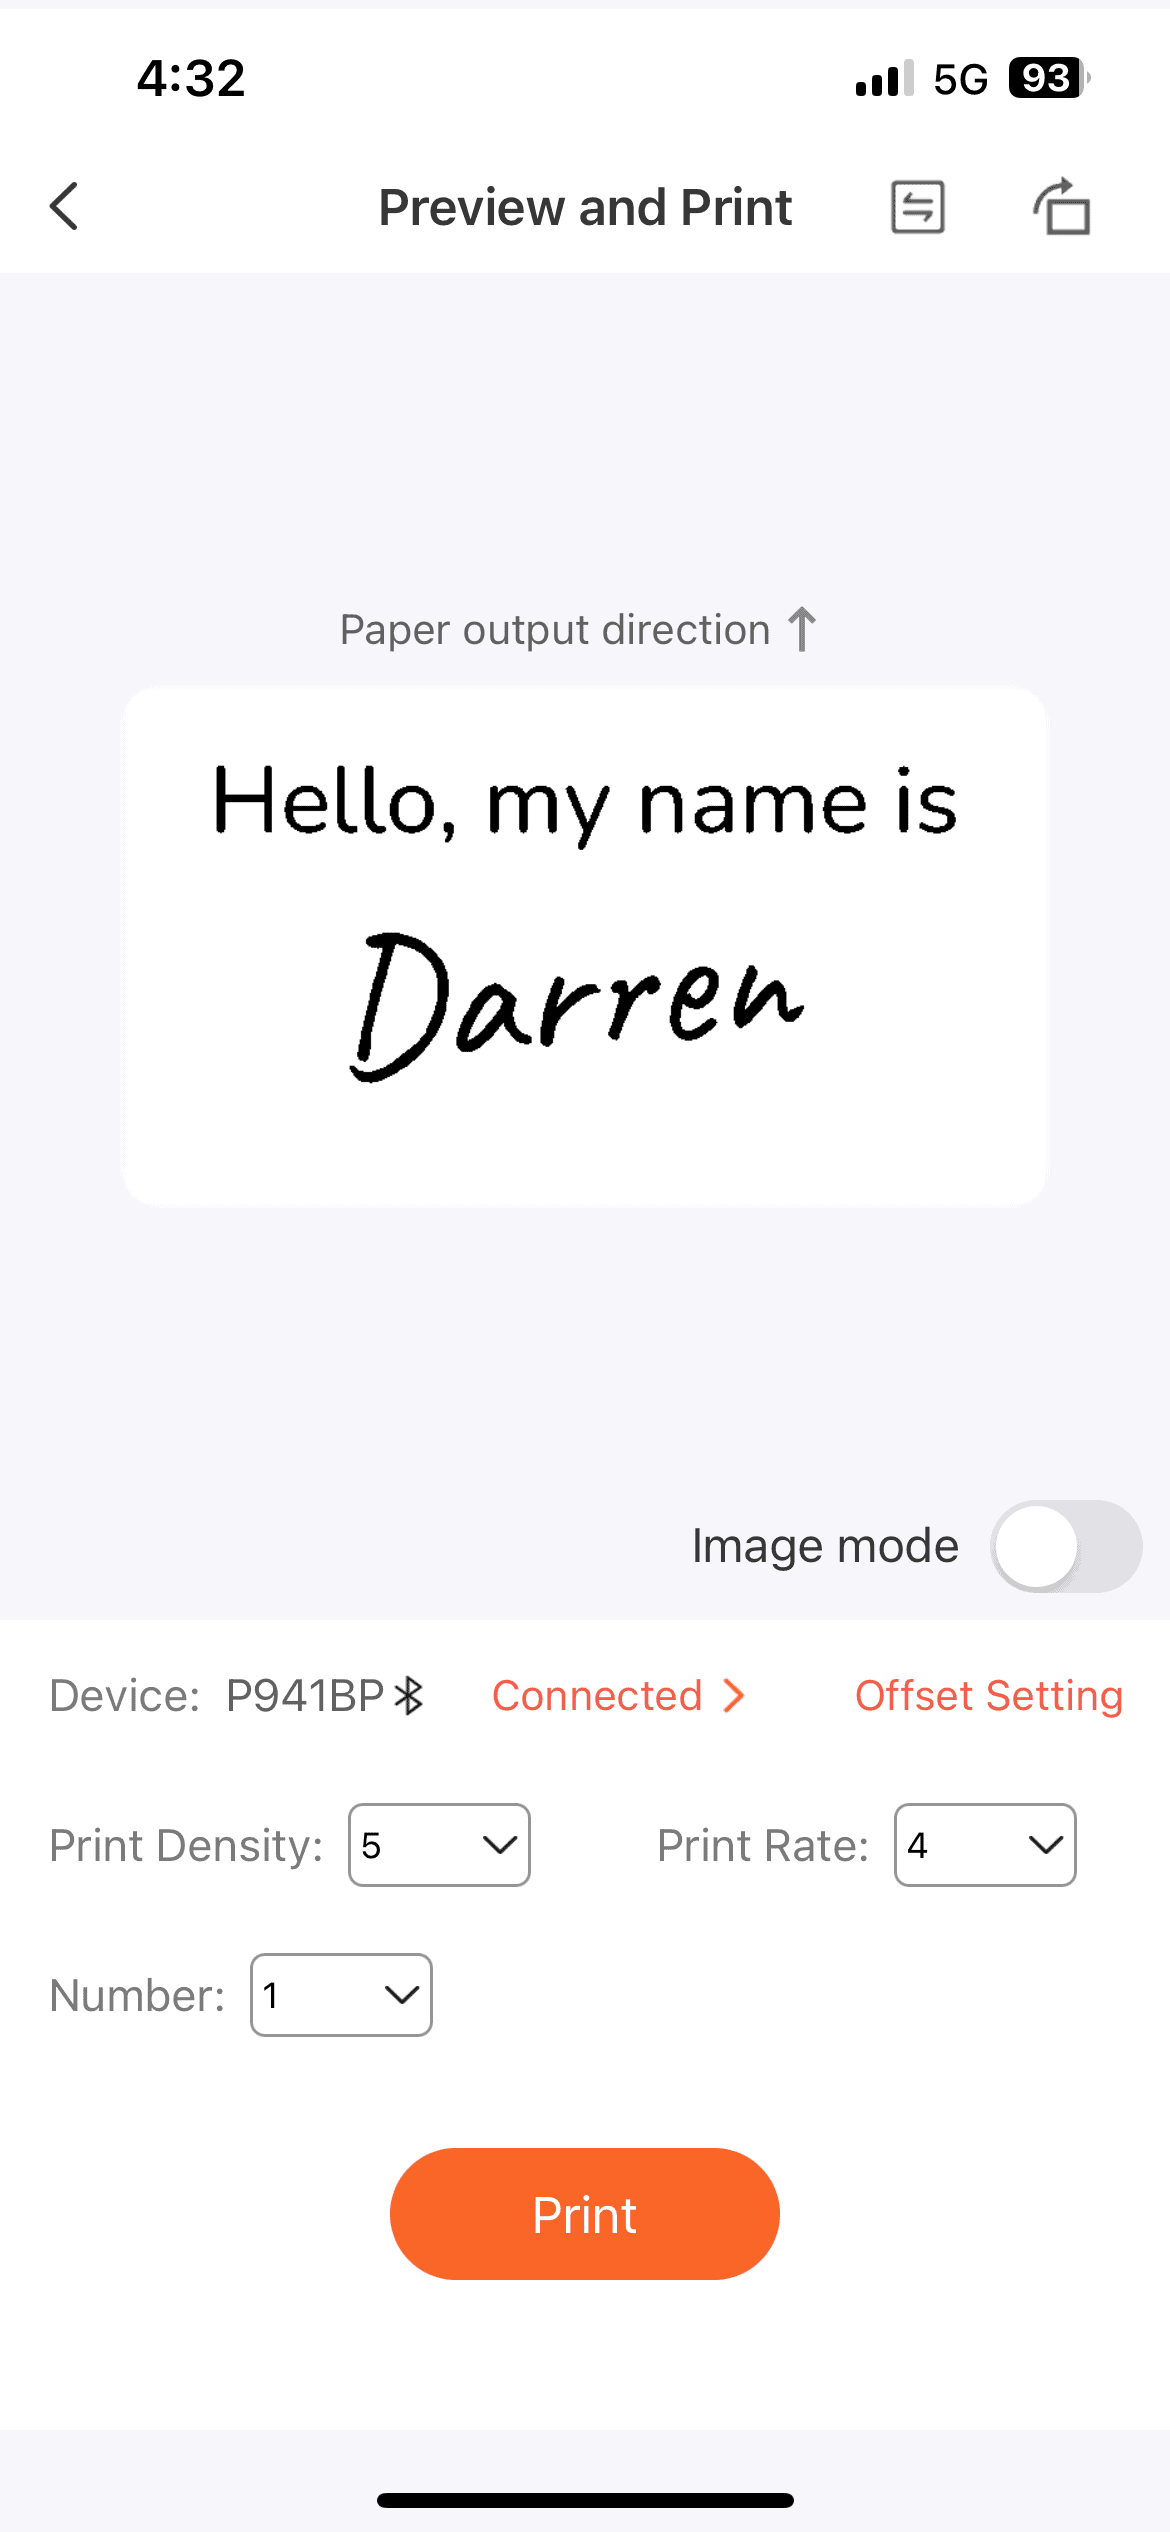
The app itself is not the most intuitive, but it lets you do everything from start to finish without ever needing to use your computer. You can create your own labels and make shipping labels, barcodes, QR codes, and pretty much everything else. You can import images from your photo albums, which means that you can source free clip arts from the web, save it to your photo albums before uploading it to the app as part of your label design.
The app allows you to adjust the size, orientation, and alignment of the labels. You can also add text, shapes, and symbols.
When you are ready to print, you can preview your design before you print. Alternatively, you can also save your design for later use, although you would have to sign up to use this feature.
Using the printer with your computer
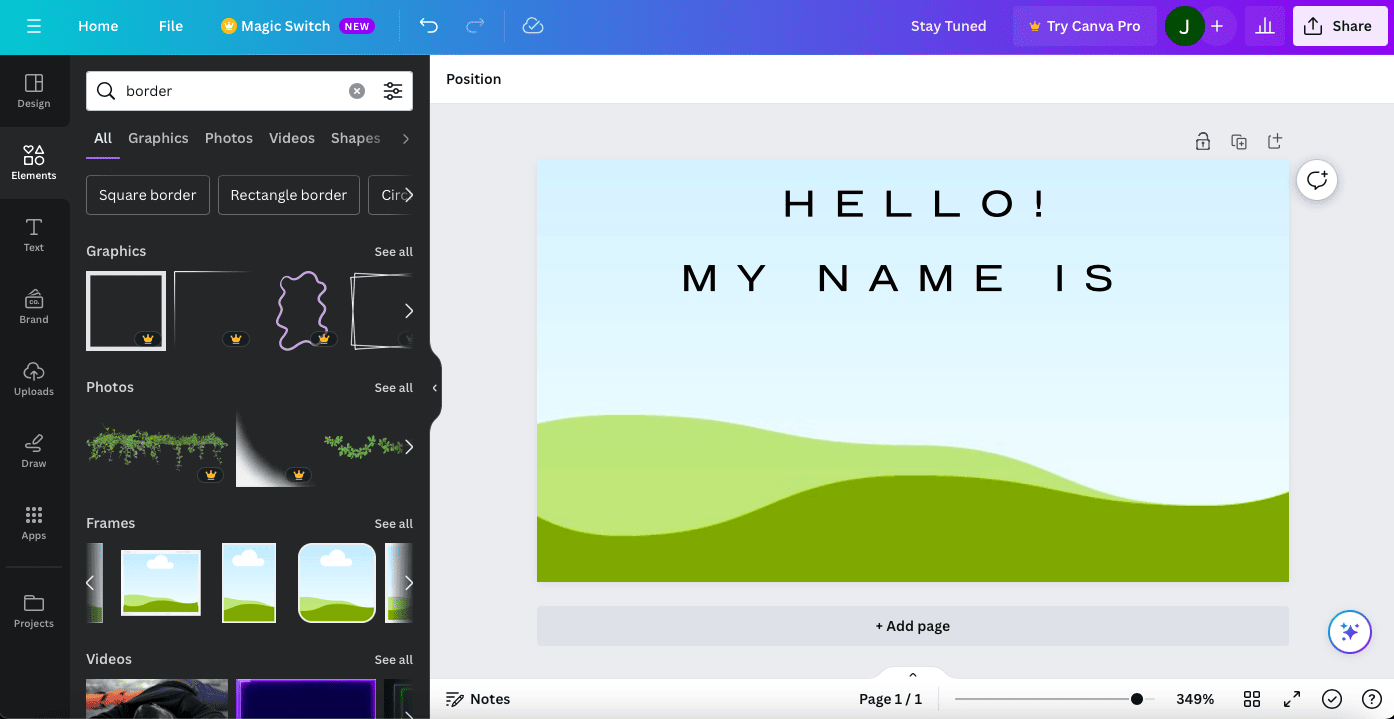
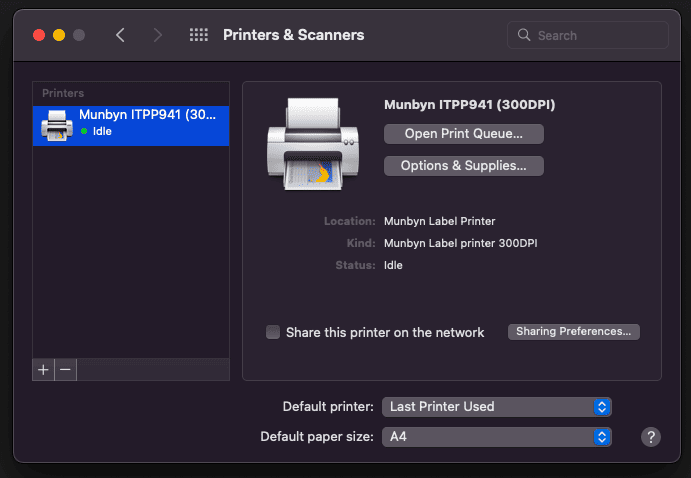
If you prefer to use your computer to print labels, you can also do that with the Munbyn Thermal Label Printer via USB-A interface. Then you can use your preferred design tools, including Photoshop and Canva.
I decided to use Canva to create some labels online. Once I’m happy with the design, I saved them as PNG files on my computer. Then I opened the files with the default Preview app on my Mac, and I printed them as usual. The printer was recognised as a normal printer, but make sure you confirm the paper size and the orientation of the labels before you print.
Loading labels into the printer
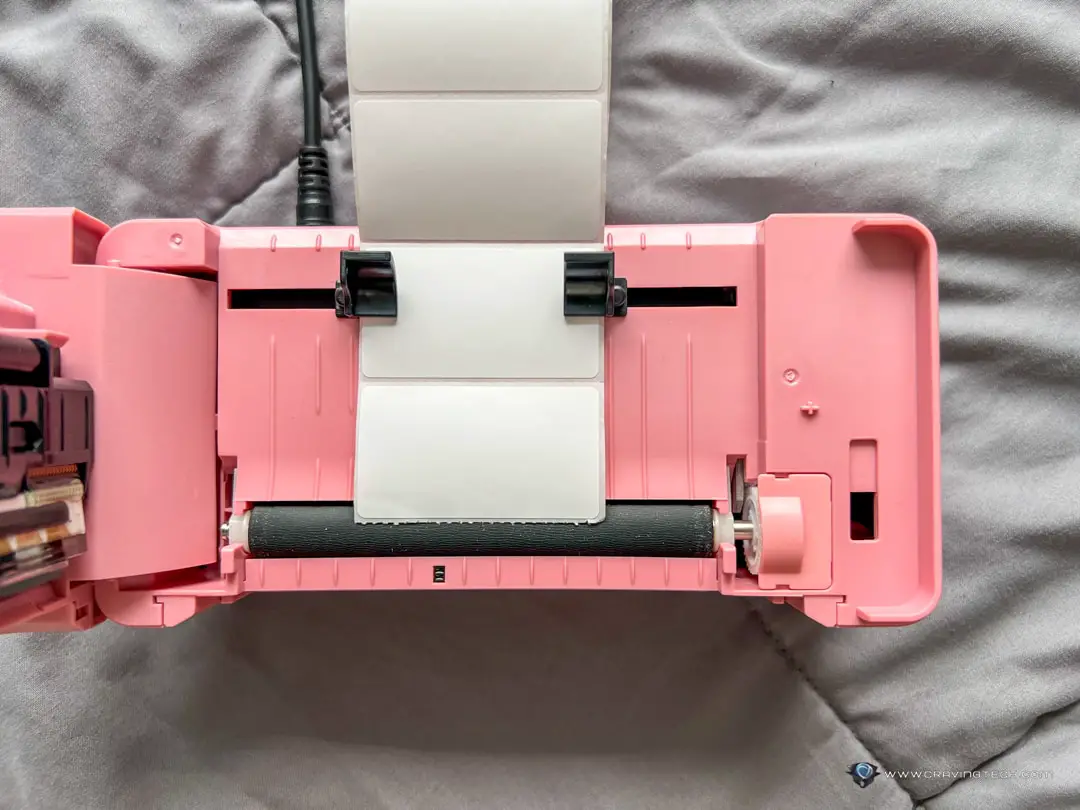
Loading the labels into the printer is easy, but you need to follow some steps to make sure the printer recognises the label size correctly. First, you need to open the printer by pressing the button on the side, and then insert the label roll into the adjustable label feeder. Make sure the labels are facing up, and the label roll is aligned with the guide.
Then, you need to close the printer, and press and hold the button on the front until the printer feeds the labels and prints a test label. The printer will then detect the label size automatically, and adjust the settings accordingly. Sometimes in this process the printer might throw out one or two blank labels. If you want to save up, you can open the printer and rewind the labels. Additionally, you can be a bit more creative and reattach a used label (with sticky tape) to the start of your empty label rolls so your used label becomes the “throw out” one.
Print results

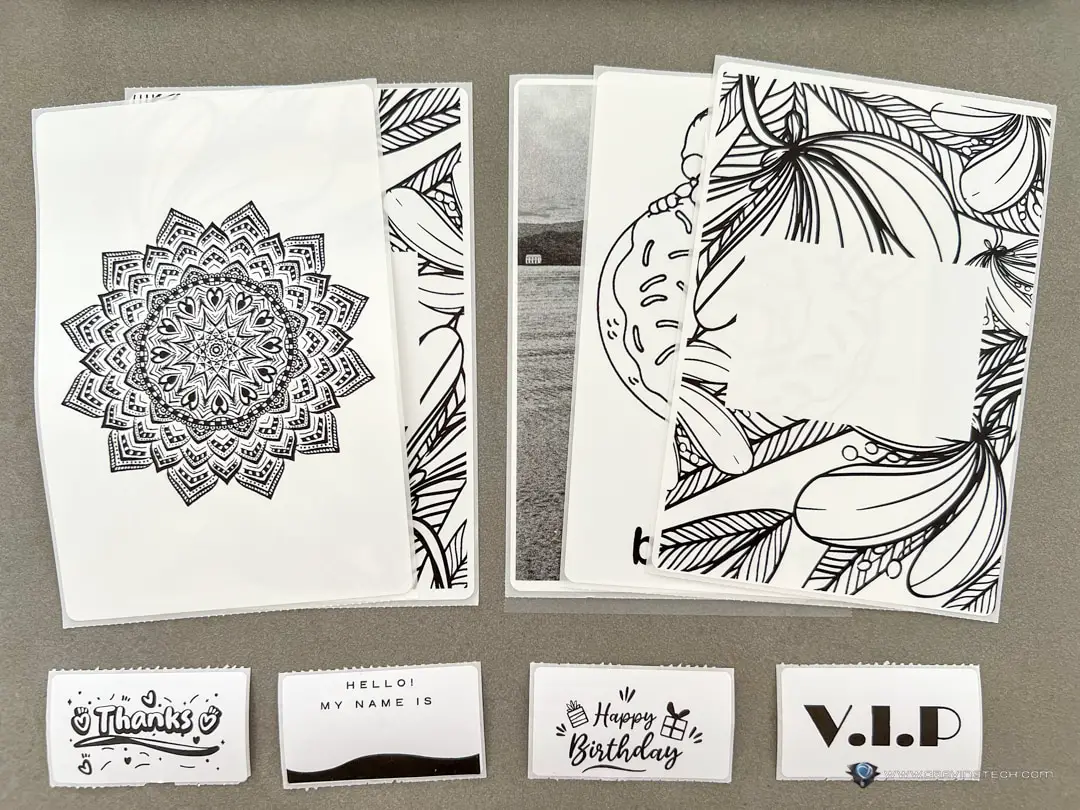
One thing to note here is that the printer does not print all the way to the edges of the labels, so it is best to avoid printing images that cover the whole label. Otherwise, you might end up with some white borders around the edges and you would probably need to do some additional label cutting to make it perfect.
More interesting labels on offer
If you want to print more labels with different sizes, colours, or materials, you can get them from the Munbyn website. They have a variety of thermal labels that are compatible with the printer, such as:
- Clear labels: These are transparent labels that are great for printing pantry labels, jar labels, or bottle labels. You can get them at https://munbyn.com/products/clear-direct-thermal-labels.
- Blue labels: These are white-coloured labels that can print blue outcomes. You can get them at https://munbyn.com/products/2-blue-printed-thermal-sticker-labels.
- Make sure to also check their shipping label and sticker label pages.
Disclosure: Munbyn Thermal Label Printer 300DPI review sample was supplied for reviewing