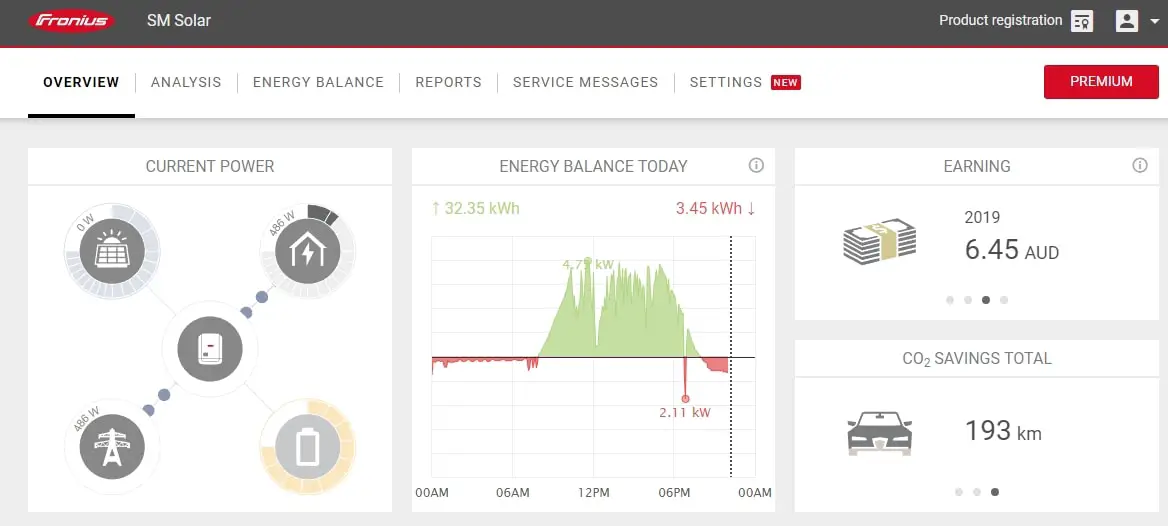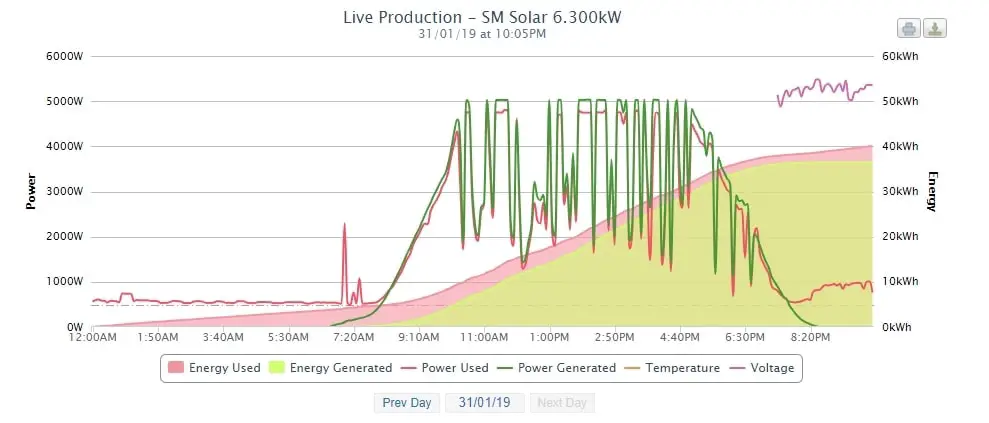
So you just got your new Solar system installed with a Fronius Inverter and Smart Meter? Congratulations. And now the fun begins! I’m sure you must have seen these pretty stats that people are sharing through pvoutput.org.
Would you like to setup one as well? Either to share or for yourself, here are the step by step guide on how to make it happen.
Change some settings on your Fronius Inverter
- First, type in the IP address of your Inverter on your web browser at home to get into its settings. A way to find the IP address out is to go to your router and see all connected devices. Then, find out the IP address of your solar inverter.
- Check whether you have set the Fronius Smart Meter by going to the “Meter” menu. You may need to set a password to this section first under “Passwords” (i.e username: service). Select the meter under the Primary Meter. In Australia, the Fronius smart meter is usually located on the “Feed in Point” (and not on the “Consumption Path”, but double check with your solar installer to be sure.
PVOutput Account and Registration
- First of all, register for an account at PVOutput.org.
- Click on “Add Output” to add your Solar system details in.
- Click on “Settings” and scroll down below to “API Settings”. Change “API Access” to Enabled and click on the “New Key” button below it to generate an API key.
- Make note of the API key, as it will be needed in the next section and referred to as “your_key“.
- At the most bottom page, your solar system should be listed (after you completed Step 2 above). Make note of the “System Id” as it will be needed in the next section and referred to as “your_sid“.
How to Push/send/upload the data from your Fronius Inverter and Smart Meter to PVOutput automatically
Basically, your modem router will send the data from your Inverter and Smart Meter to your PVOutput account at a regular interval you set (using your PVOutput System Id and API key as your account credentials). This allows sending data across like the generated power and also consumption of your household.
Here is how (also thanks to a Whirlpool thread for additional options/parameters):
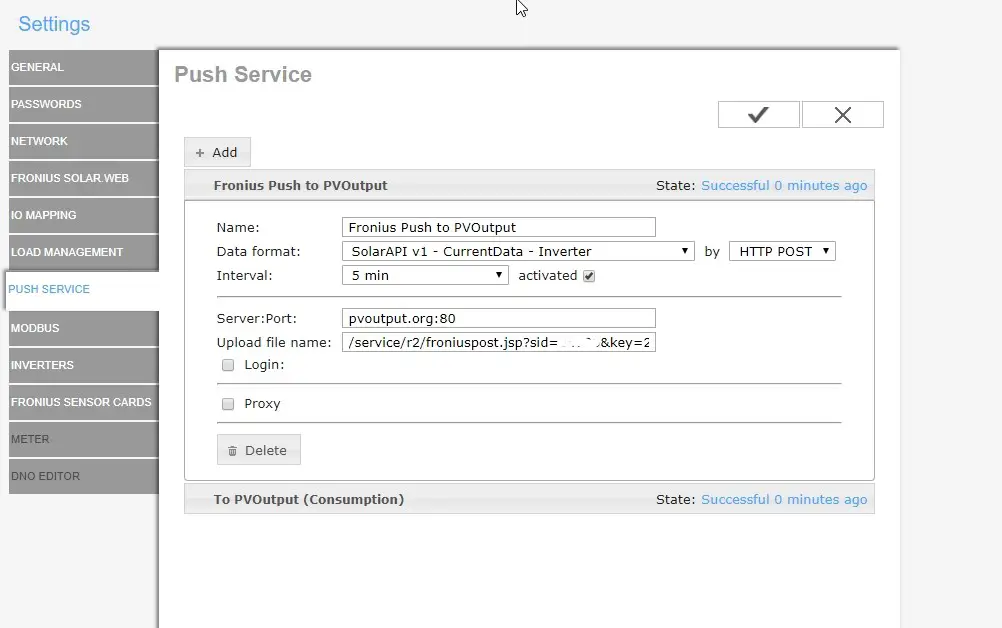
- Go to the PVOutput Help documentation to enter 3 different push services on your Inverter -> Push Service settings. Note that the third one requires you to donate, but you can skip it in exchange of some data inaccuracies.
- Add the “Fronius Inverter” Push Service settings from the page to your Fronius Inverter and save. Add these extra parameters at the end: “&dayenergy=1&delay=5”
- So the Upload file name should now be: /service/r2/froniuspost.jsp?sid=your_sid&key=your_key&dayenergy=1&delay=5
- Add the “Fronius Meter” Push Service settings from the page to your Fronius Inverter and save.
- You can add these extra parameters at the end to show voltage: &v6=Voltage_AC_Phase_1&nodayenergy=1&n=1
- If you donate, you can use these extra parameters: “&v6=Voltage_AC_Phase_1&v8=Current_AC_Phase_1&auto=1&nodayenergy=1&delay=5” for a much more accurate reading in consumption.
- And if you donate, add the “Fronius Log Data Push” settings from the page to your Fronius Inverter (to fix inaccuracies) with an extra &nodayenergy=1
- So the Upload file name should now be: /service/r2/froniuspost.jsp?sid=your_sid&key=your_key&nodayenergy=1
You should get a “Successful” state if everything goes well. Now head off to your PVOutput and you should start seeing some stats.
In my opinion, if you don’t go for the Donation route, it’s not that worth it because of the inaccuracies (especially if you don’t add the third push option).
You can always go back to Fronius Solar Web as it also gives quite a good amount of information through real time and history graphs.