Canon Light Awards is a monthly photo competition hosted by Canon where photographers are given a brief by a Canon Master each month, and can submit their creative shots that match it.
All entries will then be judged, and winners announced plus rewarded with prizes.
Last month in October, the brief was “Invisible Editing” – which focuses on using post-processing tools to edit your photos, but not overdoing it. With all the auto photo filters these days, this is an awesome brief that teaches us not to go over the top with editing!
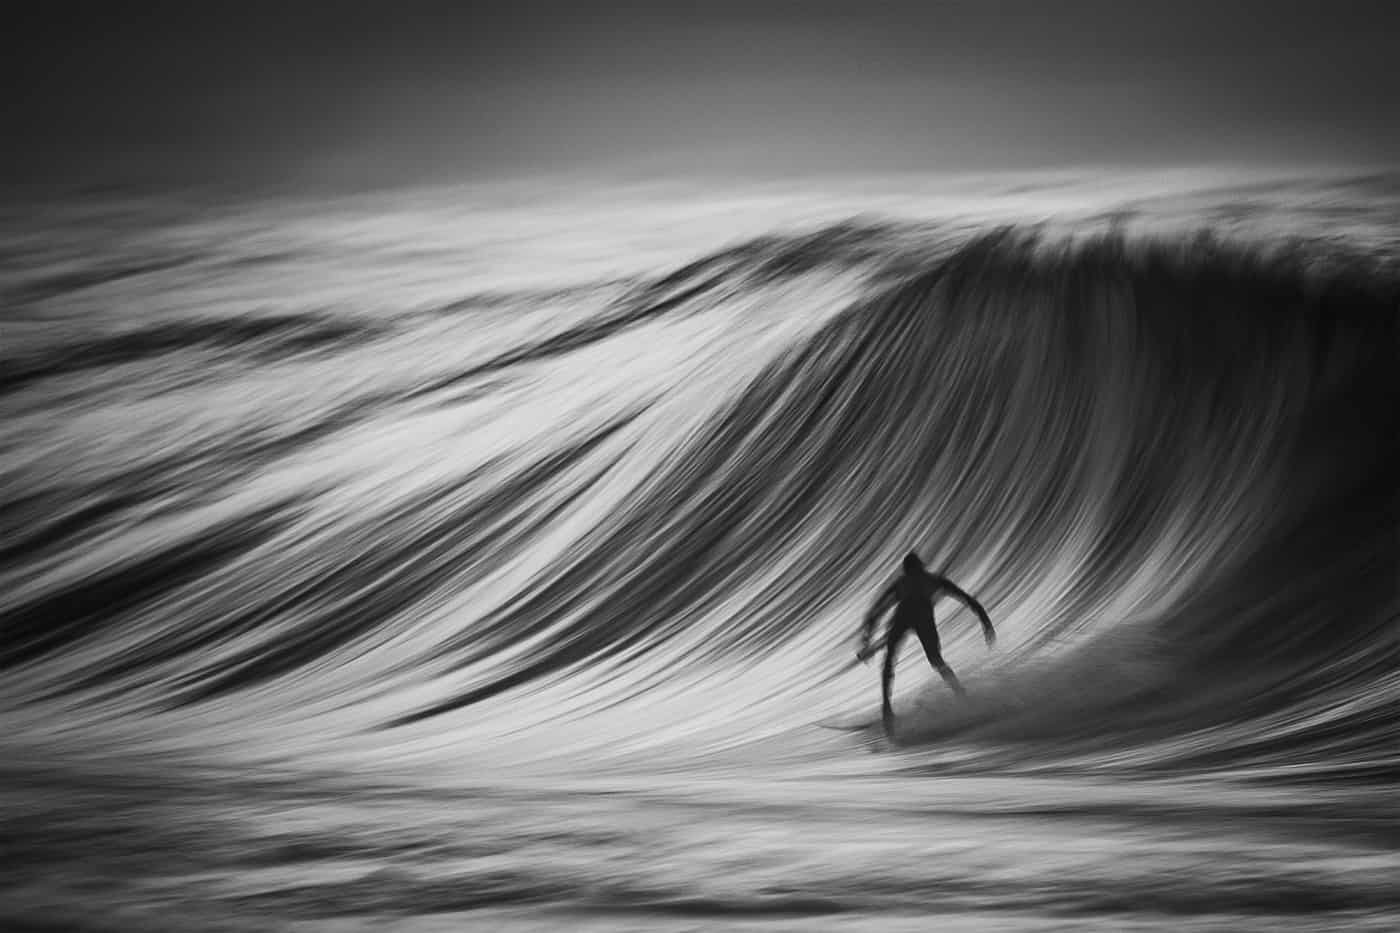
The winners of Canon Light Awards in October, Philip Thurston (Canon Light Awards October Open Category winner) and Chandra Tamang (Canon Light Awards October Student Category winner) are here to share some great photo editing tips for us.
Tips from Philip Thurston:
1. First off, I always make sure I shoot in RAW so that I have full control over the image data in post.
2. Over the years I’ve grown into the habit of using Photoshop RAW for applying the majority of enhancements to my images, I do this so the edit is recorded in a separate xml file and the original file is untouched. I found it’s the best way for me to achieve lossless editing without adding unnecessary files to your hard drive with large TIFFs or PSDs. If I have multiple good shots from the same day with similar lighting, I’ll save a preset and apply it to each photo I edit from that day and make additional tweaks as needed.
3. When in the field, I will try to use a lens that allows me to get full frame of my subject, however cropping in post I think is an underrated tool that can be very effectively utilised with the high resolution cameras we have access to these days.
Sometimes a great photo can be pulled out of a good photo, bearing that in mind, cropping to accentuate the subject can be very effective, it may not be a traditional method but it’s a ‘today’ method.
I used to suffer wide angle syndrome – fitting as much as I can into the frame as possible, but over time as the eye is more trained, less becomes more, and cropping a distraction out of the frame can be a beautiful enhancement.
4. I’m a big fan of the old lens vignetting, I’ll apply it to a lot of images that have the main subject centre focused, as it adds a nice isolation to the to what you’re shooting and fades out any distracting elements around the edges that may be taking away from the main subject, especially if there is some nice ambient light hitting the subject. It can also be a great mood enhancer!
5. Every image is different but unless it’s a high key image I’ve certainly gravitated towards most of my images being more on the high contrast side of things, I don’t however just increase the contrast slider, rather I’ll selectively dodge and burn parts of the image that makes the subject more prominent.
It’s the many subtle differences that make up the big difference. I always make sure my histogram isn’t unbalanced though, having the darkest shadows almost black and your brightest part of the highlights just near white. A healthy histogram hump makes for a good image I think.
That’s my preference though, again it depends on the image and mood.
Tips from Chandra Tamang:
6. When enhancing my photographs I work on raw file type images, which allows me to open my images in Camera Raw where I can readjust a lot of settings without any loss of quality in the photo.
7. Half of my image editing occurs in Camera Raw, in which I do heavy adjusting to the lighting in order to flatten out the contrast.
8. Increasing the Exposure, Contrast, Shadows, Whites and Blacks allows for a lot of lost details in the dark corners of the image to come out, and it makes the light in the photo become brighter and really pop right out of the screen
9. Bringing down the highlights also allows you to show detail that was lost in the bright lighting of the photograph, such as in the sky or on a reflection.
This balance of increased shadows and toned down highlights allows for a more flat lighted photograph that gives you a lot more to manipulate when you’re in Photoshop.
10. Lastly in Camera Raw, I add a bit of clarity to sharpen the raw image up. After all of this is done my image already looks completely different, but only now do I import it into Photoshop.
11. In Photoshop, Chandra will then add:
- Curves – to darken the black spots just a little
- Exposure – for slightly advancing the offset and gamma correction to apply a shaded contrast, along with a slim exposure lift
- Brightness/Contrast – to do final balance of the lighting and contrast
- Hue/Saturation – to touch up any colour lost in the editing process
Comments are closed.